Bob and Gina’s homemade eggnog recipe will get you in the spirits.
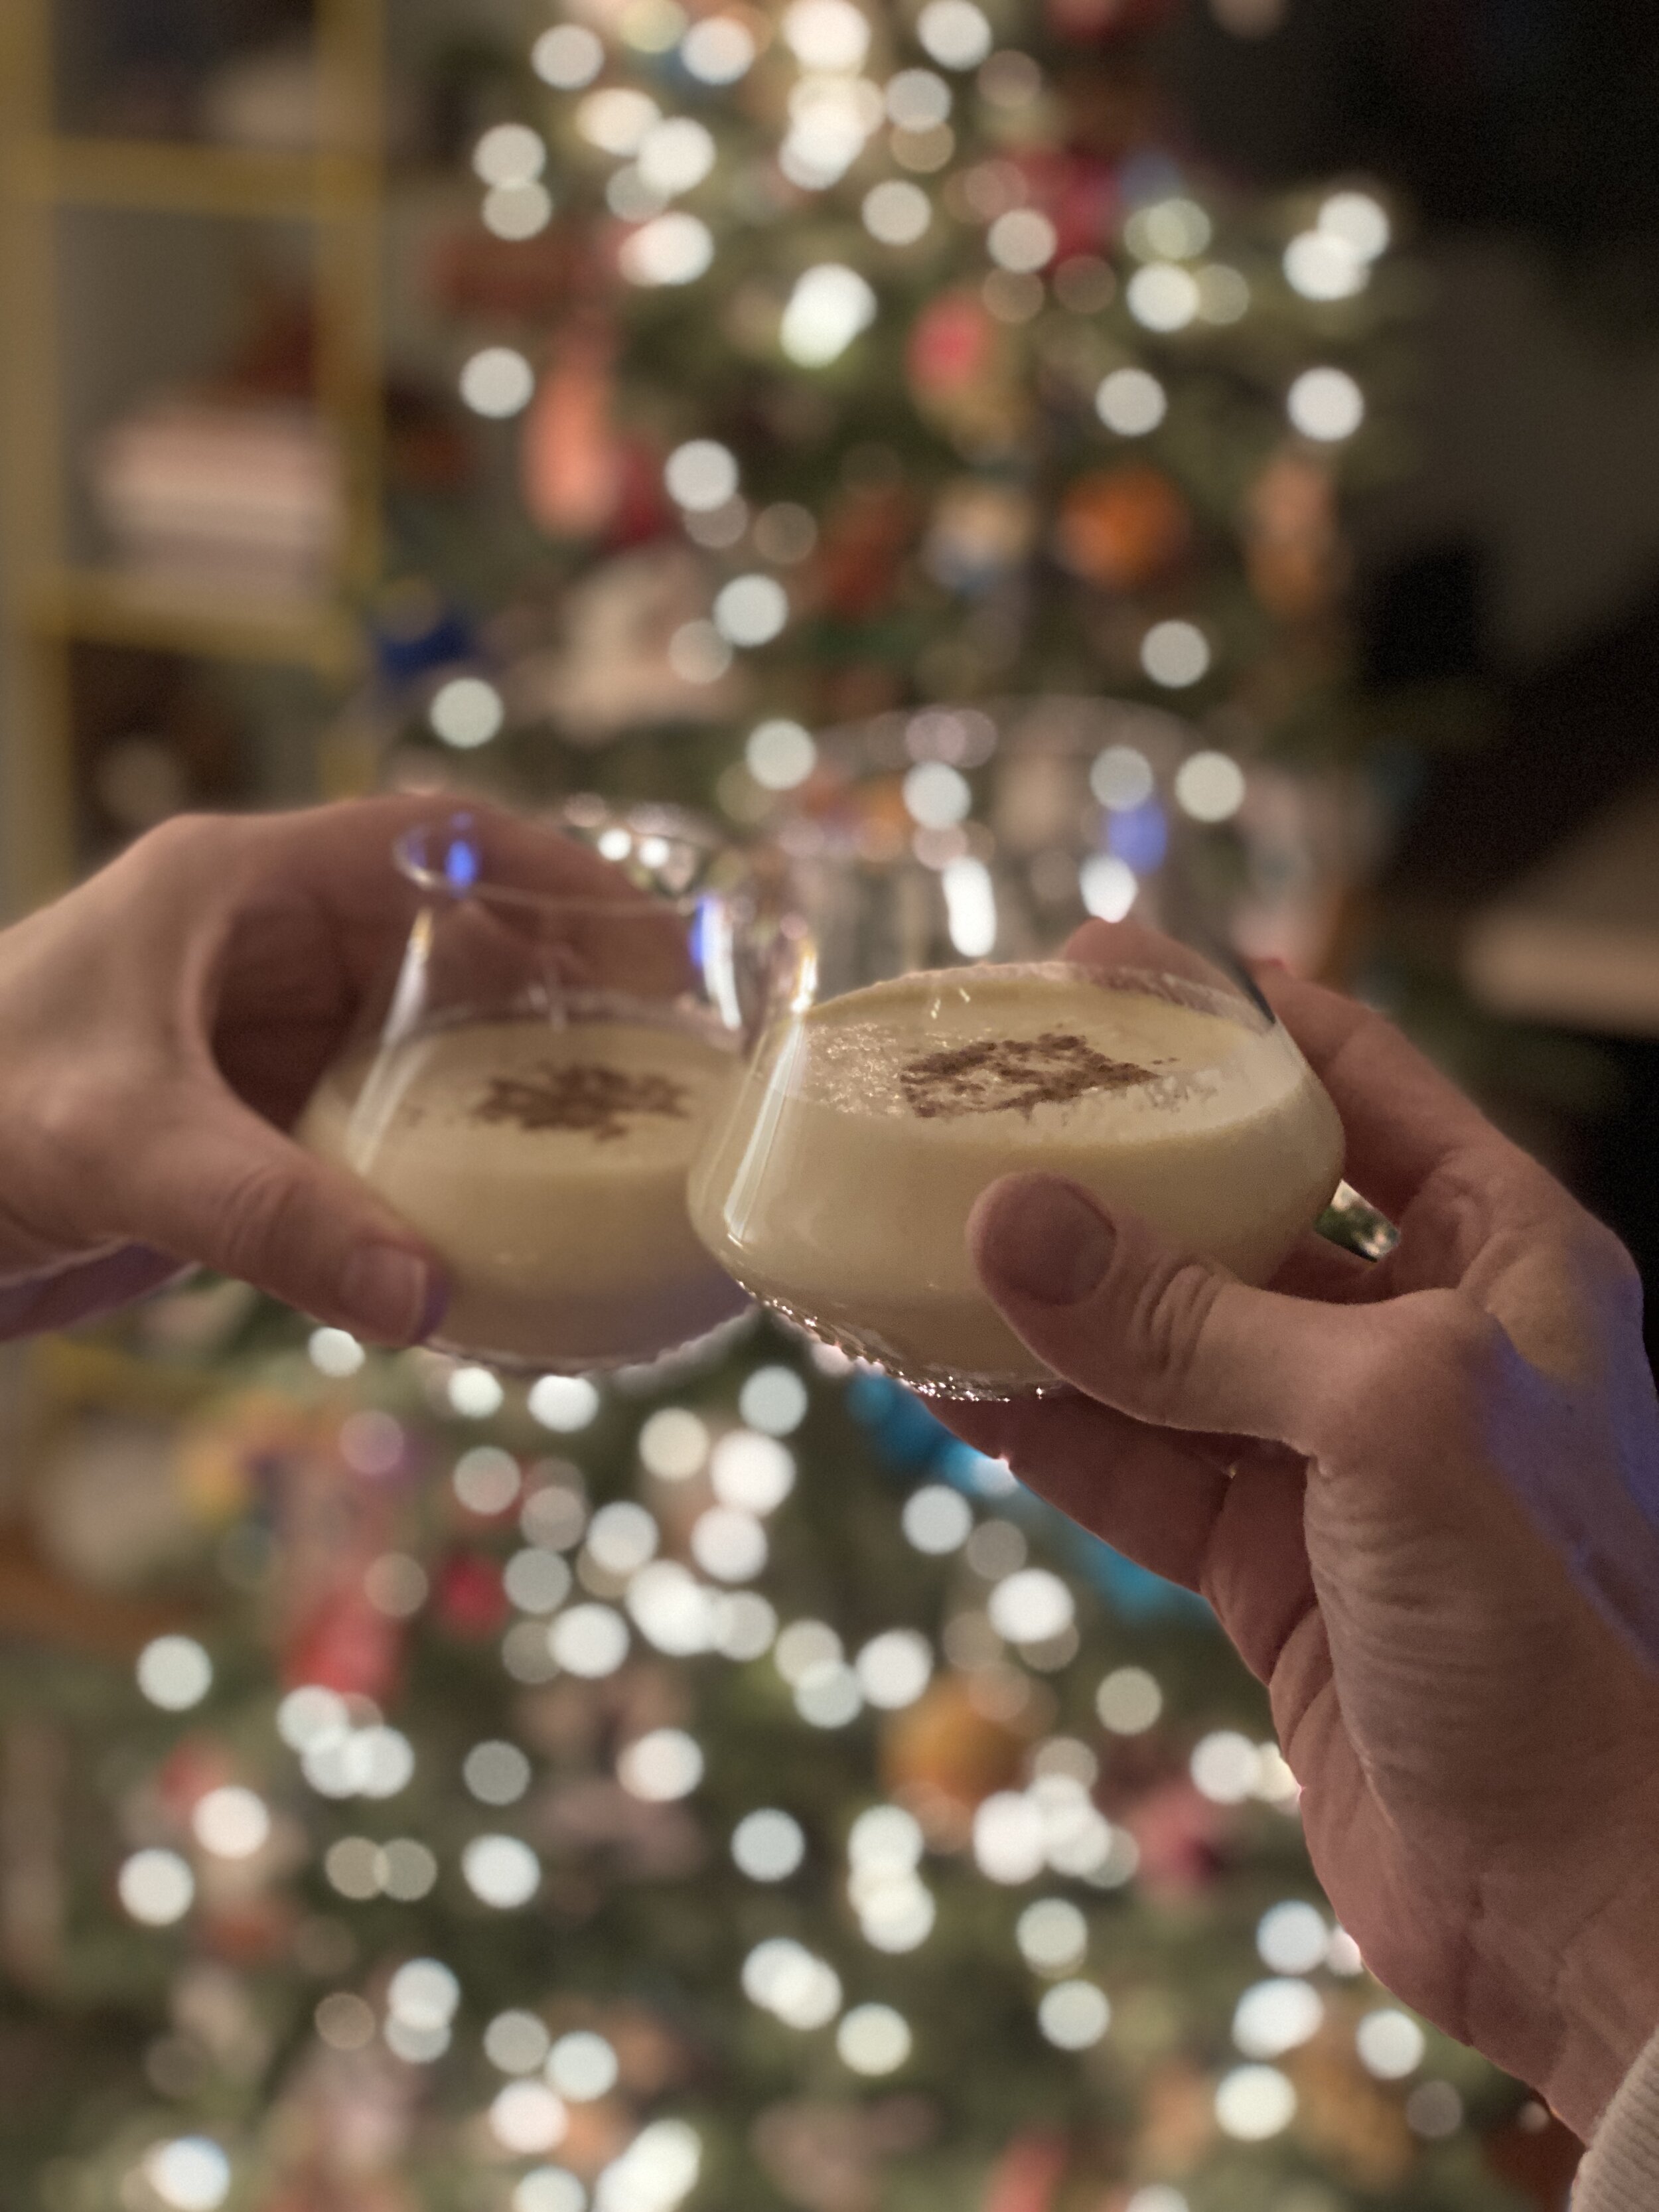
Cheers to our fave drink of the holiday season! (Just don’t think about all those calories!)
It’s one of my favorite Christmas traditions: getting a lovely warm buzz from my friend Christina’s eggnog at her annual holiday party. Most people have one requisite glass and move on to wine or beer. But our friend Reggie and I always have a container reserved for us. We drink it all night, my cheeks turning rosy as the booze literally warms my spirits. And no, I refuse to calculate the fat content — it’s the holidays, dammit, and I’d rather get drunk on eggnog than have a second helping of pie.
“I’d rather get drunk on eggnog than have a second helping of pie. ”
This year, because COVID ruined everything, Christina had to cancel her party. The prospect of an eggnog-free Yuletide was simply too bleak to consider, so Christina was kind enough to share her parents’ recipe.
This tasty eggnog recipe — Wally always goes on about how it tastes “like puddin’” — comes from Ontario, Canada.
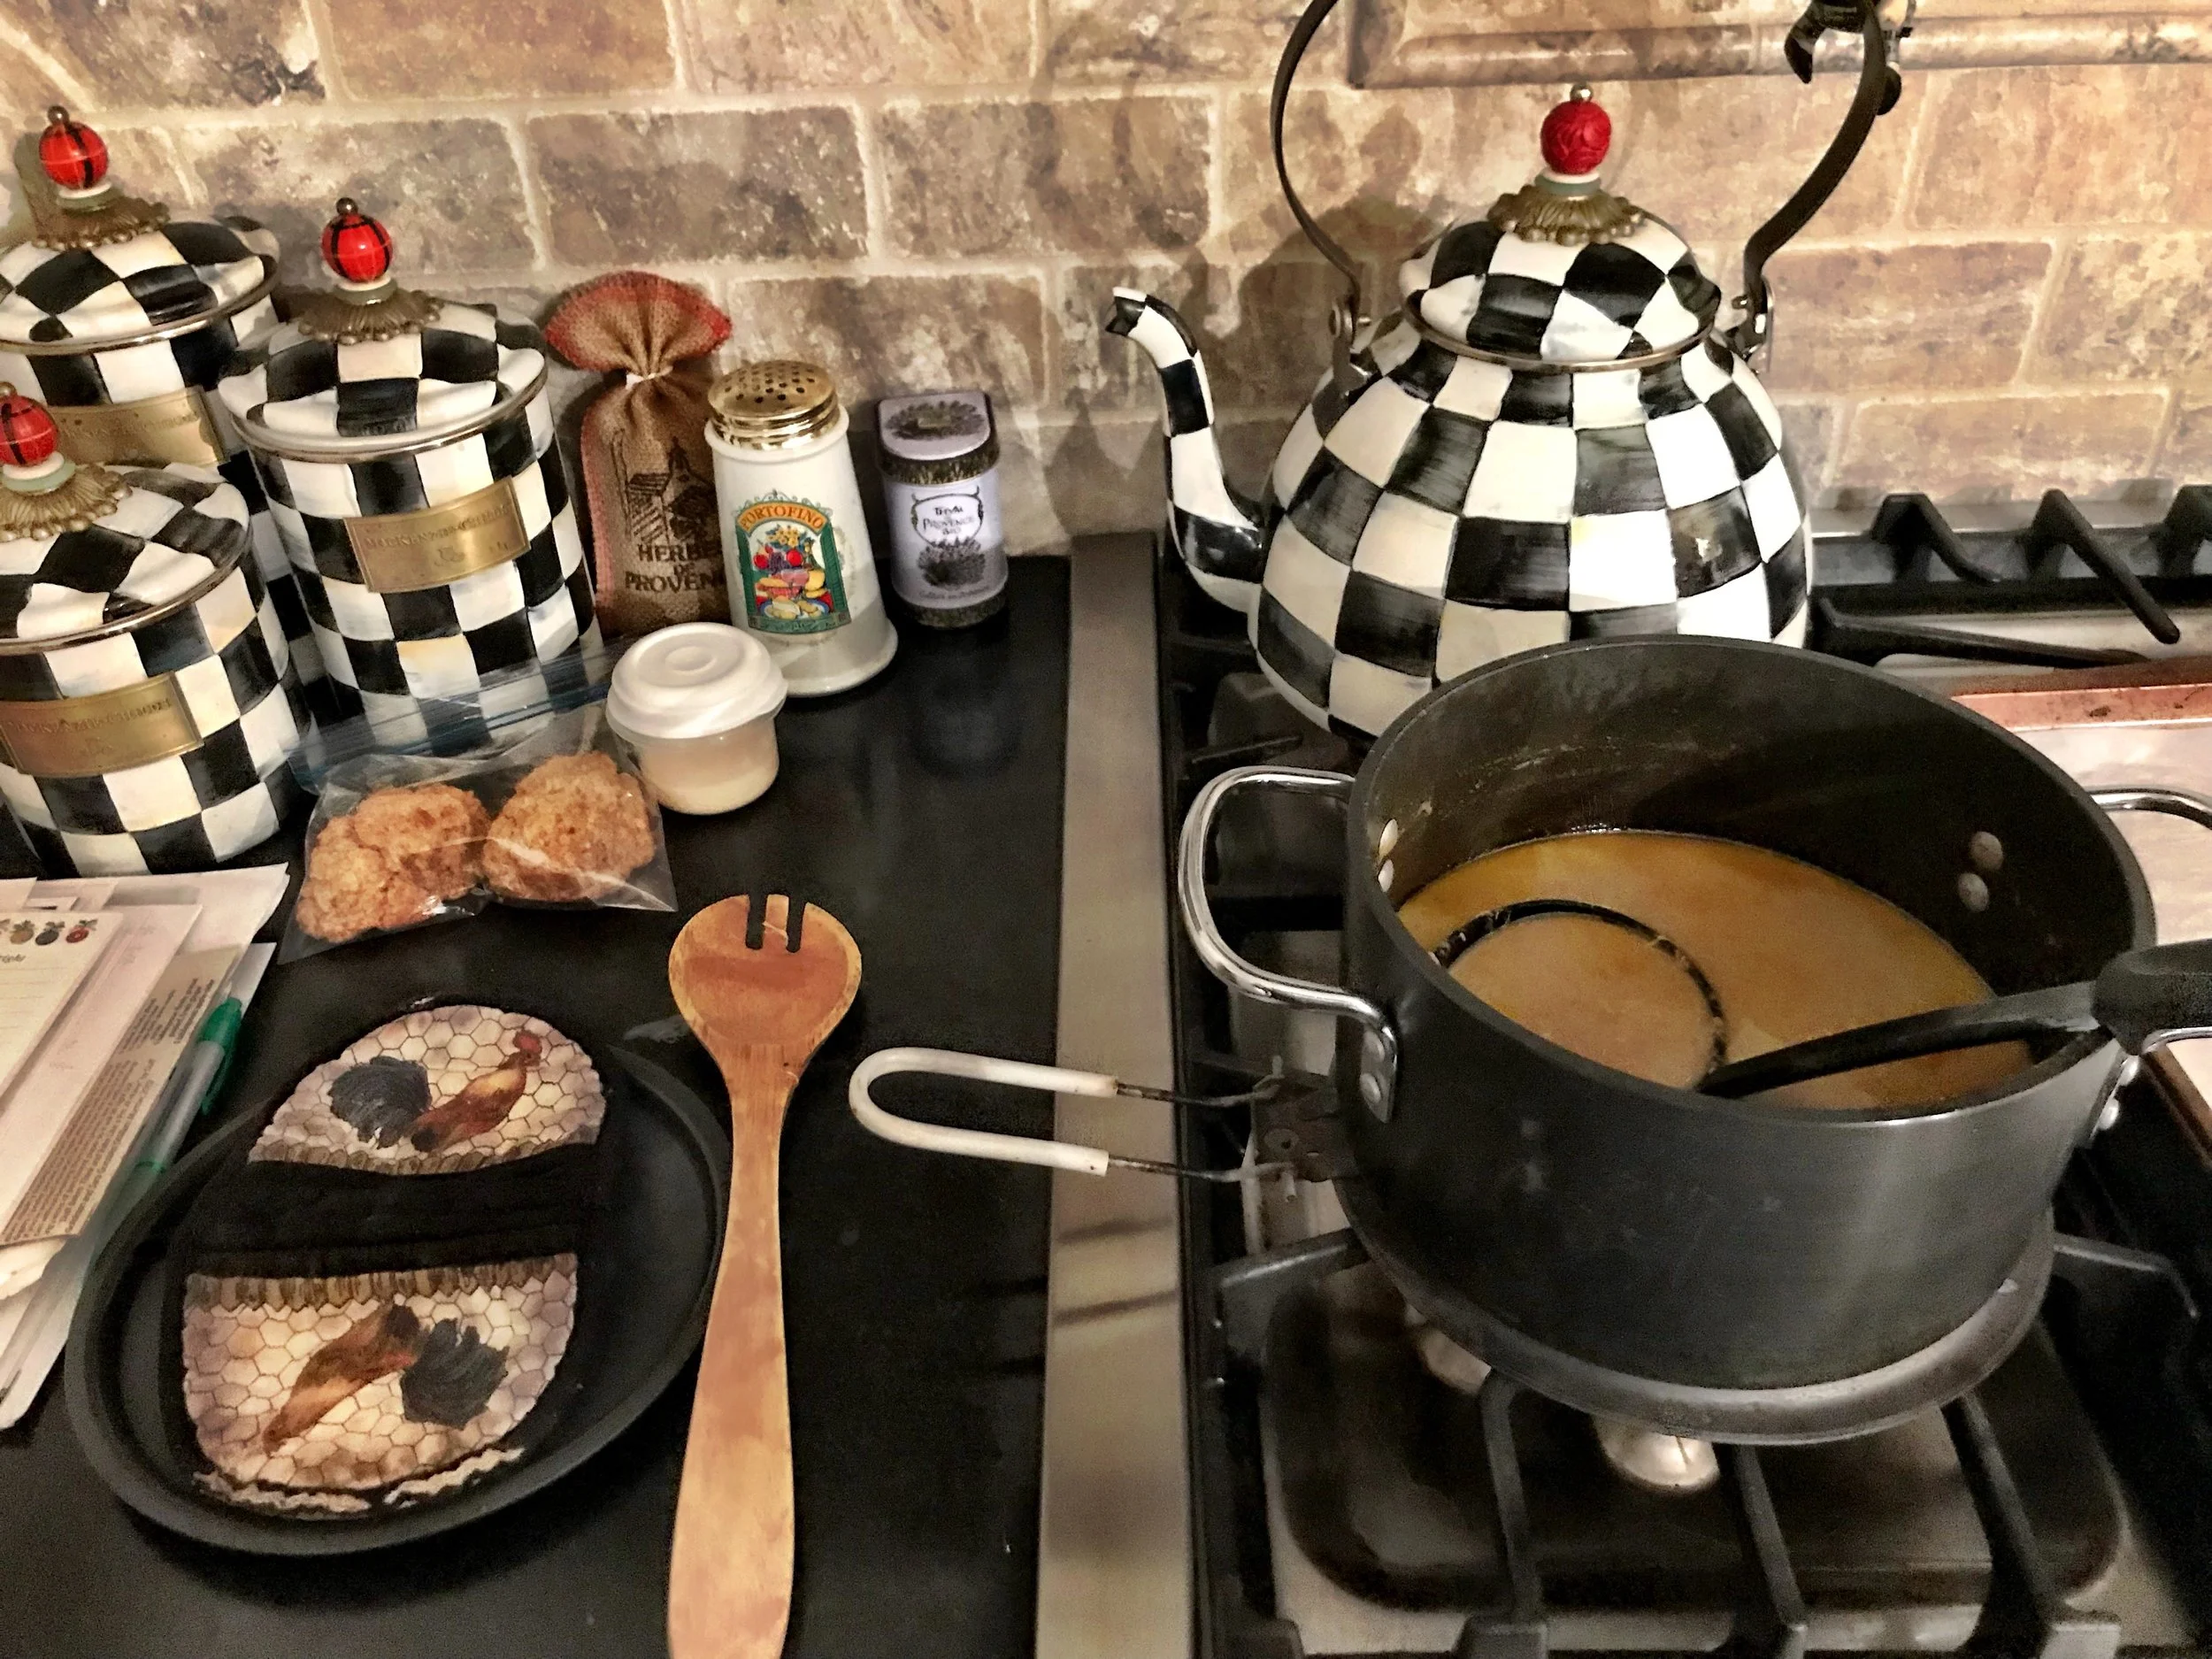
Some notes on the recipe: We used Bulleit Rye and E&J Brandy, which we had in our liquor cabinet. Duke whipped out the wire whisk on his KitchenAid stand mixer. And we followed Christina’s suggestions on the dairy, though the math hurt my brain: 1 cup heavy whipping cream and 1½ cups half and half (there are 2 cups in 1 pint). To dilute the mixture a bit, we added an additional 1 cup whole milk.
“It’s a bit of a fiddle to make,” Christina says, “but as you know, well worth it!” Indeed! –Wally
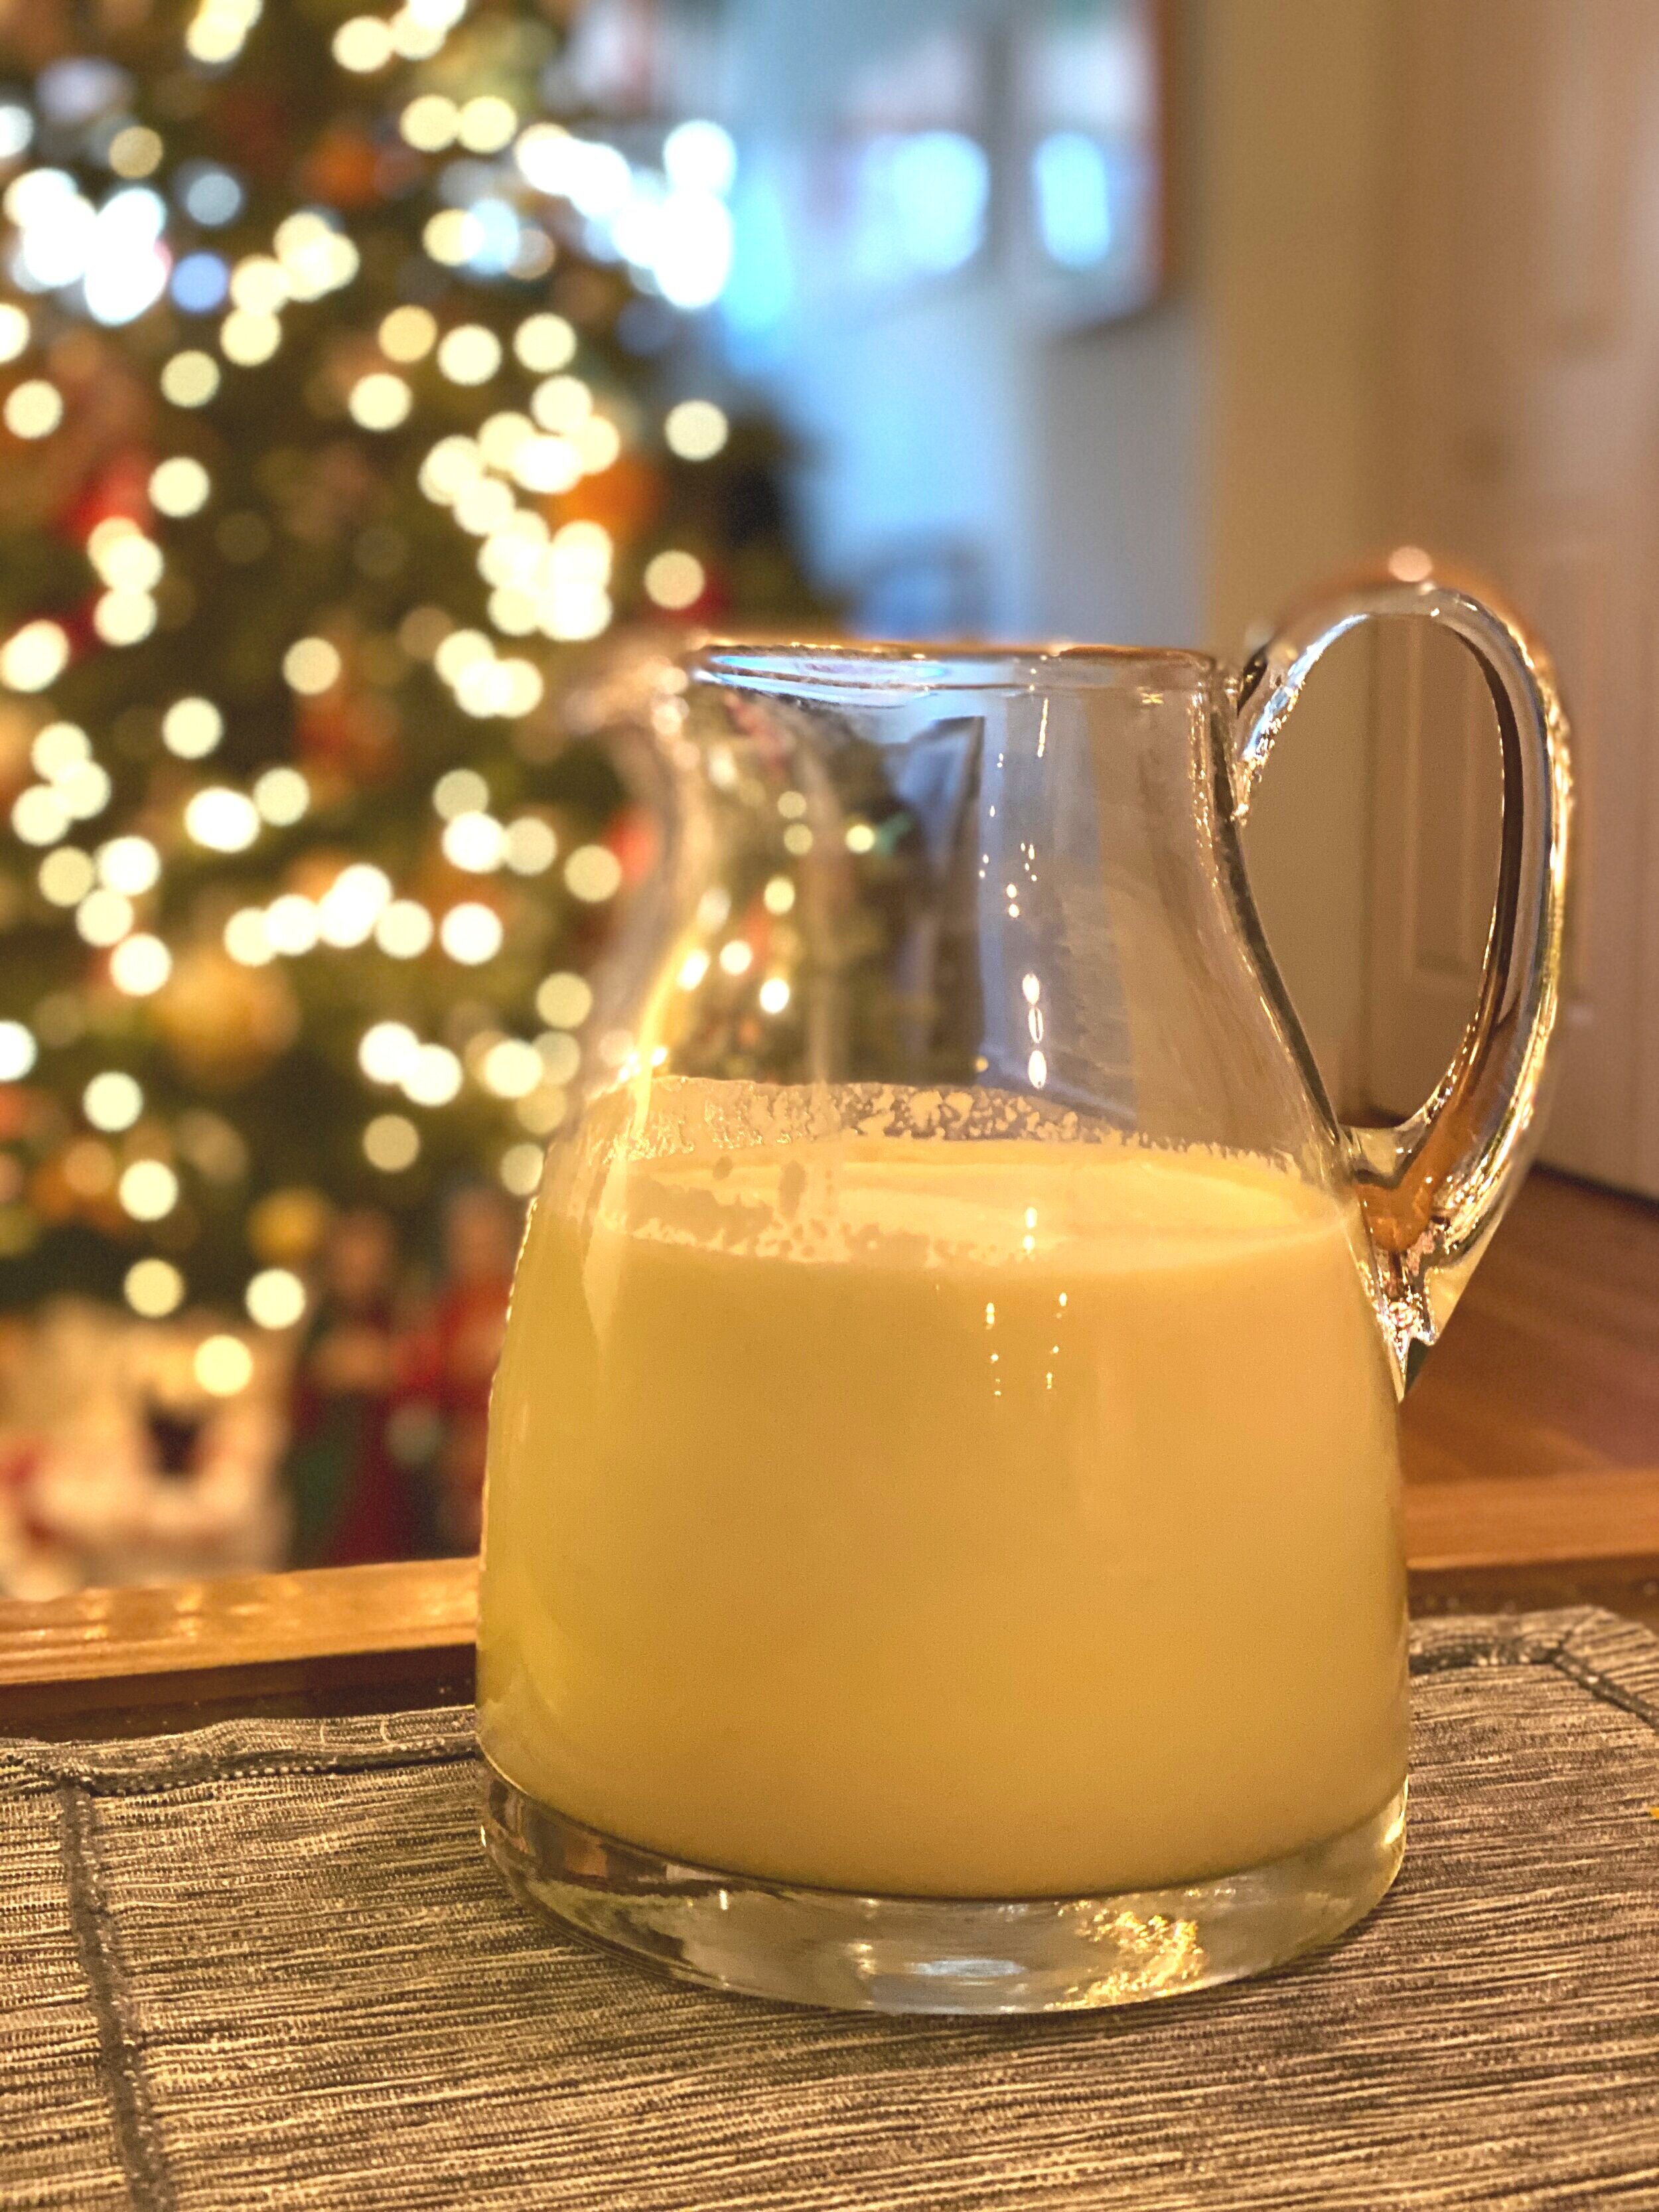
Wally and Duke worried they’d have too much for just the two of them. The pitcher didn’t last two days.
From Christina:
I have made this recipe many times, and in far greater amounts. This particular variation makes about 1 gallon. The trick is to make it at least two days before you plan to drink it, allowing the egg whites to break down while maintaining the lightness of the drink.
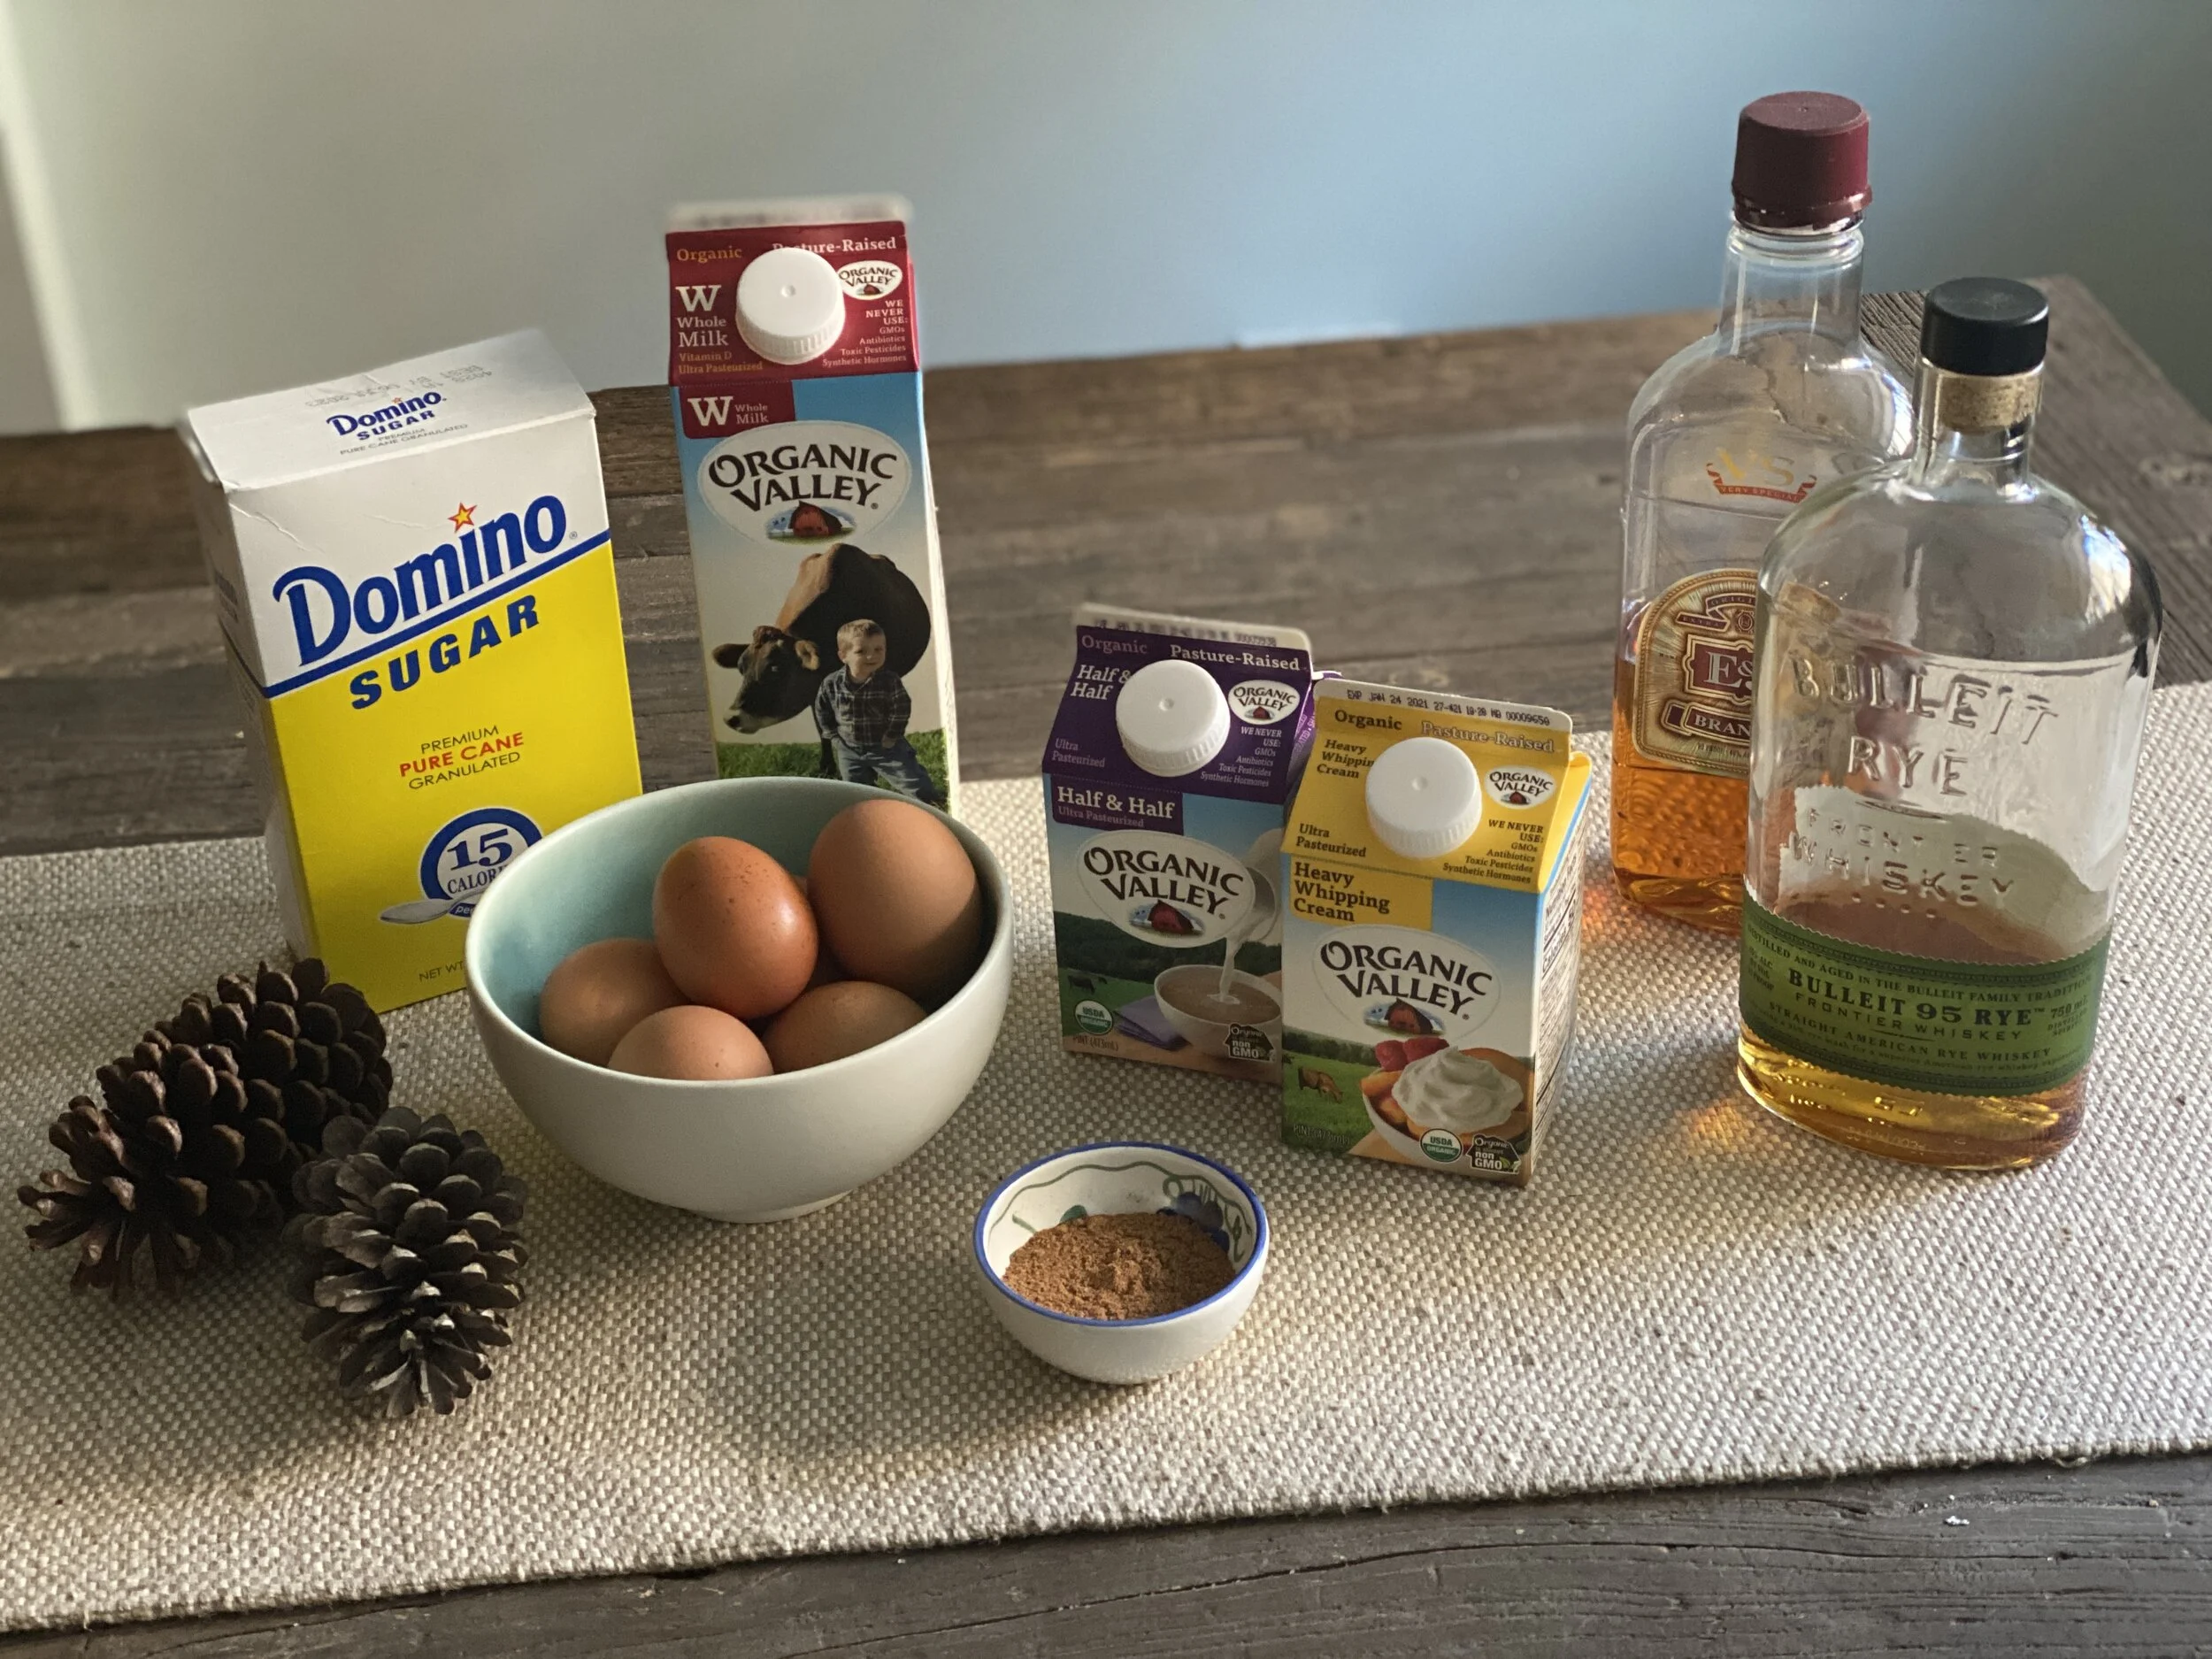
Lots of booze, eggs and dairy — here’s what you’ll need to make a pitcher of eggnog.
Eggnog Ingredients
6 eggs
6 tablespoons sugar
2 ounces rye whiskey (or rum if preferred)
12 ounces brandy (feel free to use a relatively cheap brand)
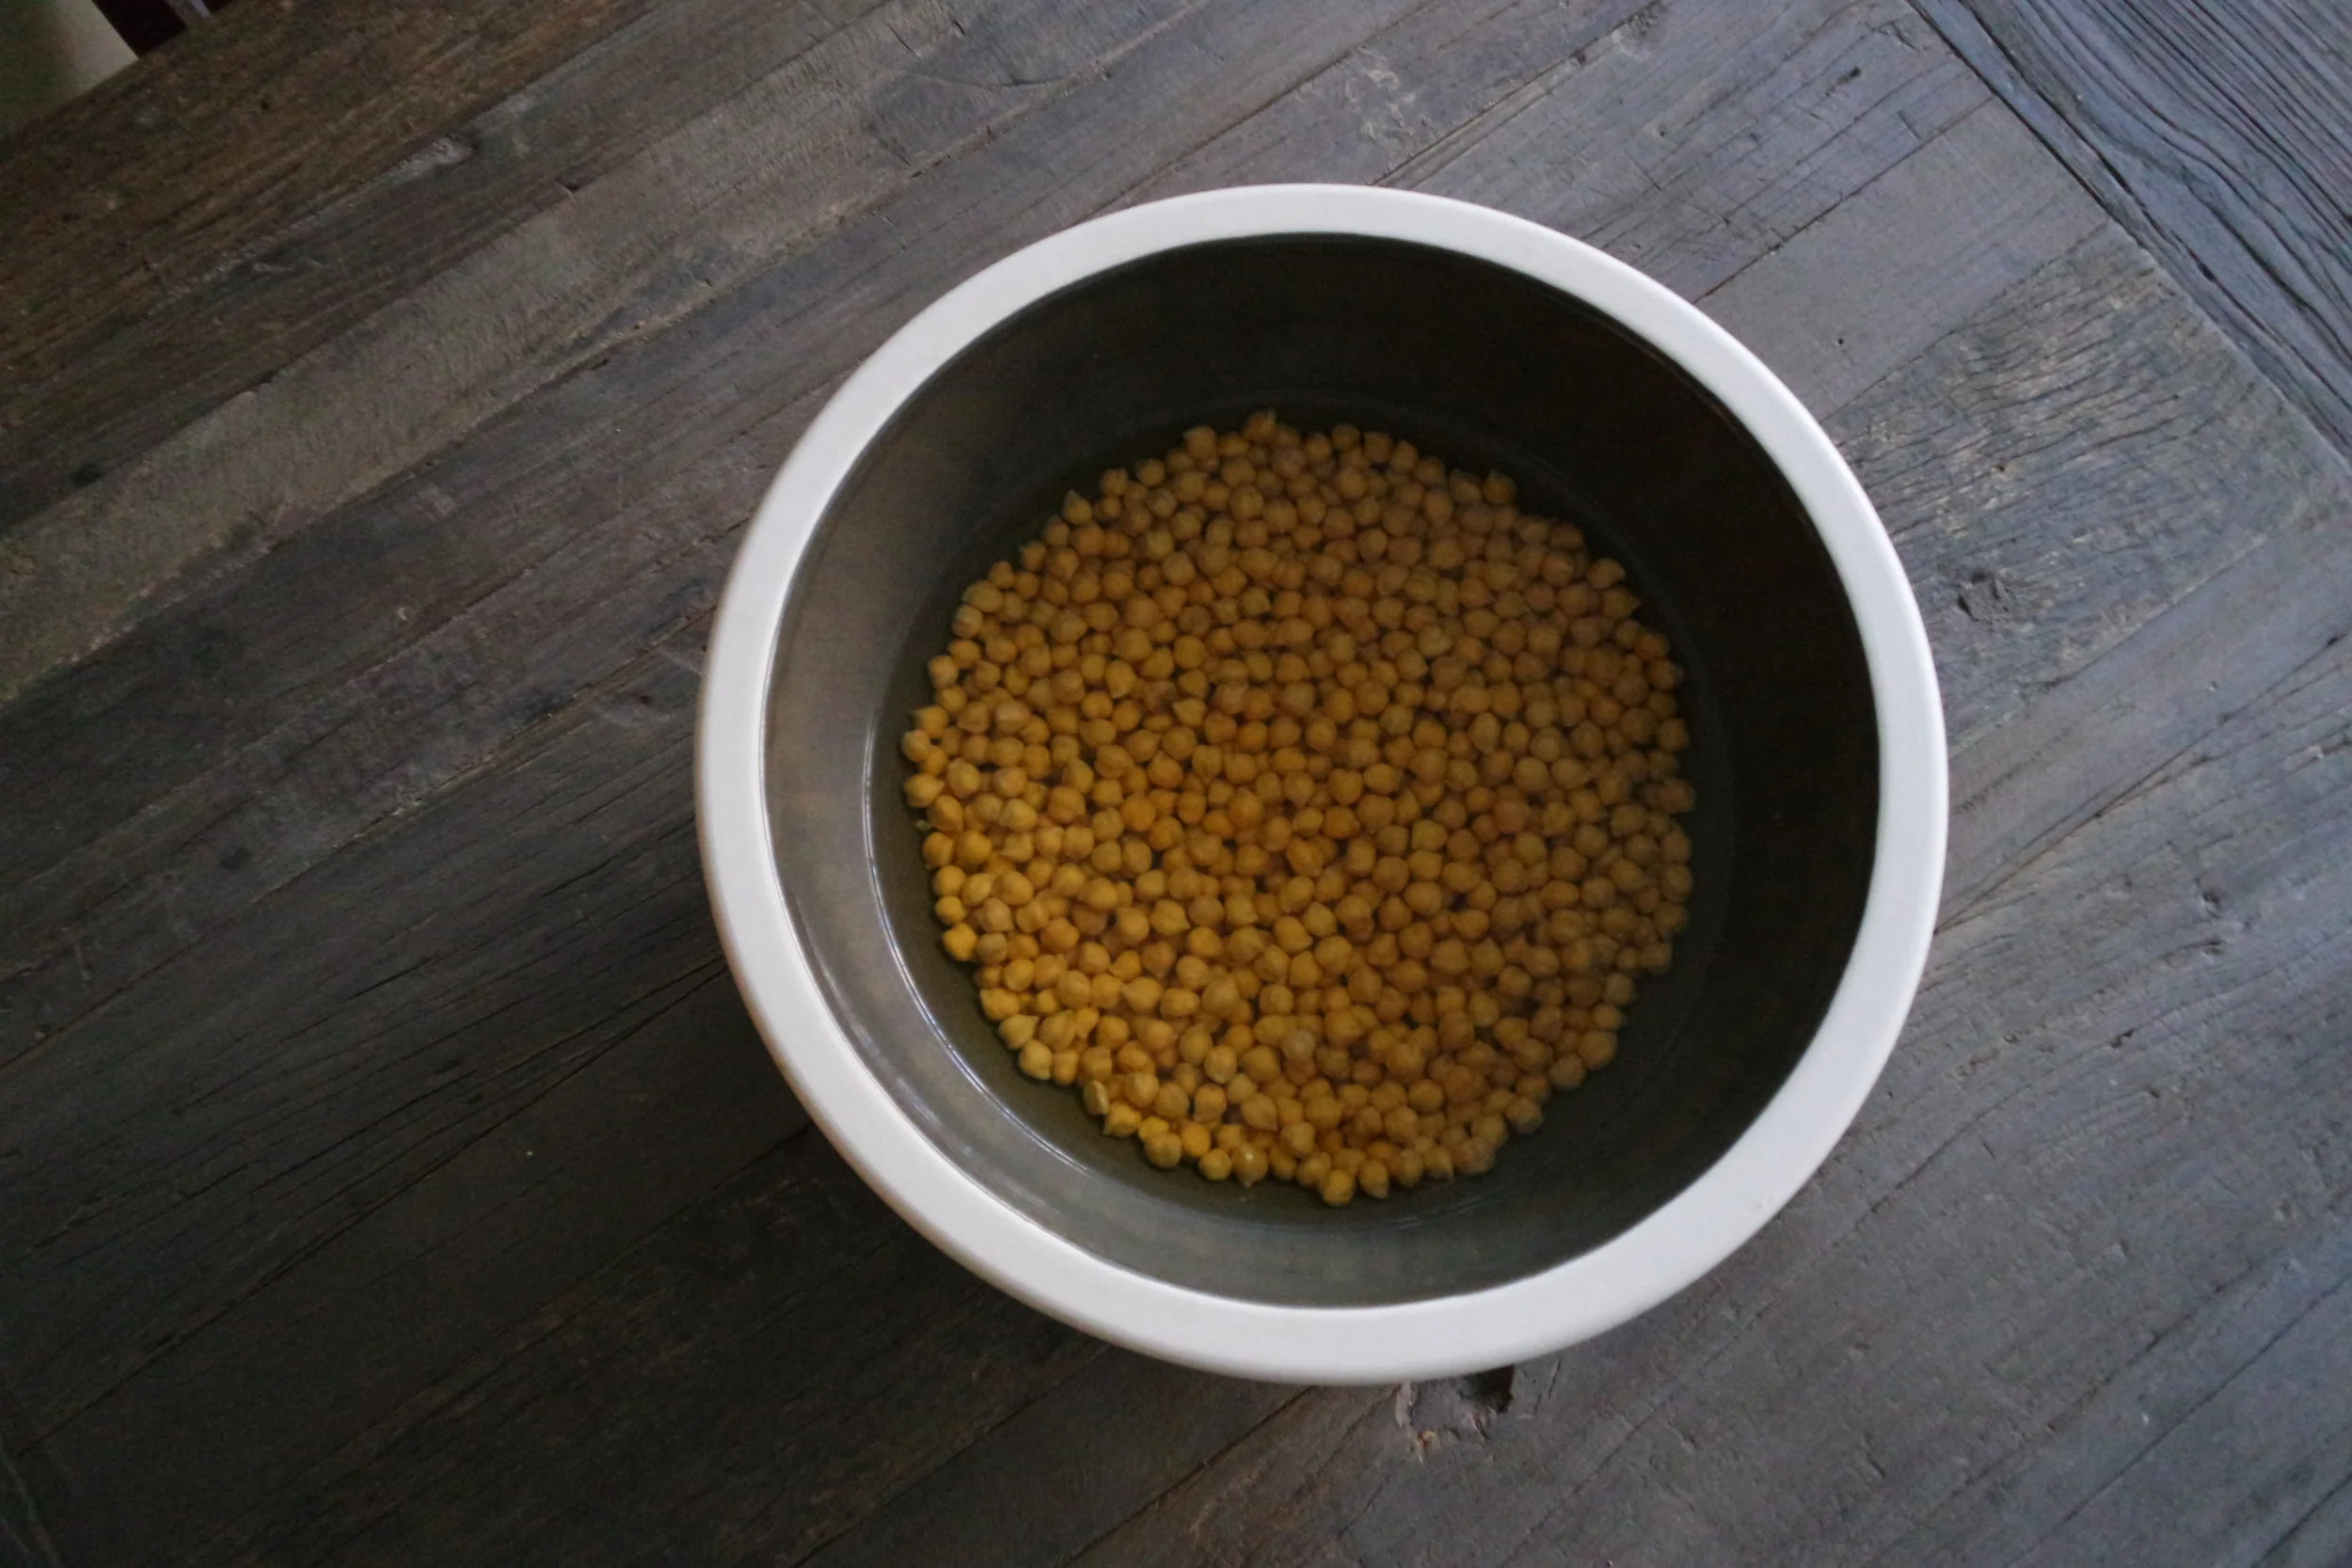
1¼ pints cream (this can be adjusted according to your taste — typically I use ½ a pint of whipping cream and half-and-half for the rest)
whole milk (as needed)
Nutmeg (freshly grated if possible, but pre-grated will work as well)
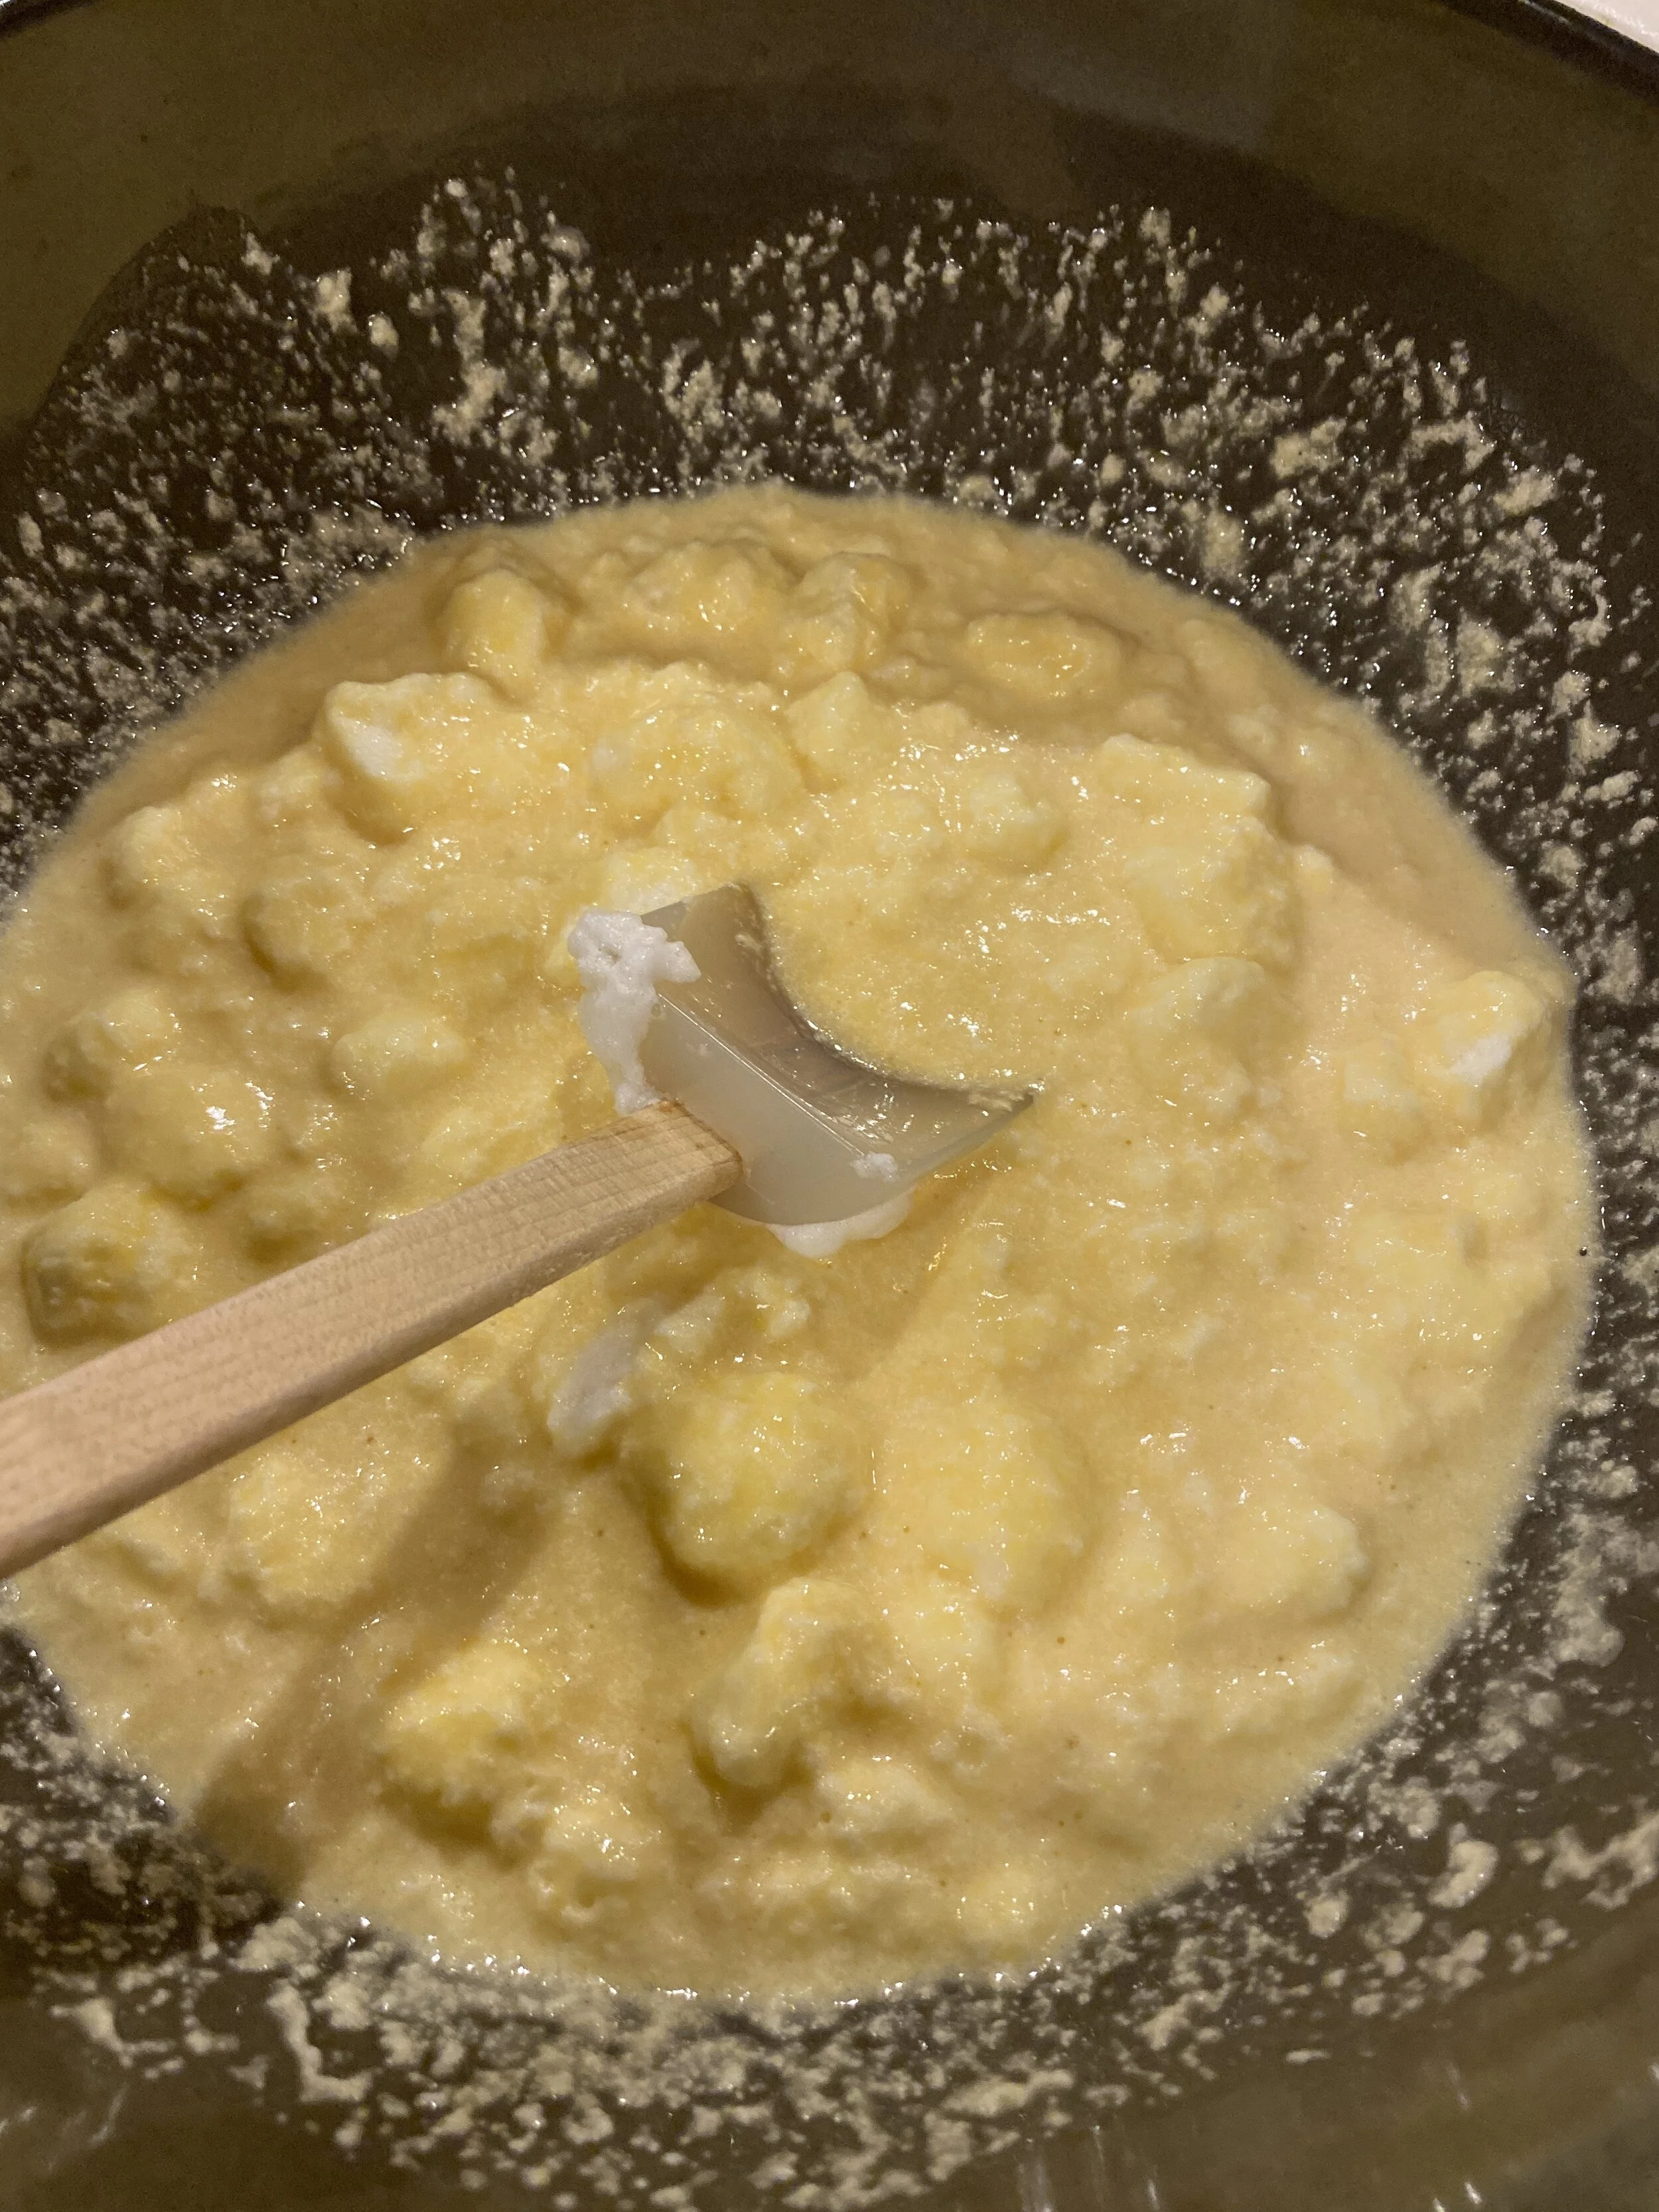
It’s certainly not the most appealing concoction to whip up. Just keep folding until those lumps are gone.
Directions
First, separate the eggs.
Beat the egg yolks very well. I use my KitchenAid.
Once the yolks are very well beaten, stir in the sugar until dissolved.
Then slowly stir in the alcohol.
Next, beat the whites to a stiff peak in a separate bowl.
Gently fold the whites into your boozy yolk mixture. Take your time doing this step, as the integrity of the whites is what lends the concoction its lovely airy texture.
Finally, gently stir in the cream mixture.
Of course, you will now have to sample! If your mixture seems too thick or too boozy, add whole milk.
Decant into glass containers and refrigerate (or stick outside in a snowbank, as we usually do in Canada).
Gently stir the mixture at least once a day. The egg white clouds will initially float to the top but will slowly disintegrate into the mixture.
On about the third day, it should be ready to drink. You’ll need a wide-mouth pitcher because it is too thick with bits of egg white. Later, I usually pour it into empty booze bottles that have a bit wider necks, like rum bottles.
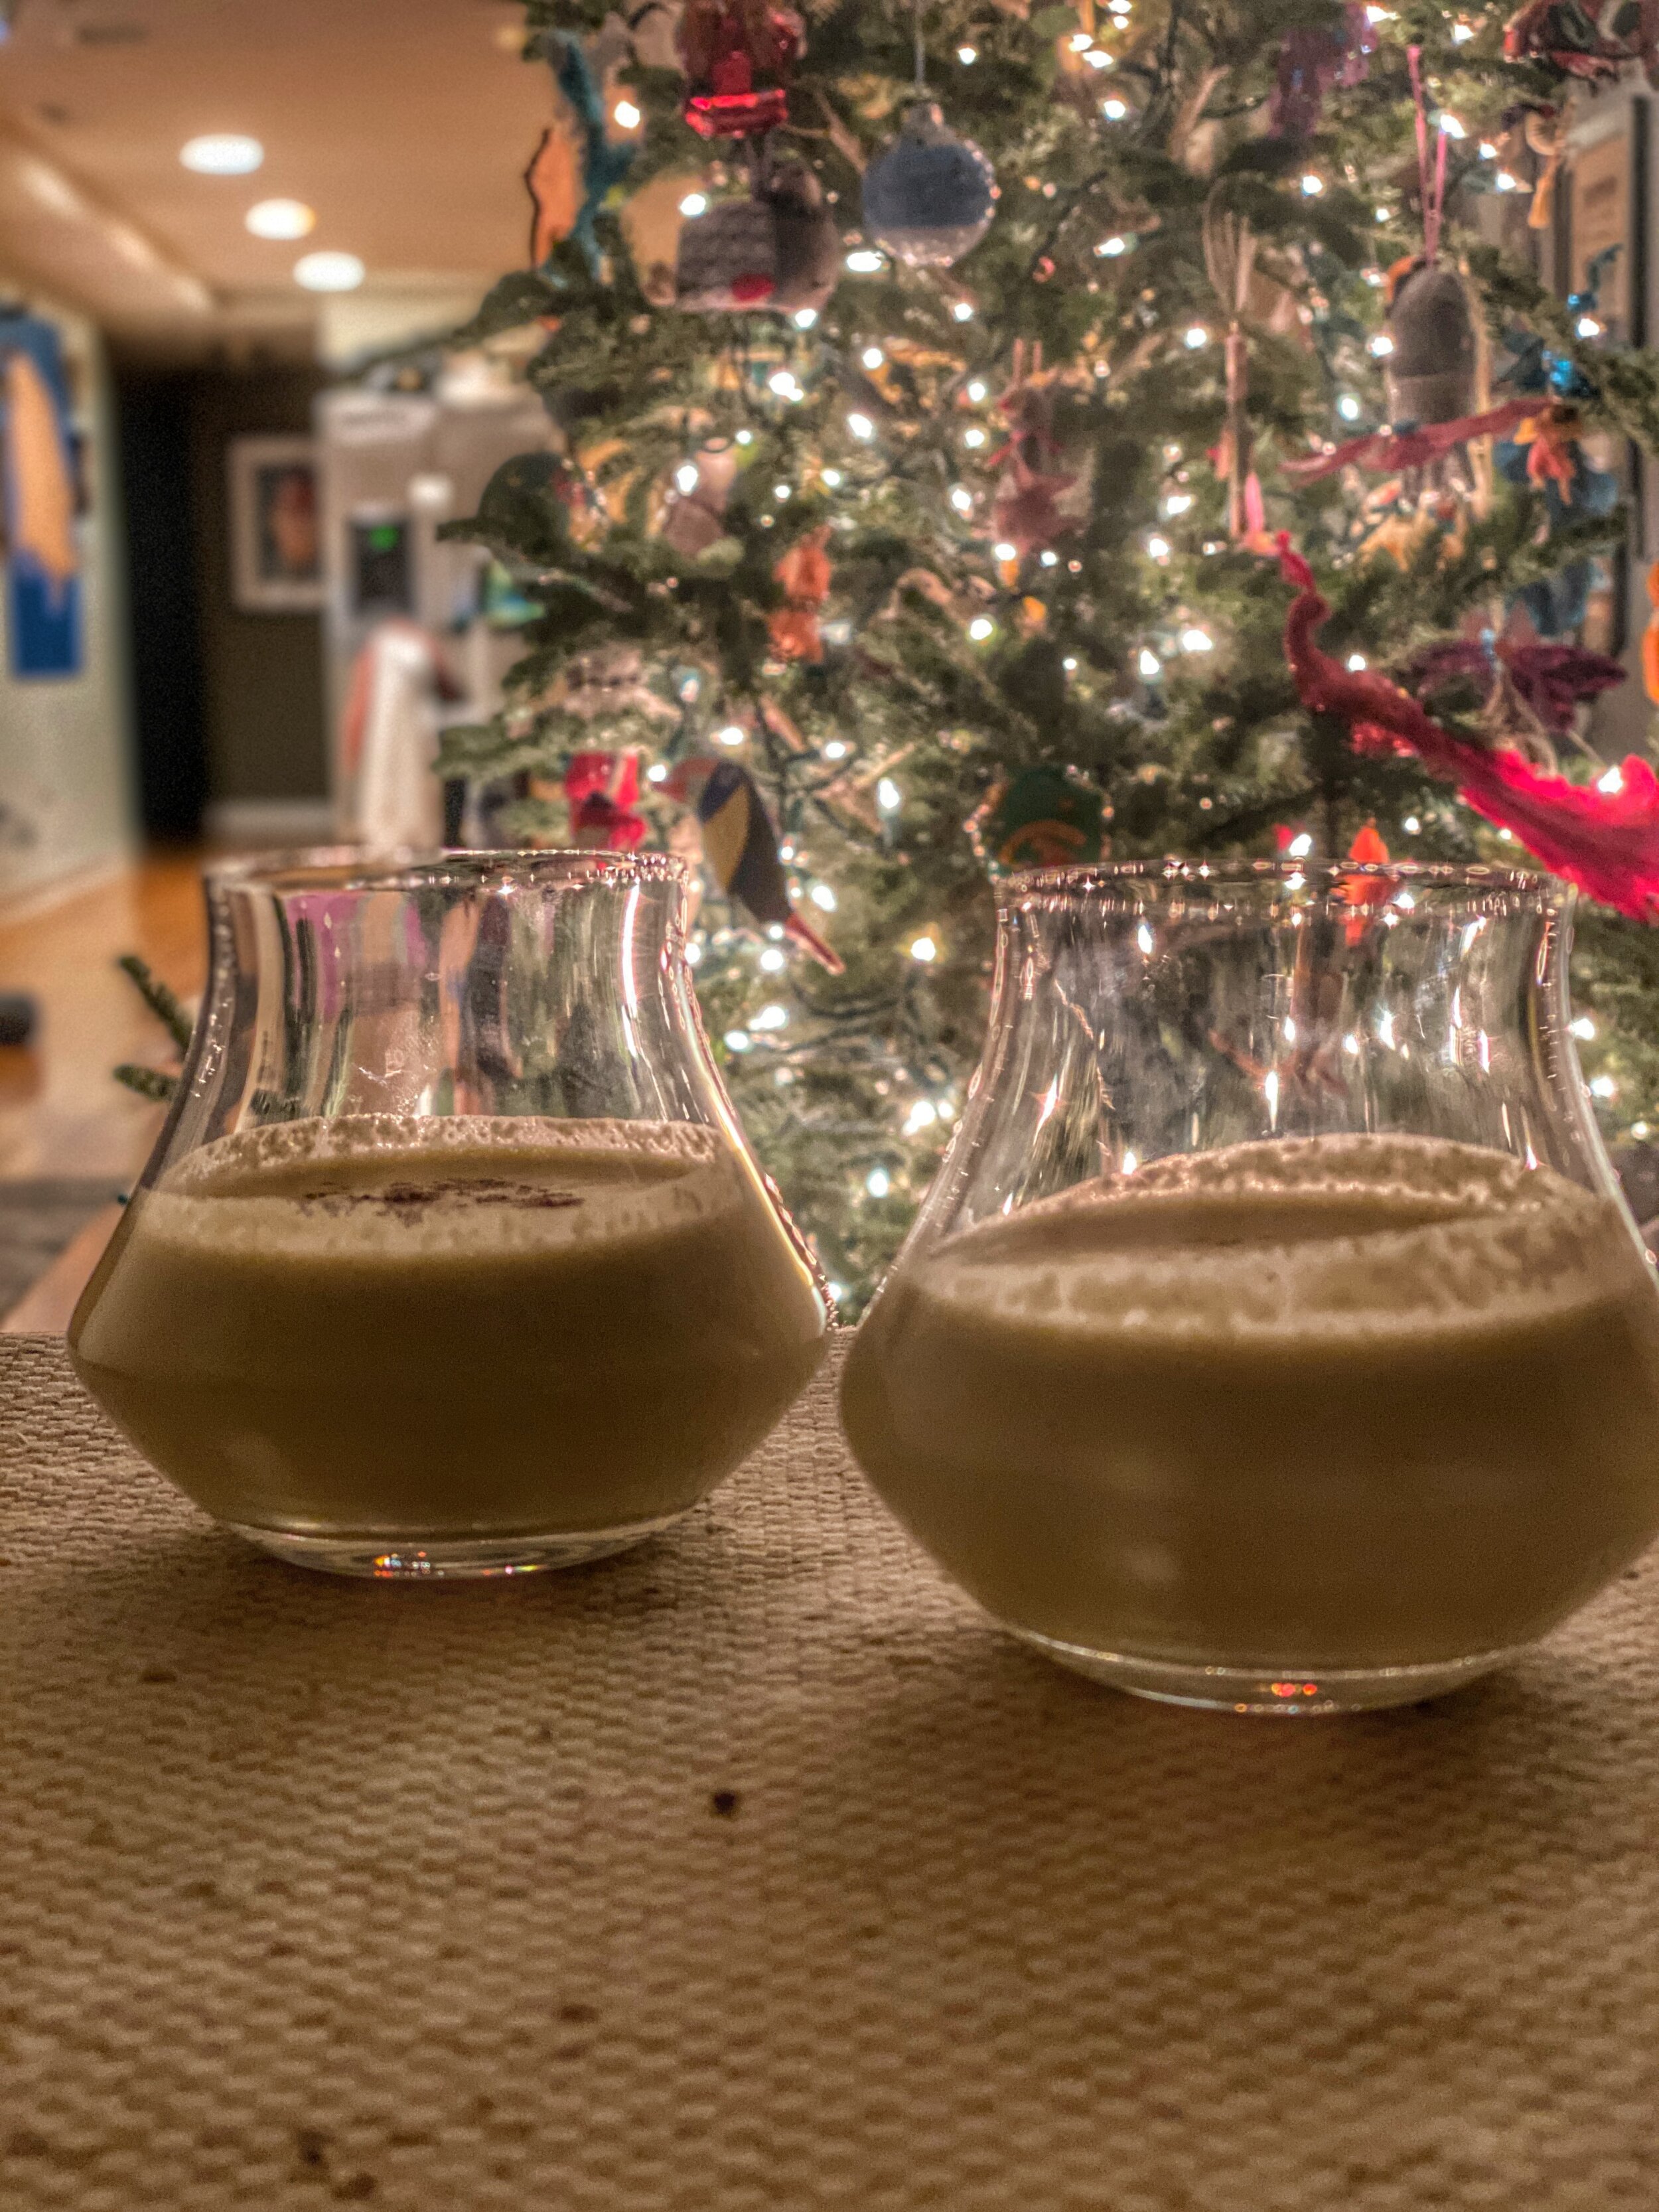
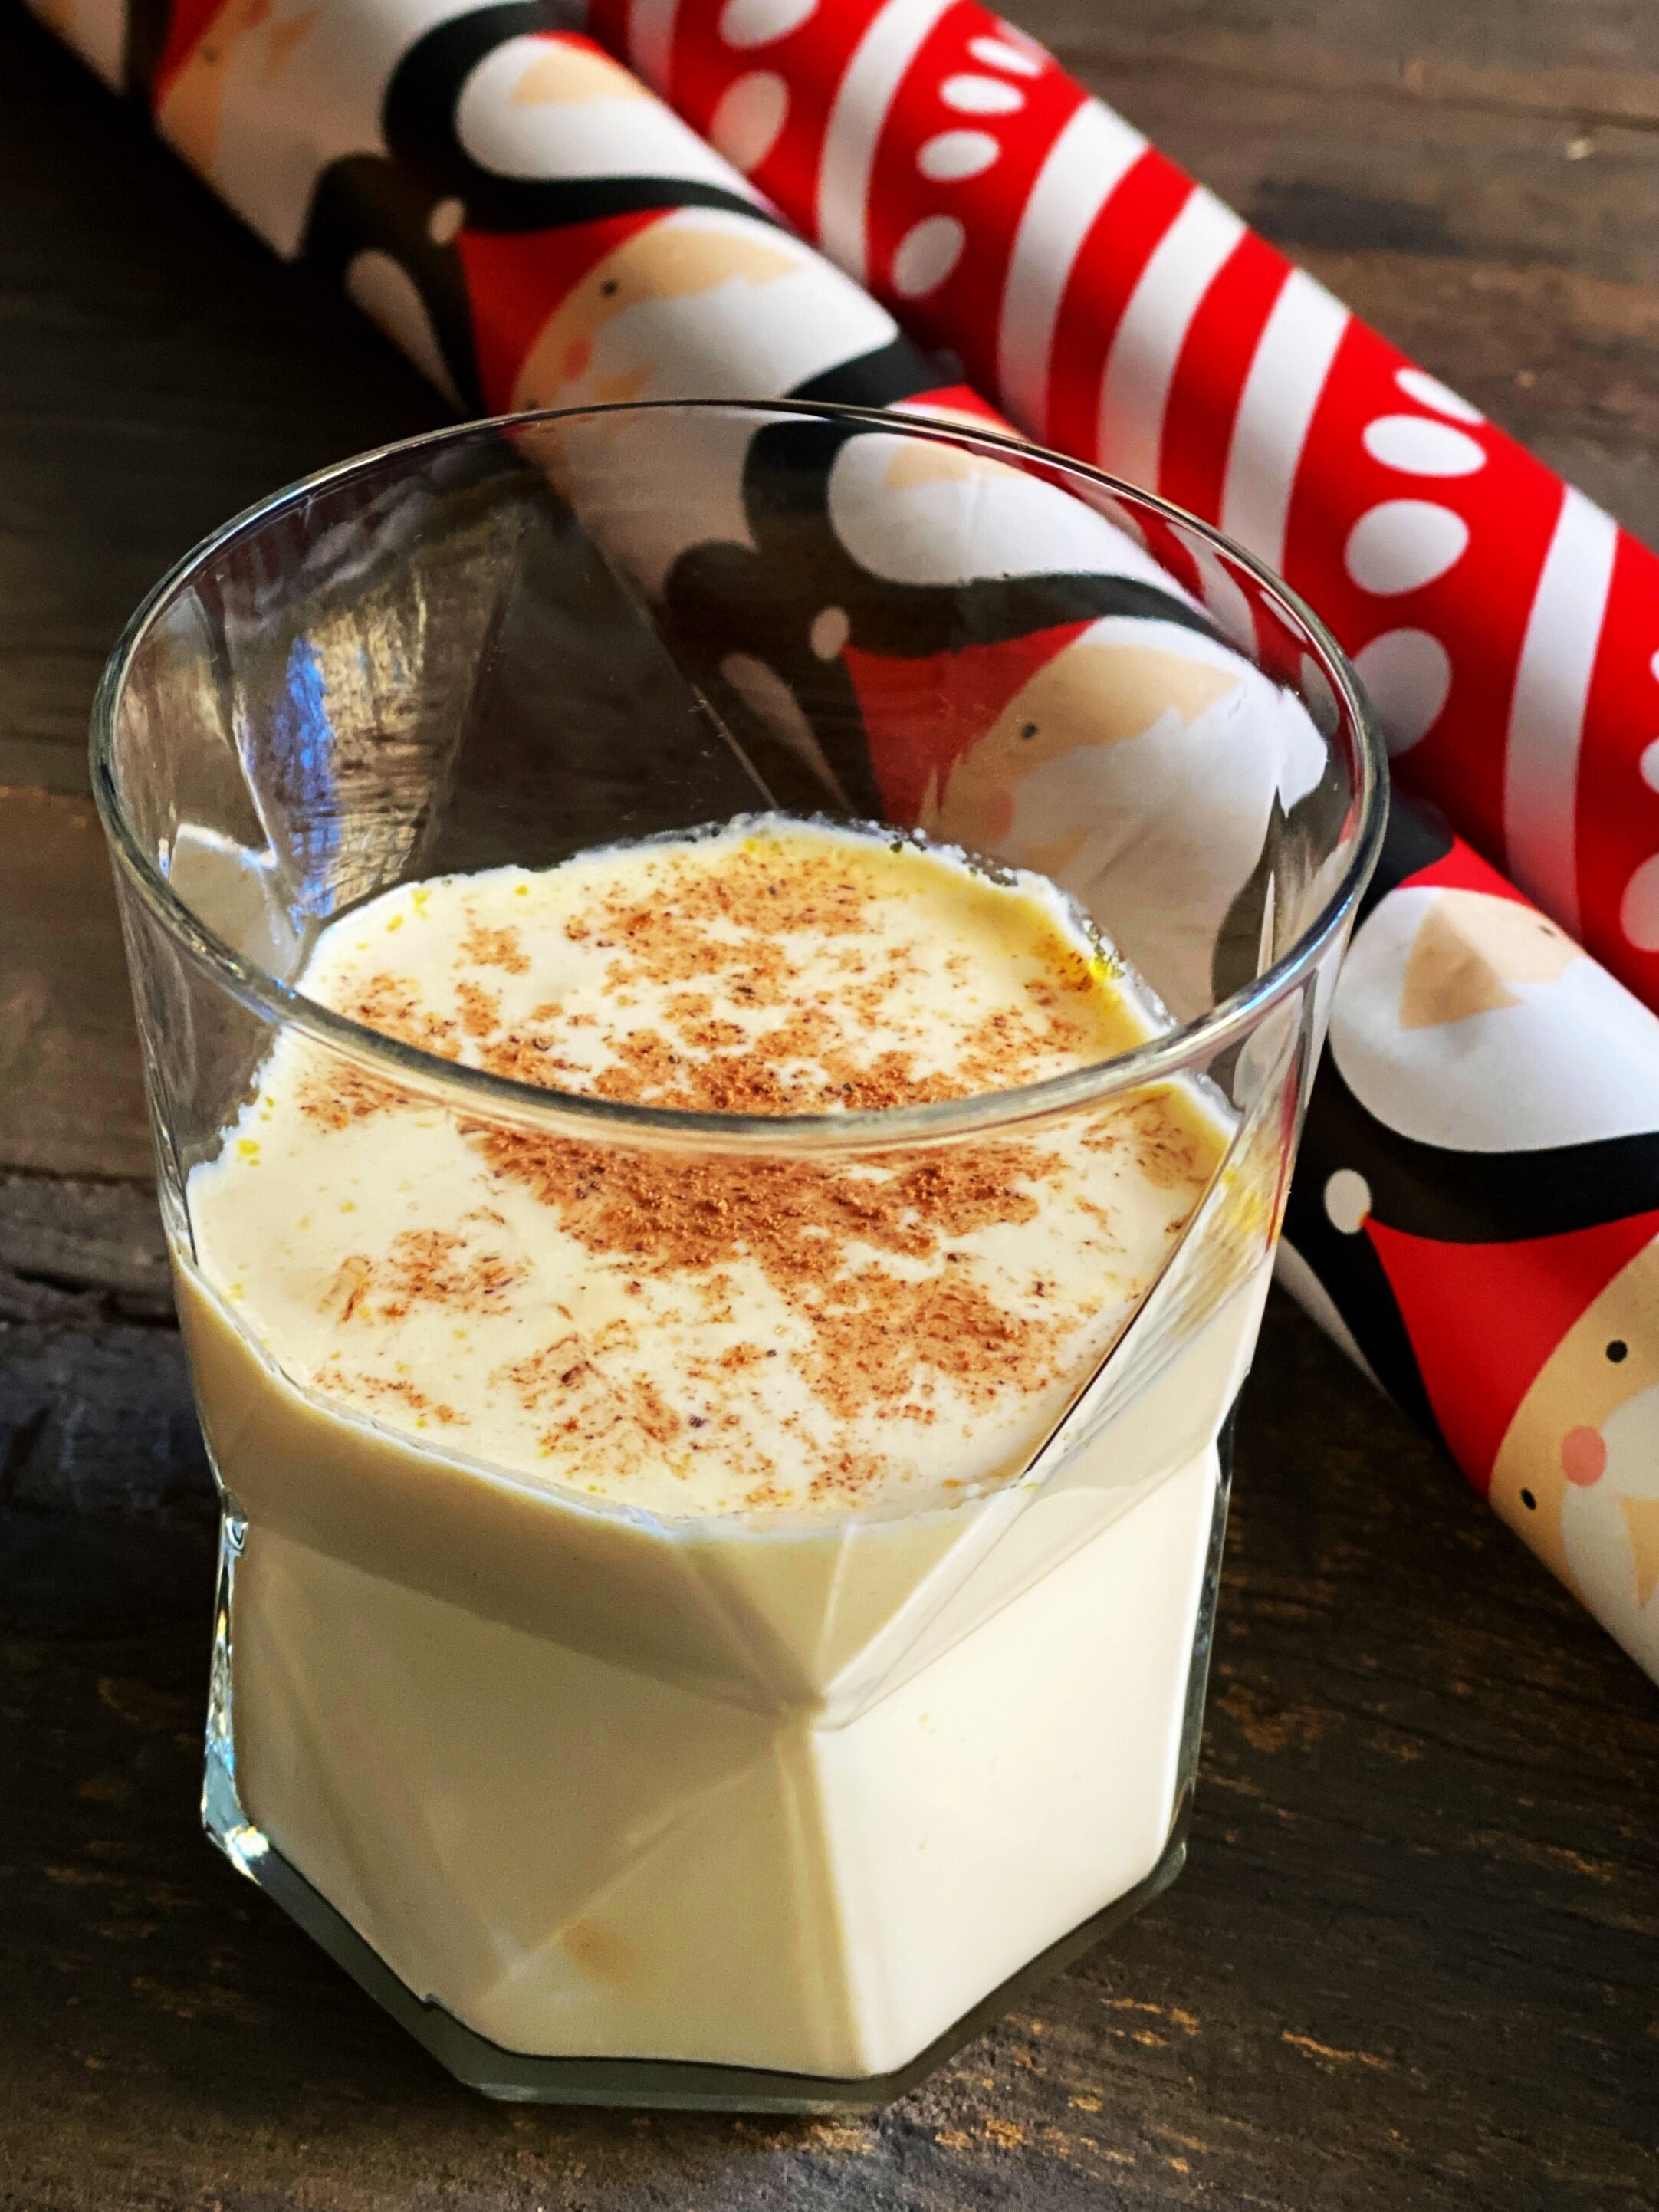
Pour out into festive glasses and top with grated nutmeg.

We think Santa would prefer boozy eggnog over milk with his cookies.
Happy Holidays!