NEPAL

How to Prepare for the Manaslu Circuit Trek (Without Becoming a Fitness Freak)

You don’t need to be an elite athlete to trek around Manaslu. Here’s how to build the endurance, strength and stamina you’ll need before hitting the trail.
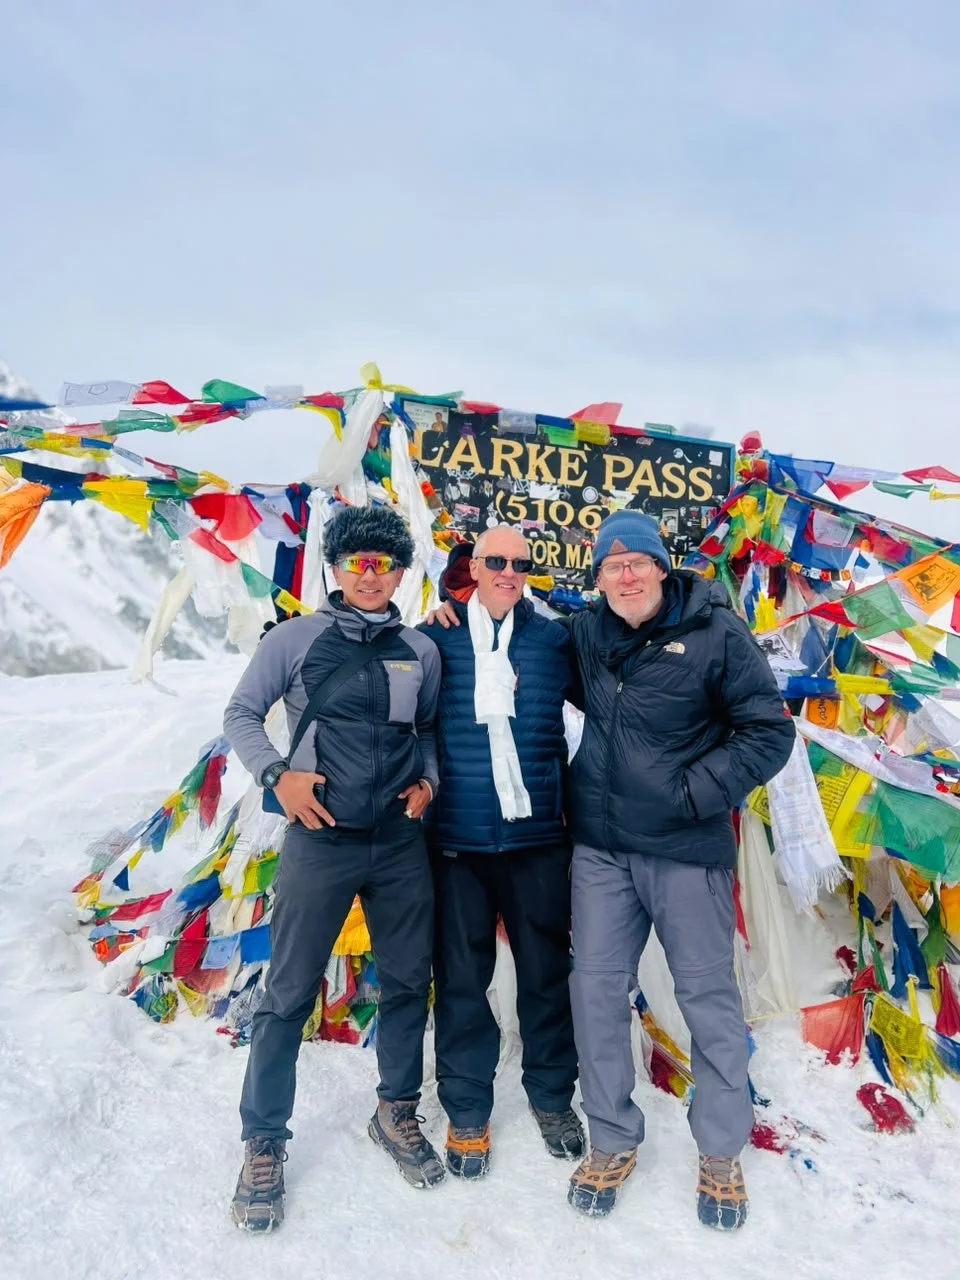
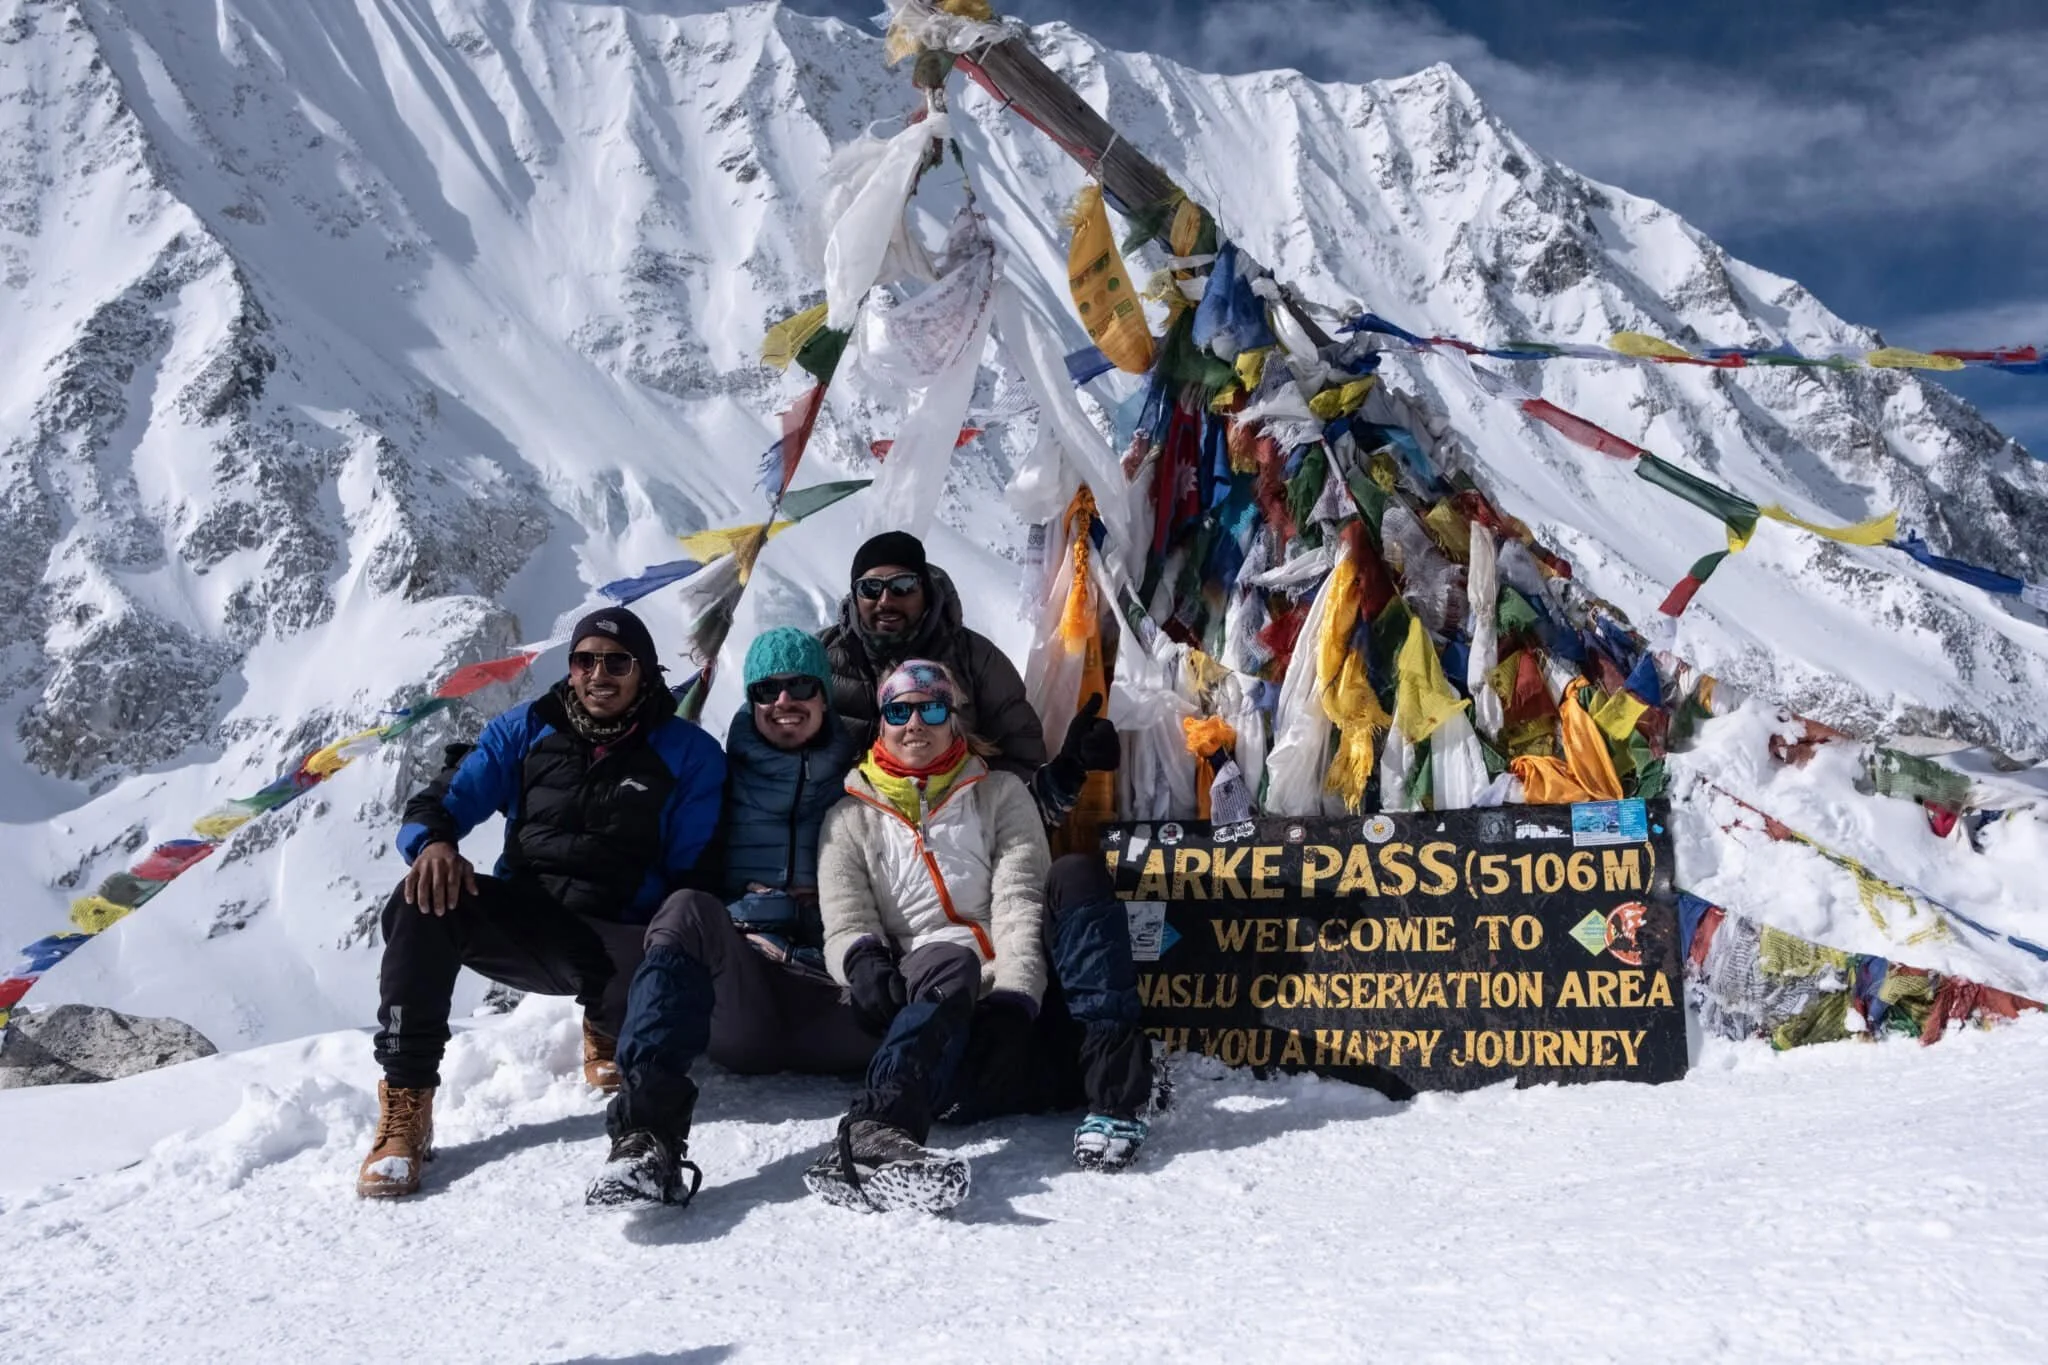
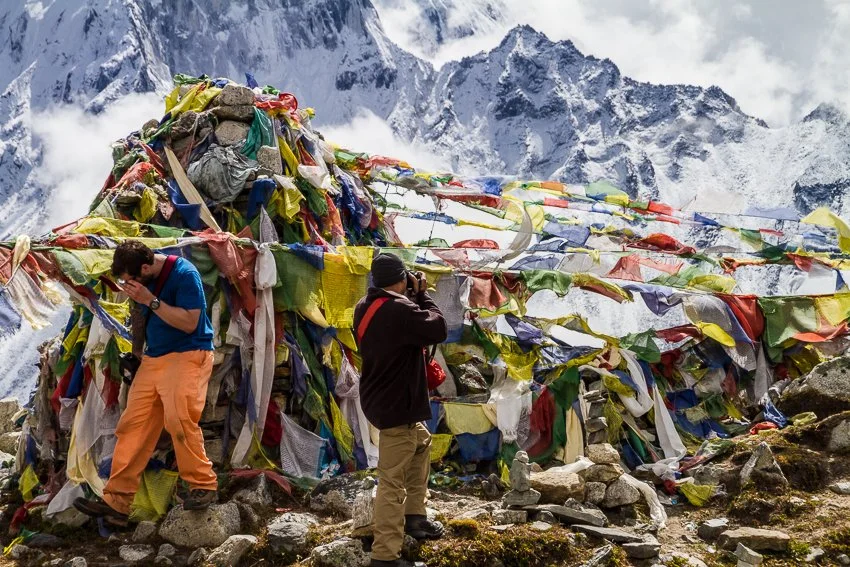
Three men stand in the snow by the colorful prayer flags at Larke La Pass in Nepal

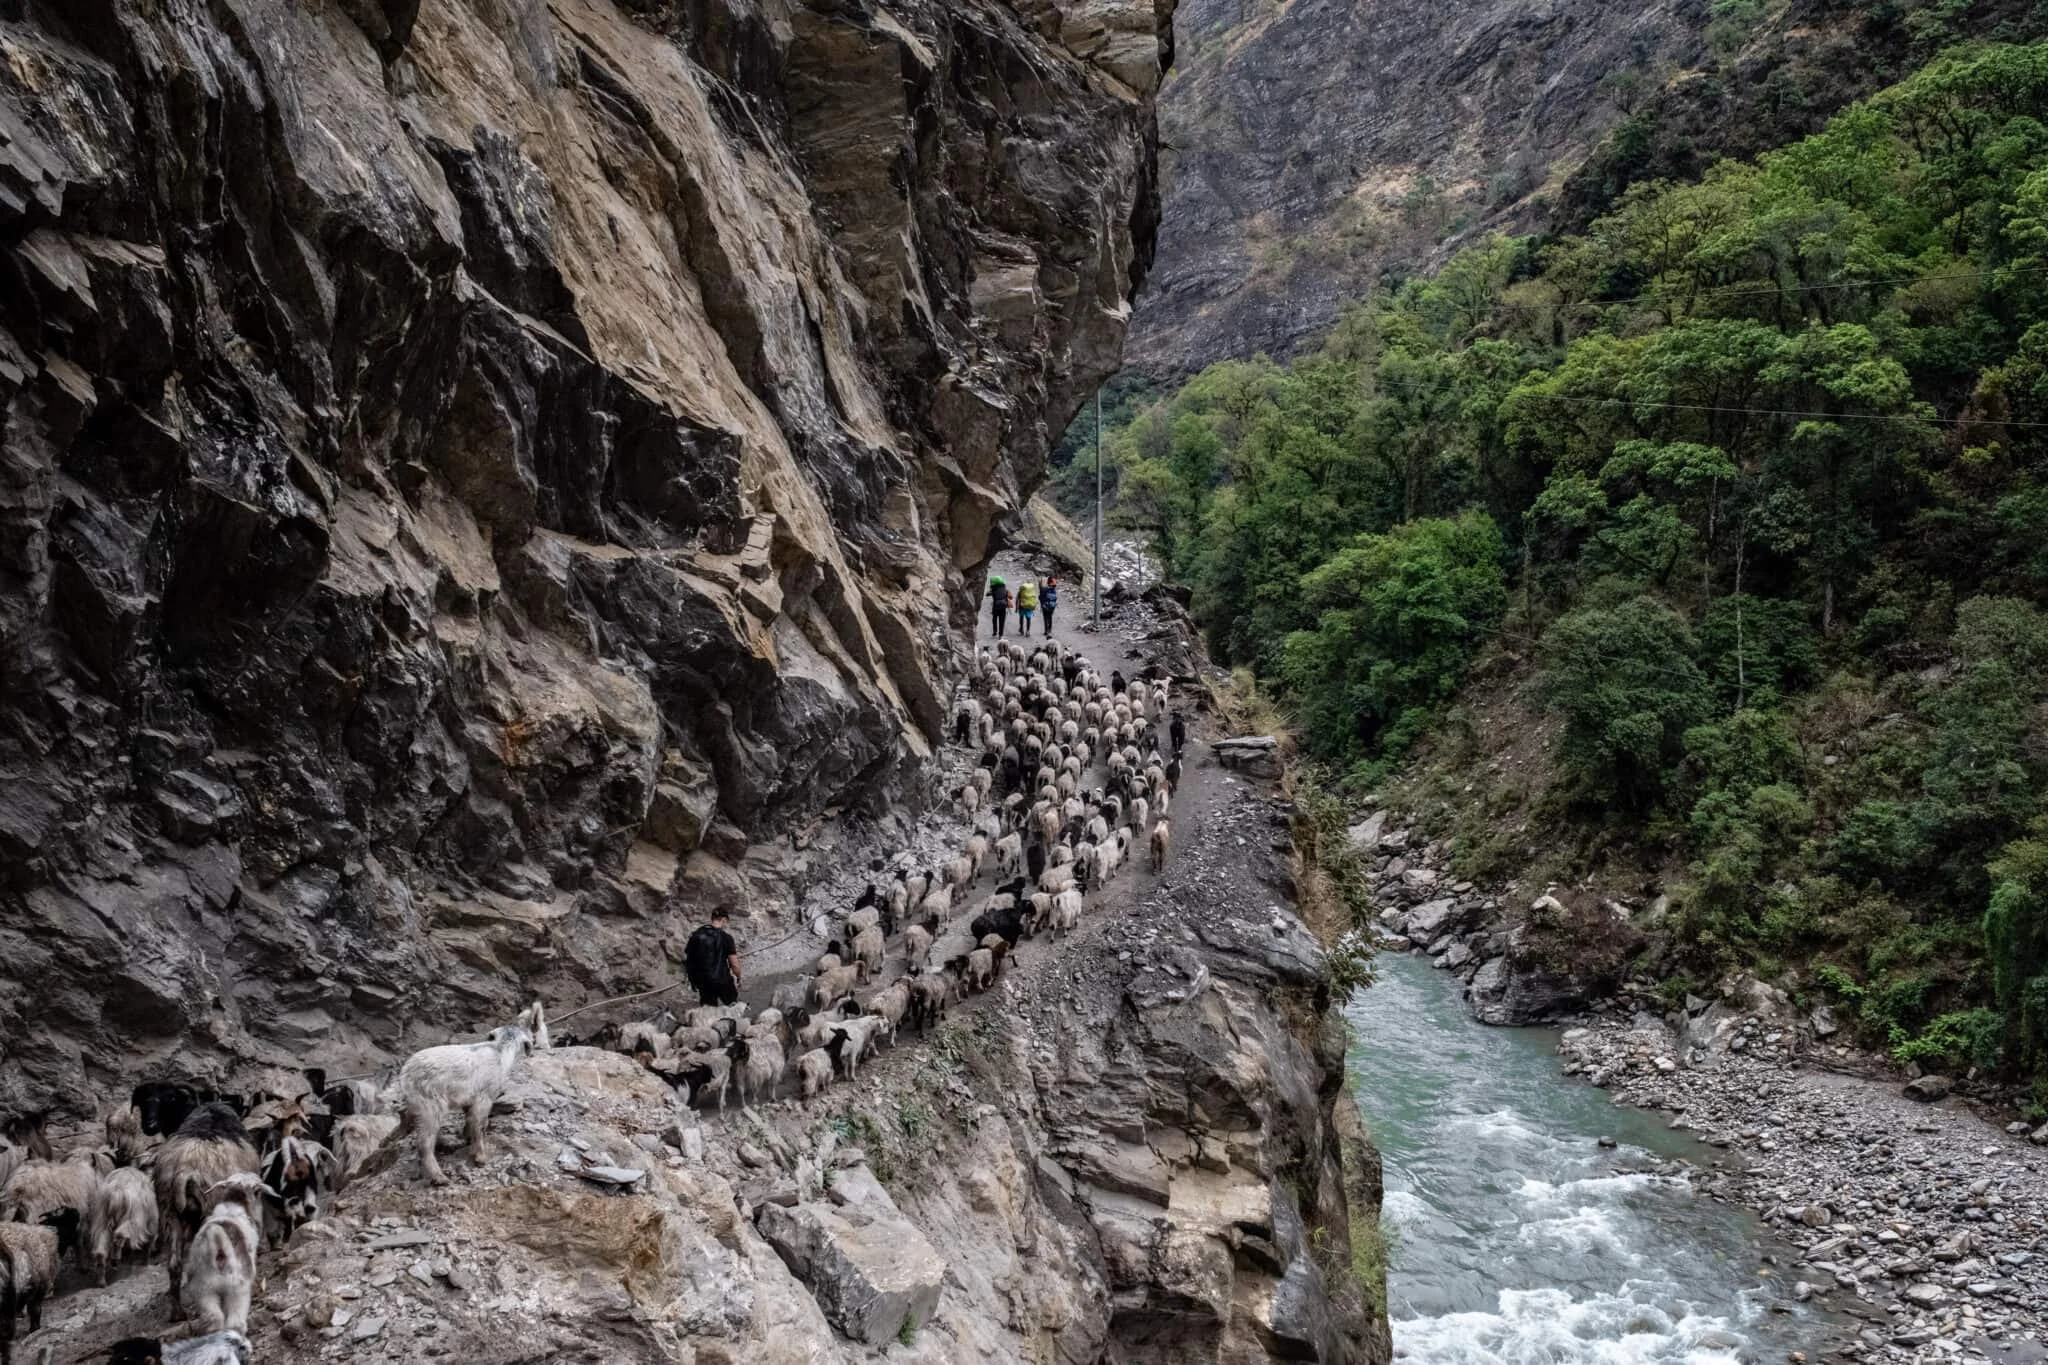
The Manaslu Circuit trek in Nepal has all the ingredients of a Himalayan epic: remote mountain villages, swaying suspension bridges, forests that give way to stark alpine landscapes and, looming over it all, 26,781-foot (8,163-meter) Mount Manaslu, the eighth-highest mountain on Earth. 

It’s exactly the sort of experience that makes Nepal one of the world’s most underrated adventure travel destinations — especially once you venture beyond Everest. Of course, getting that far off the beaten path requires some serious legwork.

Like Larkya La. At 16,929 feet (5,160 meters), Larkya La Pass is the literal and figurative high point of the trek. By the time you reach it, you’ll have spent days steadily gaining elevation, sleeping in increasingly remote villages and discovering that what looked like a perfectly reasonable incline from a distance is, in fact, another freakin’ hill.

The good news? You don’t need technical climbing skills — or the physique of someone who spends weekends dangling from cliffs — to complete the Manaslu Circuit trek.

You do, however, need stamina.

Most itineraries take around 13 to 16 days, with six to eight hours of walking on many days. The challenge isn’t one heroic burst of athleticism. It’s getting up the next morning and doing it again.

And again.

At altitude.

That kind of stamina is one of the biggest things to consider when planning an Everest Base Camp trek — and it matters just as much on the Manaslu Circuit.

Here’s how to prepare your body for the Manaslu Circuit so you can spend more time admiring the Himalayas and less time wondering why you thought this was a good idea.
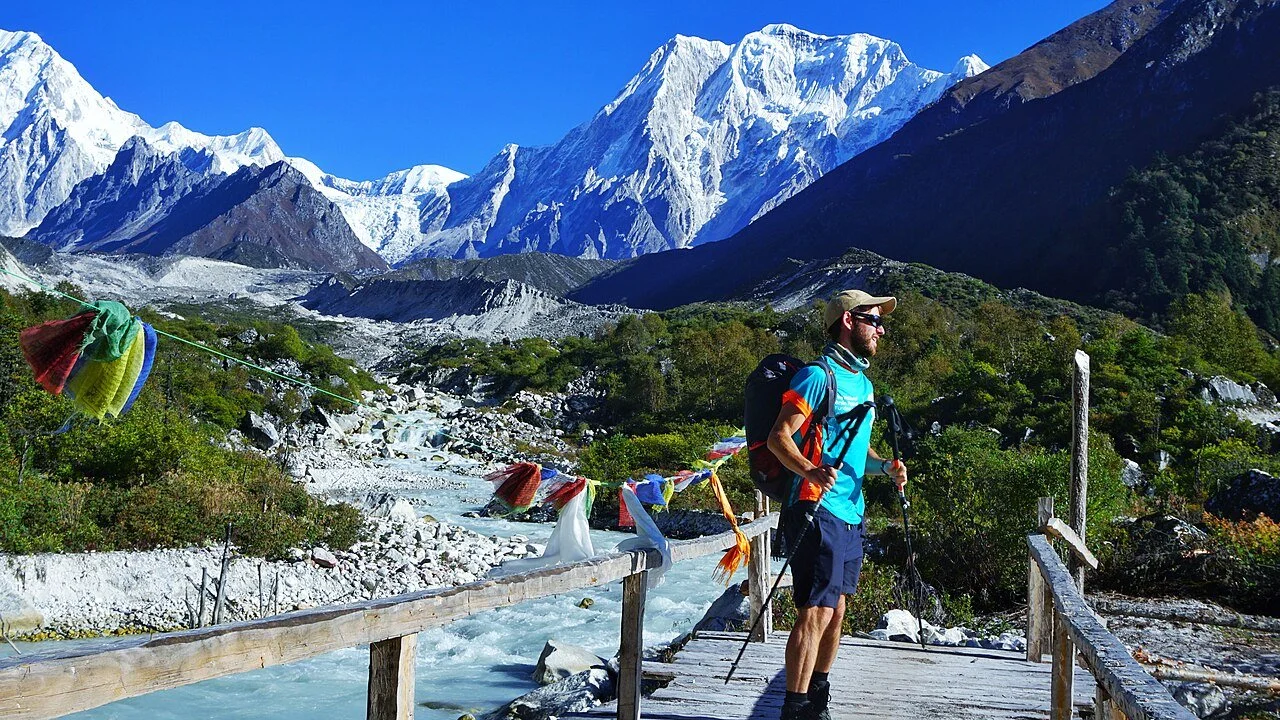
A man hikes the Manaslu Circuit trek in Nepal on a wood bridge with snow-covered mountains in the background

How fit do you need to be for the Manaslu Circuit trek?

Let’s get this out of the way first: You do not need to be an elite athlete.

The Manaslu Circuit is physically demanding, but nobody’s timing you. There’s no medal waiting at Larkya La for whoever gets there first. In fact, at high altitude, trying to be the fastest person on the trail is a particularly bad strategy.

What matters more is cardiovascular endurance, leg strength and the ability to keep moving for several hours at a comfortable pace.

On a typical trekking day, you might walk for six to eight hours across a mixture of dirt trails, stone steps, forest paths, suspension bridges, and long ascents and descents.

Then you’ll wake up and do something similar tomorrow.

That cumulative effort is what catches people off guard.

If you’ve already completed something like the Langtang Valley Trek — or tackled the Everest Base Camp trek on a budget — you’ll have a useful idea of what Nepalese teahouse trekking entails. Manaslu goes higher and can involve longer days, but the basic preparation is similar: Build endurance, strengthen the muscles that will carry you up and down the mountains and resist the temptation to treat trekking like a race.
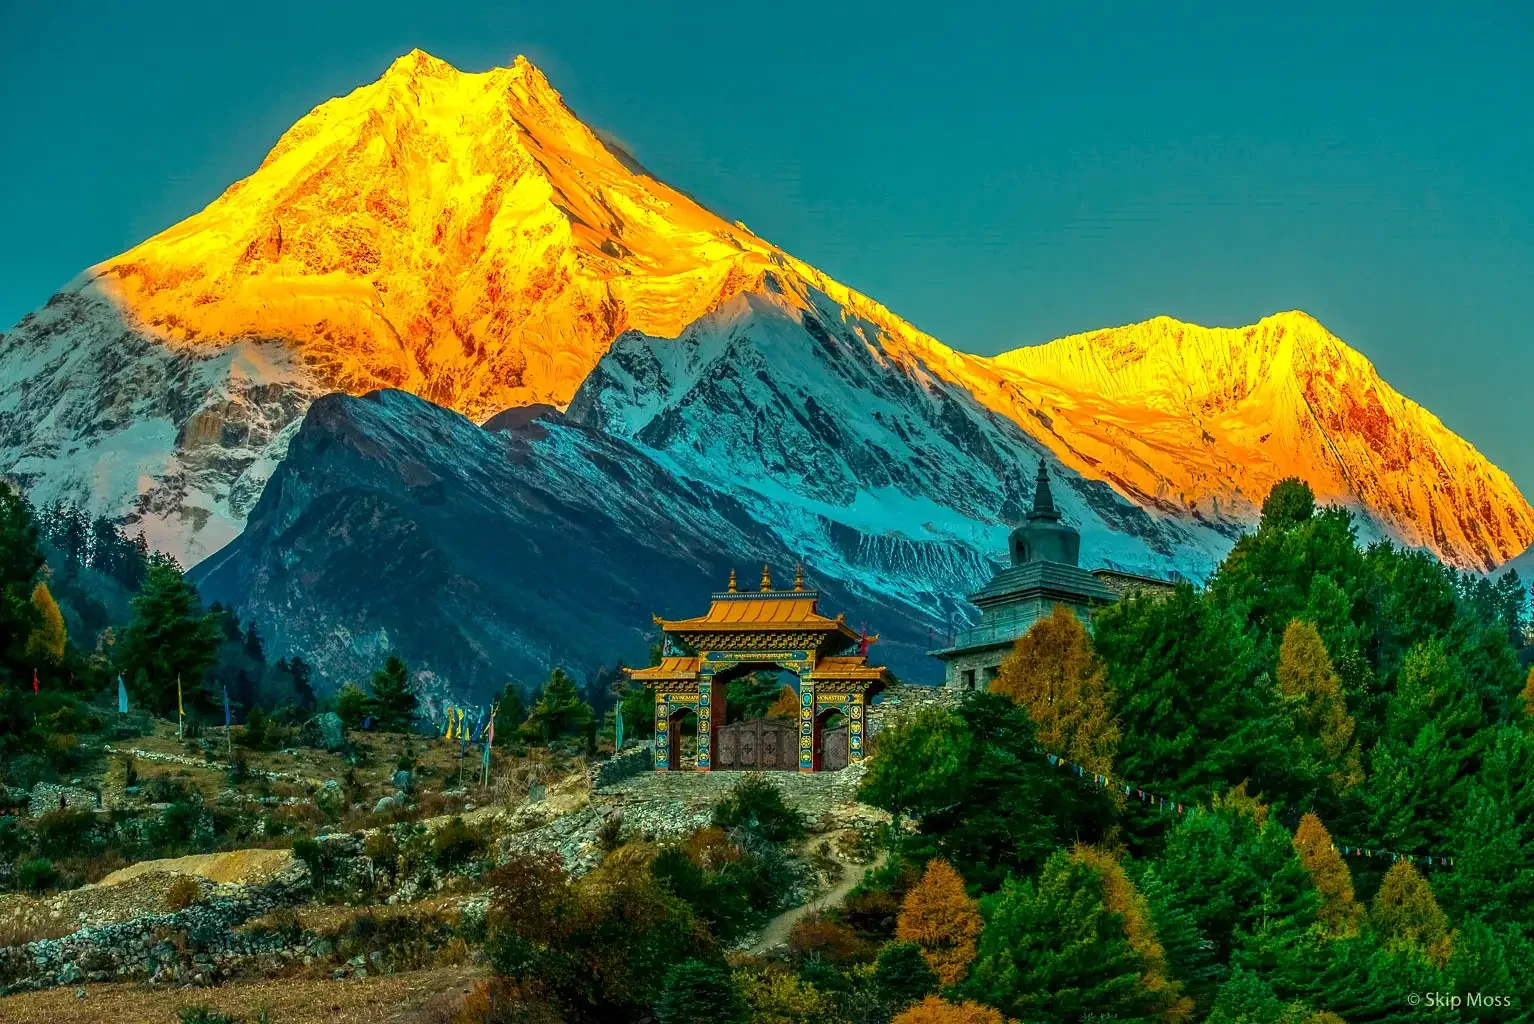
Sunset turns the mountains gold with a temple by a forest on the Manaslu Circuit trek in Nepal

Why is the Manaslu Circuit trek so difficult?

No single part of the Manaslu Circuit requires superhuman fitness. Instead, several challenges pile on top of one another.

You’re walking all day — for days. 

Depending on your itinerary, a trekking day can cover roughly 6 to 12 miles (10 to 20 kilometers).

That might not sound intimidating if you regularly walk or hike at home. But your neighborhood stroll probably doesn’t include several thousand feet of elevation change, rocky trails and a Himalayan mountain pass.

The real test is repetition. A six-hour hike is one thing. Six hours today, another six tomorrow and another six the day after that is something else entirely.

That’s why endurance training for the Manaslu Circuit matters more than being able to run a particularly fast mile.

The air gets thin. 

Altitude is the great equalizer.

As you climb, atmospheric pressure drops, which means less oxygen is available to your body with each breath. Above roughly 9,800 feet (3,000 meters), you’ll probably notice that activities that seemed easy lower down suddenly require considerably more effort.

A staircase can become an event.

The Manaslu Circuit gradually takes trekkers through increasingly high settlements:

Location
Altitude
Namrung
8,629 feet / 2,630 meters
Lho
10,433 feet / 3,180 meters
Samagaun
11,581 feet / 3,530 meters
Samdo
12,713 feet / 3,875 meters
Dharmasala
14,633 feet / 4,460 meters
Larkya La Pass
16,929 feet / 5,160 meters

You can train your heart and legs before you leave home. You can’t completely train your body for how it will respond to altitude.

That’s why proper acclimatization on the Manaslu Circuit trek is essential. A sensible itinerary builds in enough time for your body to adjust rather than rushing upward.

What goes up must eventually come down. 

Everyone worries about climbing.

Your knees would like a word.

Long descents put considerable stress on your quadriceps, knees and ankles. After hours of downhill trekking, even people with strong cardiovascular fitness can end up with trembling legs.

That’s one reason your Manaslu Circuit training plan should include strength work, not just cardio.
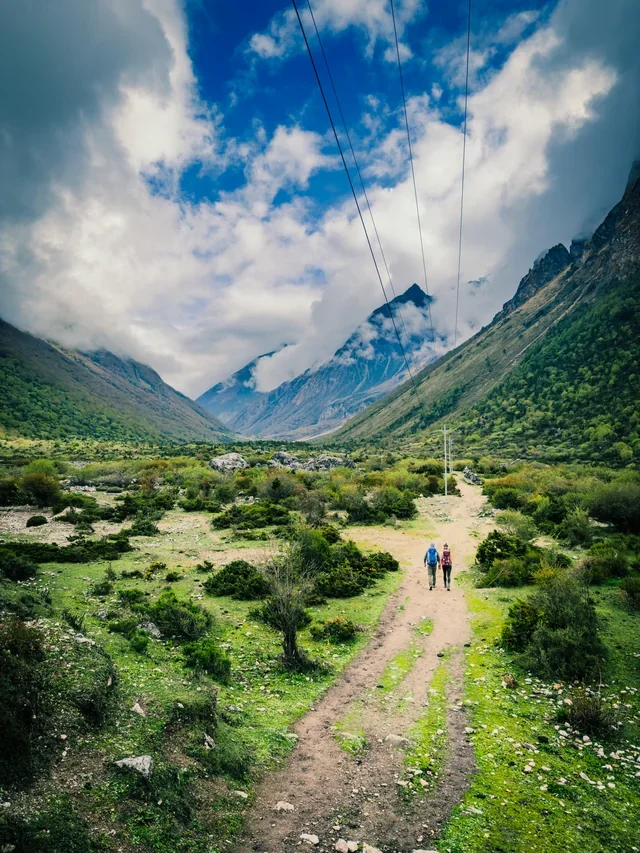
Two hikers walk a dirt path under telephone wires on the Manaslu Circuit trek in Nepal

When should you start training for the Manaslu Circuit?

Ideally, start about eight to 12 weeks before your trek.

That gives you enough time to gradually increase your endurance and strength without suddenly subjecting your body to an ambitious boot camp because you remembered you’re going to Nepal next month.

If you did remember you’re going to Nepal next month, don’t panic.

Four weeks of consistent walking, hiking and strength training is still considerably better than four weeks of sitting on the couch worrying about Larkya La.

The key word is gradual. Increasing your mileage or workout intensity too quickly is an excellent way to arrive in Nepal with an injury, which rather defeats the purpose.
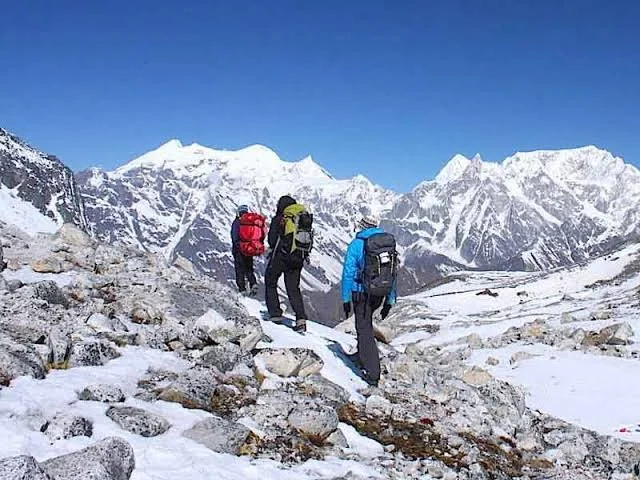
Three trekkers walk through the snowy mountains on the Manaslu Circuit trek in Nepal

An 8-Week Manaslu Circuit Training Plan

You don’t need an elaborate fitness program. You need consistency.

Weeks 1–4: Build Your Base

For the first month, concentrate on getting your body accustomed to regular activity.

Aim for:

  • Four or five walks per week of about 45 to 60 minutes

  • One weekend hike lasting two to three hours

  • Regular stair or hill climbing

  • Two light strength sessions per week

  • At least one proper rest day

Don’t obsess over speed.

You’re training your body to remain active for increasingly long periods, not preparing for the 100-meter dash.

If you have access to hills, use them. If you live somewhere aggressively flat, stairs and an incline treadmill are your new mountains.

Weeks 5–8: Make It Harder

Once you’ve established a base, start increasing the duration and difficulty of your workouts.

Try adding:

  • Brisk walks of 4 to 6 miles (6 to 10 kilometers)

  • Weekend hikes lasting four to six hours

  • Longer stair or incline-treadmill sessions

  • Two strength-training sessions per week

  • Hikes while carrying a daypack

Gradually work toward carrying around 11 to 15 pounds (5 to 7 kilograms), assuming that’s similar to the weight you’ll carry in Nepal.

And if you can find a trail with lots of elevation change, even better. Your legs need to learn that downhill is work too.

The Final Two Weeks: Stop Trying to Become Superman

The fortnight before your trip isn’t the time to suddenly double your mileage.

You’re unlikely to make dramatic fitness gains at this point. You are capable of exhausting yourself or getting injured.

Gradually reduce your training volume while continuing to walk and stay active. Prioritize sleep, hydration and recovery.

The goal is to step onto the trail rested and healthy — not to limp into Kathmandu because you decided to squeeze in one last monster workout.
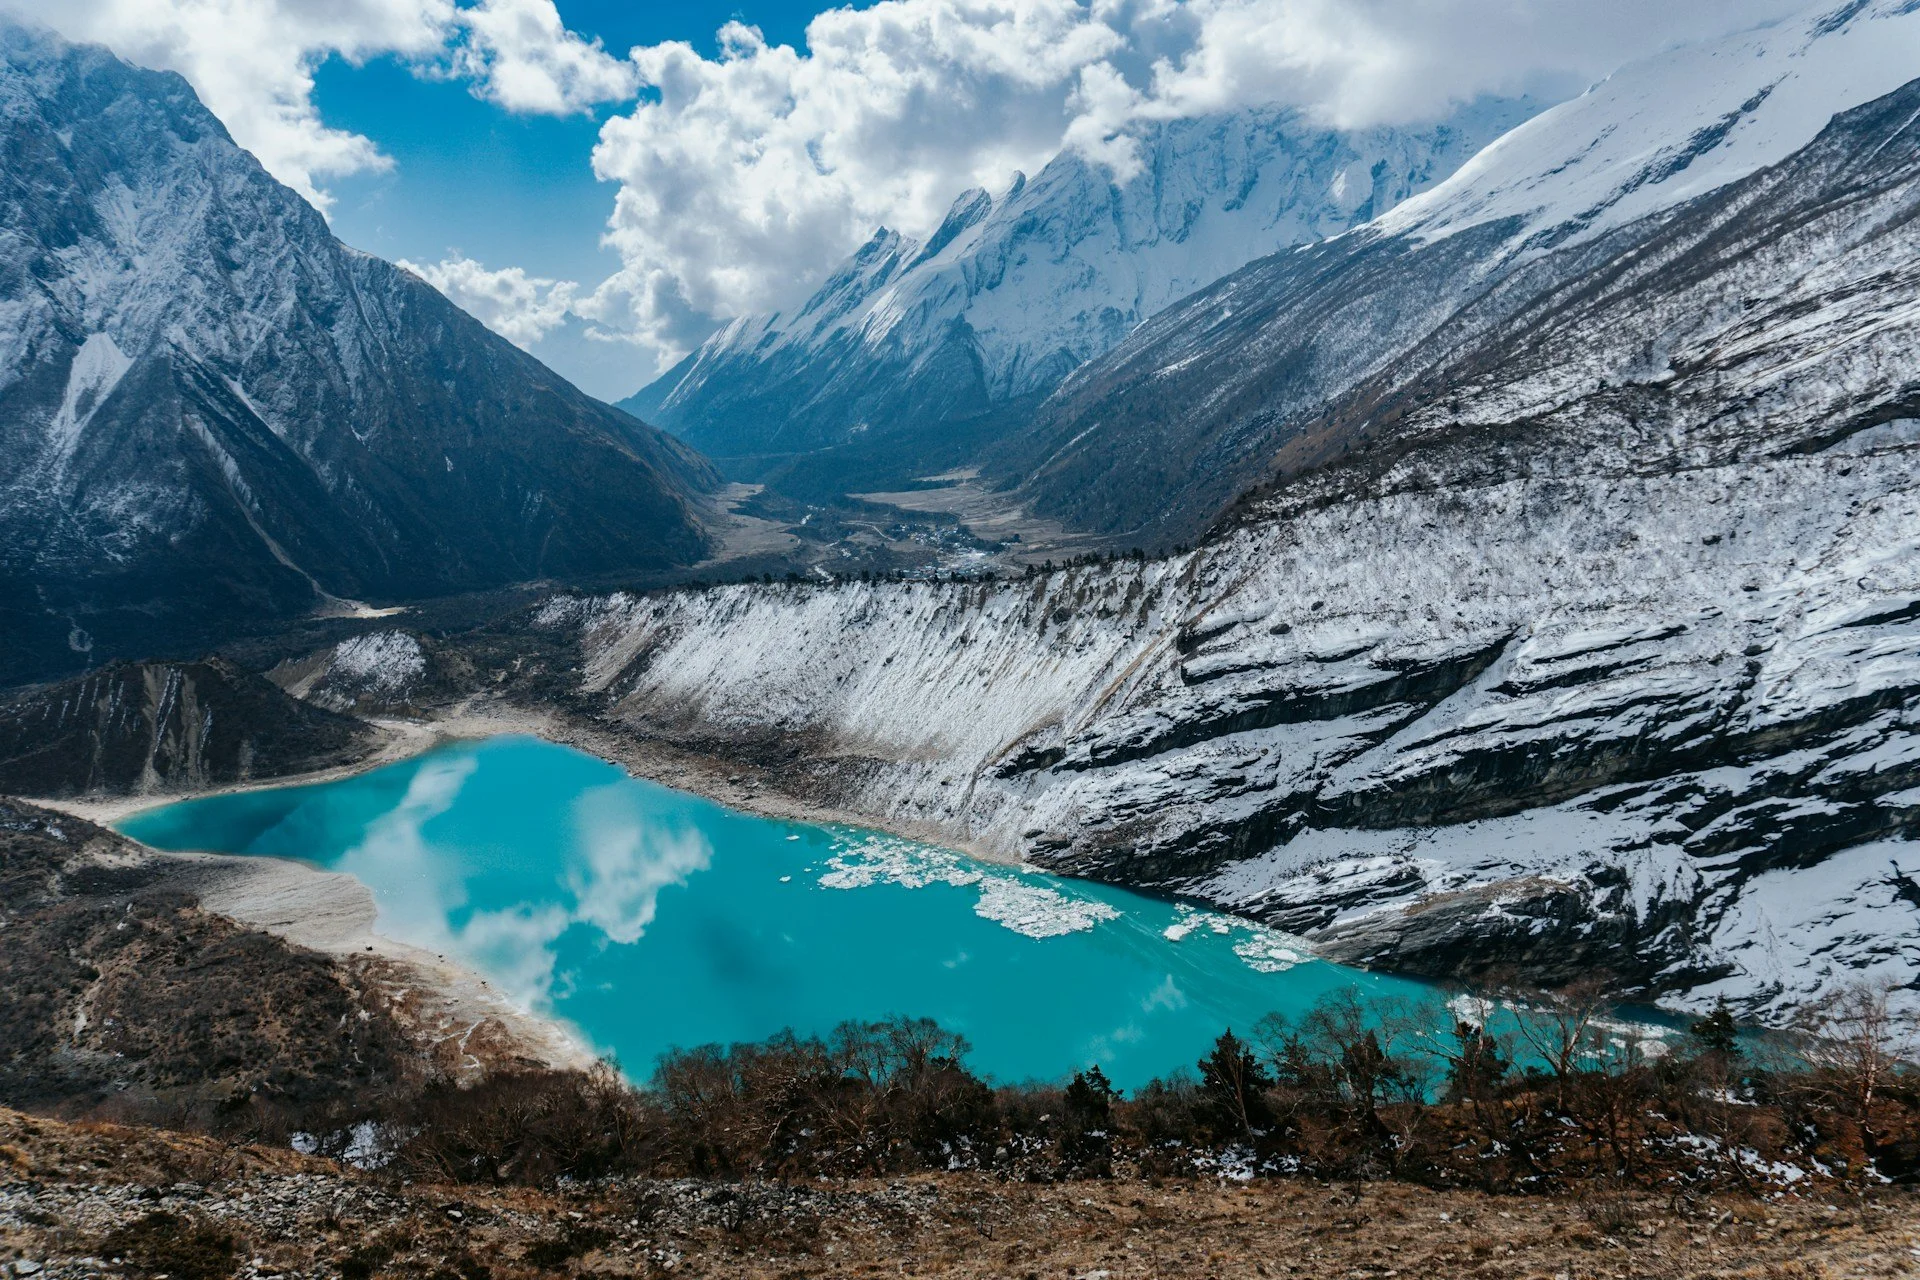
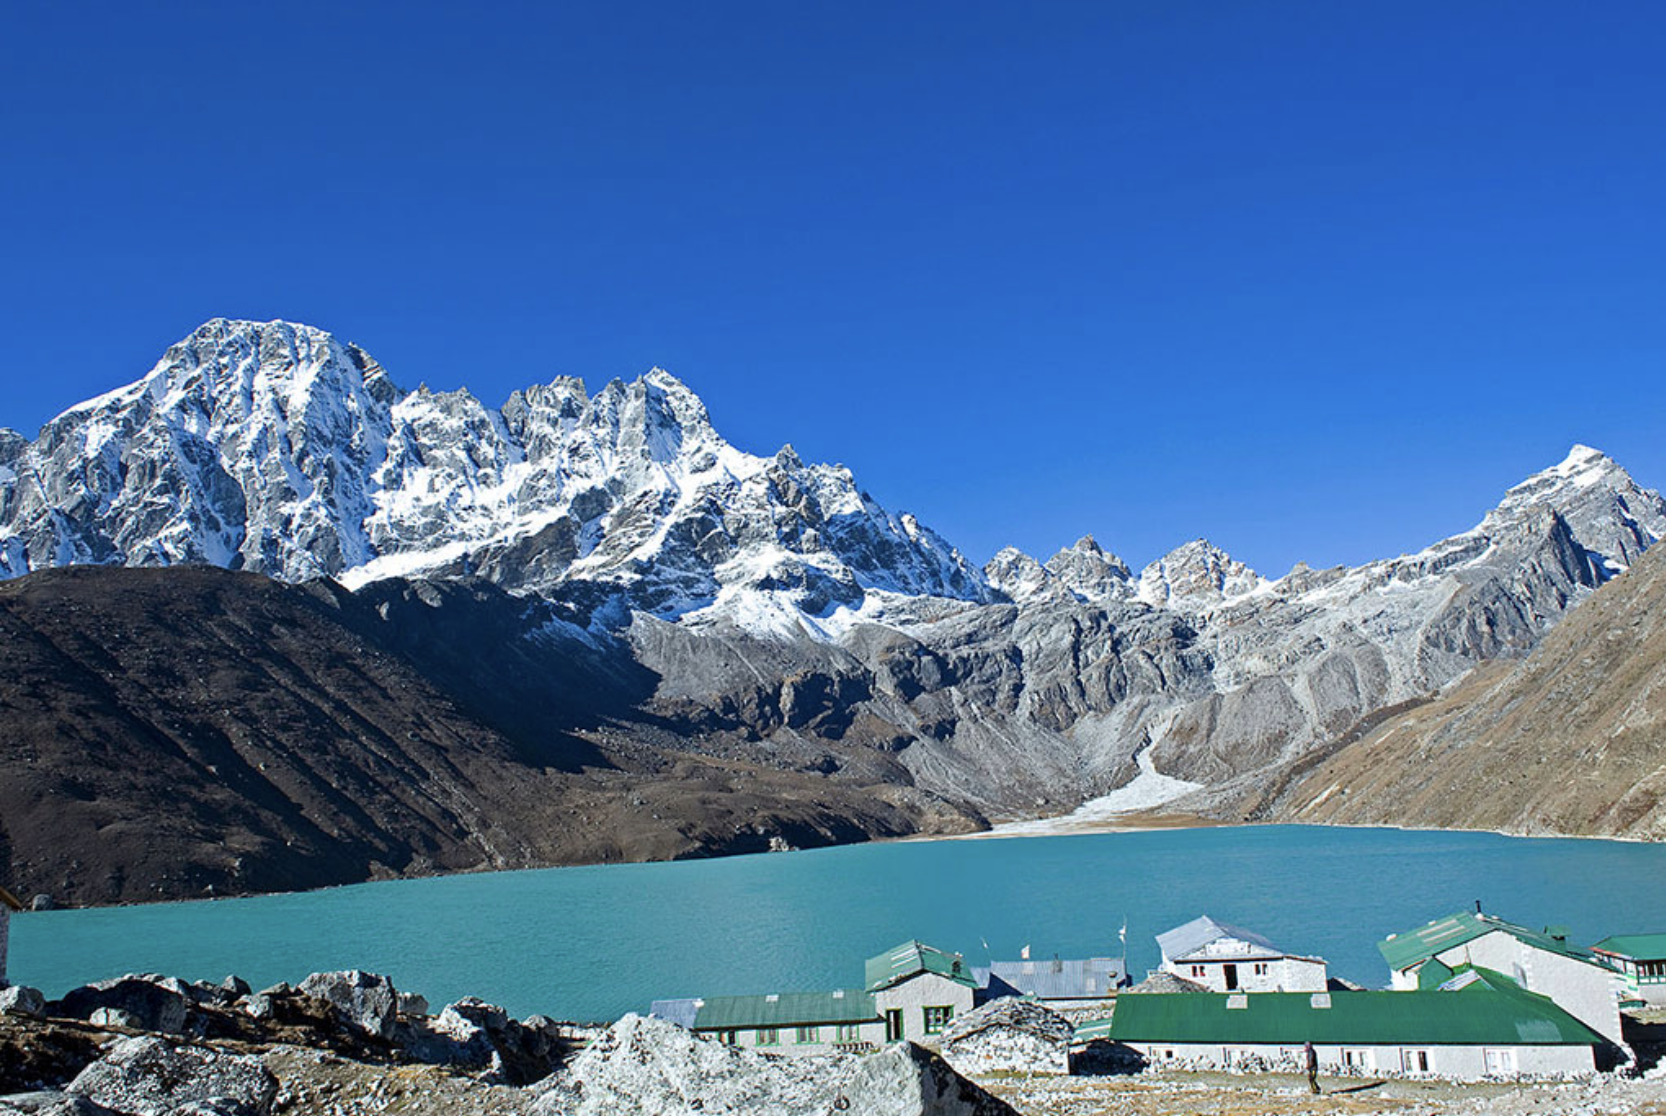
An aqua-colored lake in the snowy mountains of the Manaslu Circuit trek in Nepal

The Best Cardio for the Manaslu Circuit Trek

If you only choose one form of cardio, make it hiking.

Nothing prepares you for walking uphill for hours quite like walking uphill for hours.

But you don’t have to spend every weekend in the wilderness. Useful cardio exercises include:

  • Hiking

  • Brisk walking

  • Incline treadmill walking

  • Stair climbing

  • Cycling

  • Swimming

  • Rowing

  • Trail running

A general target of 150 to 300 minutes of moderate aerobic exercise per week is a useful starting point for many adults, but your training should gradually include longer sessions that mimic actual trekking days.

More important than hitting a magic number is being able to remain active comfortably for several hours.
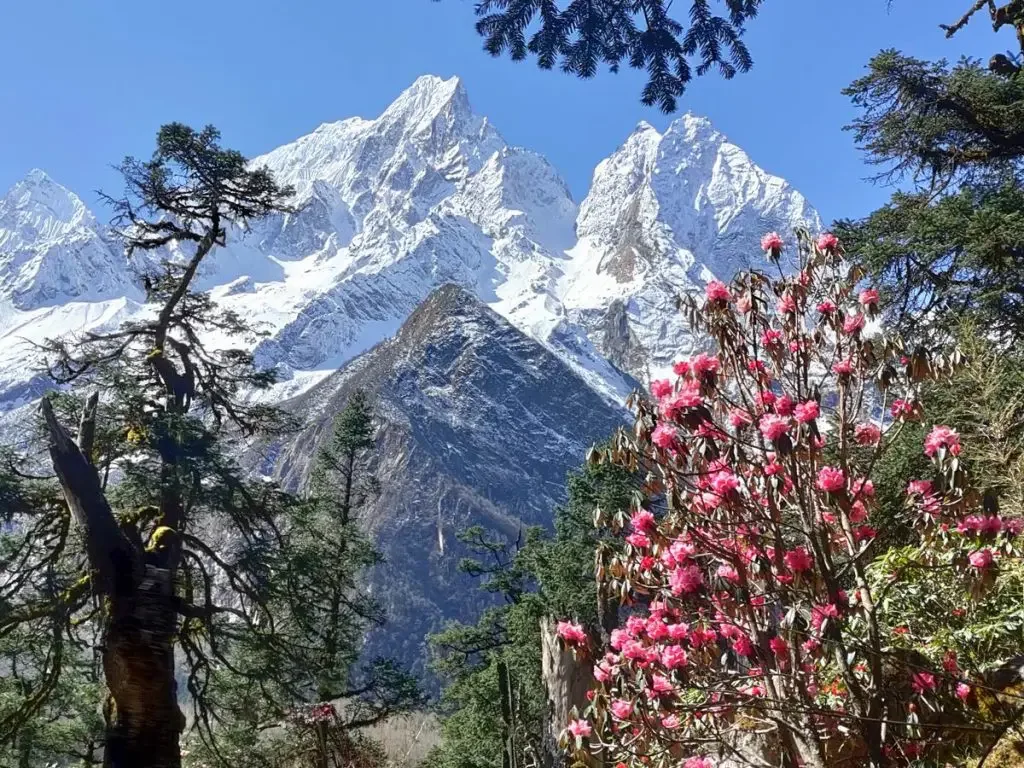
Evergreens and pink flowers by the snowy mountains of the Manaslu Circuit trek in Nepal

Strength Training for the Manaslu Circuit

You don’t need to become enormous.

This isn’t that kind of vacation.

For trekking, functional strength is what matters: strong legs to propel you uphill and control your descents, a stable core for uneven terrain and enough upper-body strength to comfortably carry your daypack.

Train Your Legs

Focus on exercises such as:

  • Squats

  • Lunges

  • Step-ups

  • Bulgarian split squats

  • Calf raises

Step-ups are particularly useful because they mimic one of the great recurring themes of Himalayan trekking: Oh look, more steps.

For downhill preparation, controlled lunges, step-downs and slow lowering movements can help strengthen the muscles used to stabilize your body during descents.

Strengthen Your Core

A strong core helps with balance and stability, particularly when you’re negotiating rocks, steps and uneven trails with a backpack.

Try:

  • Planks

  • Side planks

  • Bird dogs

  • Dead bugs

  • Mountain climbers

You don’t need a six-pack.

You need to remain upright.

Don’t completely ignore your upper body.

Even with porter support, you’ll probably carry a daypack for hours at a time.

Push-ups, rows and shoulder presses can help strengthen your shoulders and upper back so your pack doesn’t become your mortal enemy by Day 4.

Train with the backpack you’ll actually carry. 

This is one of the easiest parts of preparing for the Manaslu Circuit Trek to overlook.

Walking for five hours is different when several pounds are hanging off your shoulders.

Even if a porter carries your main luggage, your daypack will probably contain things like:

  • Water

  • Extra layers

  • Rain gear

  • Snacks

  • Camera or phone

  • Sunscreen

  • Personal medication

Work up gradually to a pack weighing around 11 to 15 pounds (5 to 7 kilograms), or whatever you realistically expect to carry.

Better yet, train with the actual pack you’re taking to Nepal. This gives you time to adjust the straps, figure out where it rubs and discover that the water bottle pocket you thought was ingenious is impossible to reach without dislocating a shoulder.

Hike on consecutive days. 

Here’s where weekend warriors can get fooled.

You finish a six-hour hike on Saturday and feel fantastic. Success!

But on the Manaslu Circuit, Sunday isn’t a recovery day.

It’s another trekking day.

As your training progresses, occasionally schedule hikes or long walks on two consecutive days. If your fitness and schedule allow, try three.

You’re teaching your body something extremely useful: how to recover overnight and keep going when your legs aren’t entirely thrilled about it.

Work on flexibility and mobility. 

Stretching won’t magically carry you over Larkya La, but maintaining good mobility can make repeated days of walking considerably more comfortable.

After workouts, pay particular attention to your:

  • Hamstrings

  • Hip flexors

  • Calves

  • Glutes

  • Lower back

Yoga can also complement a trekking program by improving flexibility, balance and body awareness.

Just don’t replace your hiking with yoga and assume your chakras will carry you up the mountain.

Eat like someone who’s training for a trek. 

The weeks before a major trek are not the ideal time for a crash diet.

Your body needs fuel to adapt to increasing amounts of exercise.

A balanced training diet should include plenty of carbohydrates for energy, protein for muscle recovery, healthy fats and a variety of fruits and vegetables. Staying well hydrated during training is also a useful habit to establish before you arrive in Nepal.

There’s no need for an exotic “Himalayan training diet.”

Eat well. Eat enough. Drink water.

Your legs will appreciate it.

Your brain needs training, too. 

There’s another “muscle” you’ll need on the Manaslu Circuit: your brain.

Long-distance trekking requires patience. Weather changes. Trails get muddy. Accommodation becomes basic. You may sleep badly. Your legs will ache. Someone will inevitably tell you that today’s destination is “just another hour” away.

And sometimes the mountain simply wins the argument.

Mental preparation means accepting that discomfort is part of the experience without turning every difficult moment into a crisis.

Experienced trekking guides understand something that gym statistics can’t measure: A steady trekker who listens to their body and maintains a positive attitude often does better than a fitter person who pushes too hard.

Slow down. Take breaks. Eat. Drink. Listen to your guide.

The mountain isn’t going anywhere.
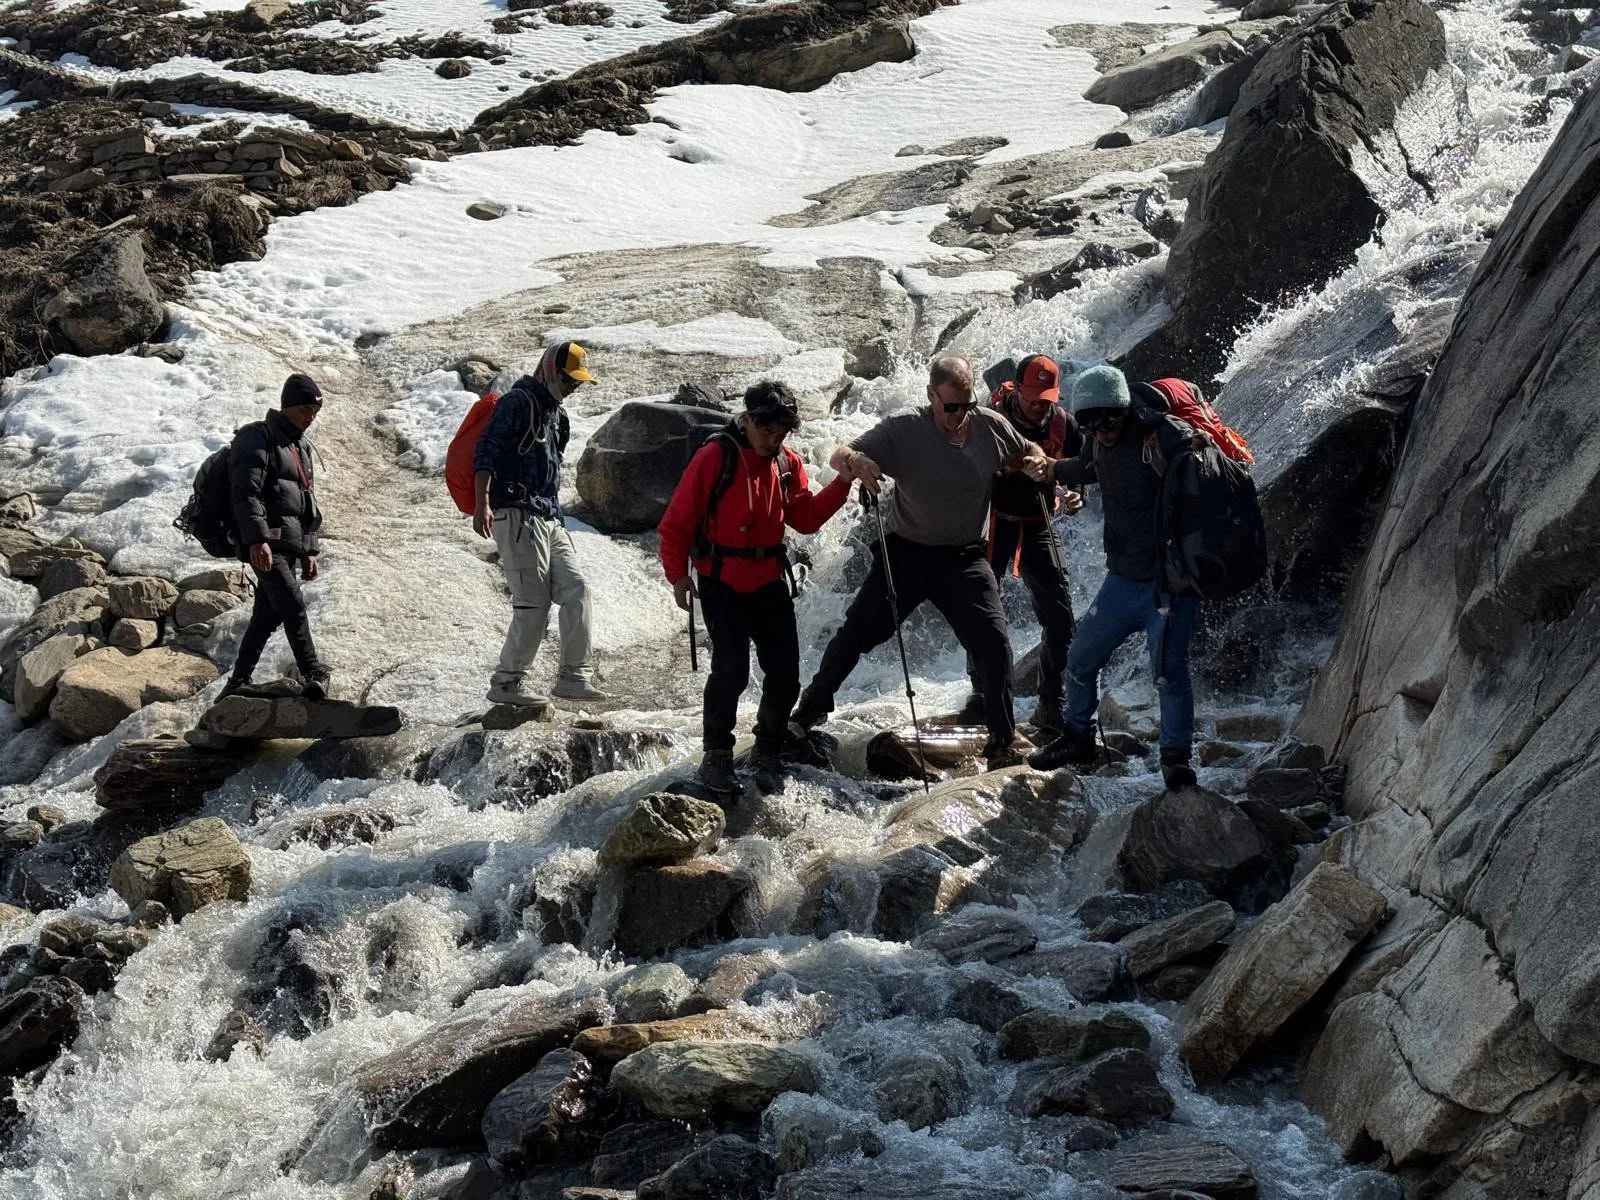
Trekkers help a man cross a river on rocks along the Manaslu Circuit trek in Nepal

Common Manaslu Circuit Training Mistakes

A few mistakes can make an already challenging trek considerably harder:

  • Waiting until the last few weeks to start training

  • Running exclusively instead of practicing long walks or hikes

  • Training only for uphill climbs

  • Ignoring leg and core strength

  • Never hiking with a backpack

  • Increasing mileage too quickly

  • Skipping rest and recovery days

  • Arriving in Nepal exhausted from overtraining

  • Trying to maintain your sea-level walking pace at altitude

Perhaps most importantly, don’t compare your pace with everyone else’s.

At altitude, slow isn’t failure.

Slow is strategy.
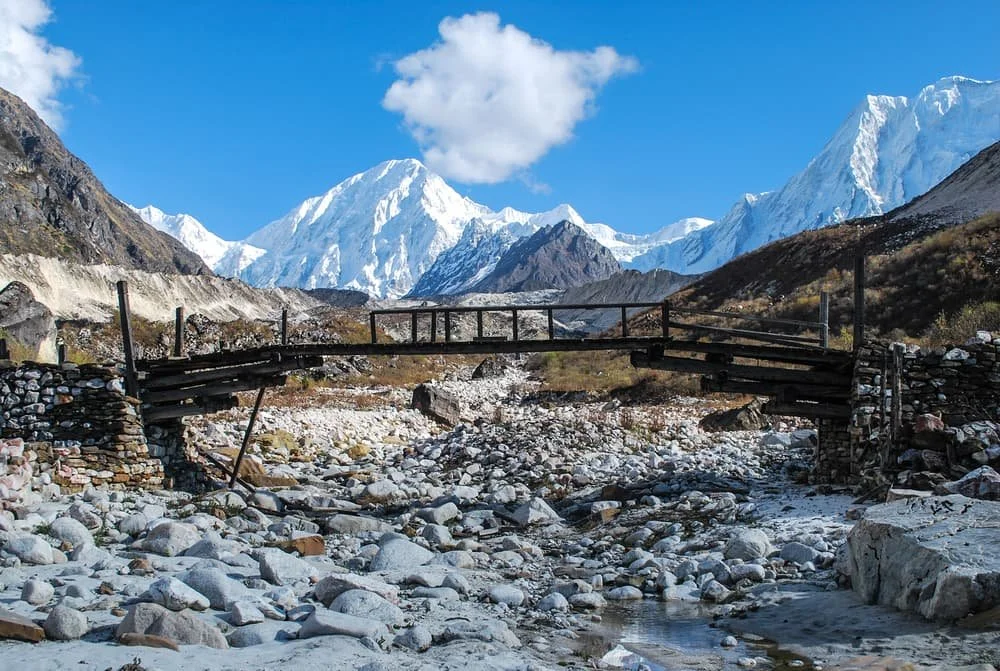
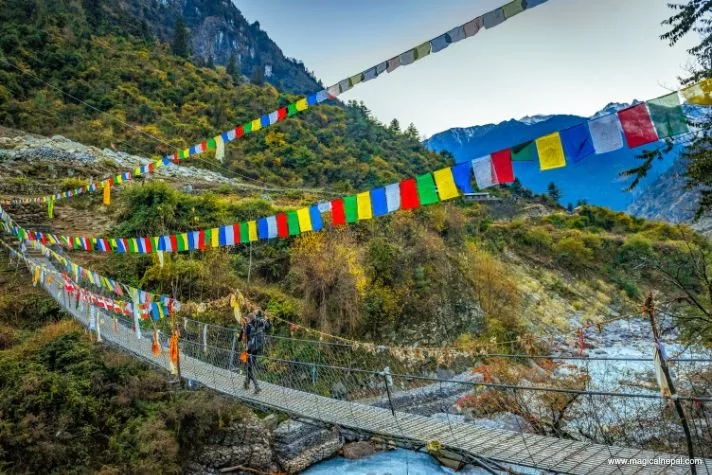
A wooden bridge covers snow-covered rocks in a river bed with mountains all around along the Manaslu Circuit trek in Nepal

You’re training to enjoy Manaslu, not just survive it. 

There’s a big difference between being physically capable of completing the Manaslu Circuit trek and actually enjoying it.

That’s the real reason to train.

You’re traveling halfway around the world to walk through one of Nepal’s most spectacular mountain landscapes, passing Buddhist monasteries, mani walls, forests, rivers and villages influenced by centuries of Tibetan culture.

You want enough energy left to notice them.

Start training eight to 12 weeks before departure if you can. Build cardiovascular endurance. Strengthen your legs and core. Walk hills and stairs. Carry a backpack. Practice hiking on consecutive days.

Then give your body time to acclimatize once you reach the Himalayas.

Because when you finally reach Larkya La Pass, surrounded by a sweep of snow-covered peaks, you probably won’t care how quickly you got there.

You’ll just be very, very glad you trained for it. –Samita Maharjan
Things to Consider When Planning an Everest Base Camp Trek
Planning to hike to Everest Base Camp? Between altitude, weather swings and two weeks of tough trekking, preparation is everything. Here’s what you need to know before you lace up and head for the Himalayas.
Planning a hike to Everest Base Camp is no casual stroll through the park. It’s a high-stakes adventure that tests your endurance, resilience and ability to function at oxygen-light altitudes. Sure, the views are jaw-dropping — but so are the logistics if you’re not prepared. Altitude sickness, sudden weather shifts and red tape can turn your dream trek into a long, uphill regret. That’s why planning isn’t just helpful, it’s essential.

Whether you’re heading straight to the Everest Base Camp or eyeing an alternate route, knowing what lies ahead can mean the difference between a transcendent experience and a miserable slog. From the best months to go, to the gear you’ll need and how to train without breaking yourself, here’s everything you need to know before you lace up your boots.

When is the best time to hike Everest?

Timing your Everest Base Camp trek well is half the battle. While you technically can go year-round, not all seasons are created equal.

1. Spring (March to May): Best for views and blooms

Spring is prime time. Think clear skies, blooming rhododendrons and stable weather — ideal for trail selfies and spotting Himalayan monals, the brightly colored pheasants that are the national bird of Nepal. 

  • Daytime temps: 50°F to 59°F (10°C to 15°C) at lower elevations

  • Nights: Cold, especially over 4,000 meters

  • Sherpa tip: April is the sweet spot: fewer crowds than May, still great conditions. 

2. Autumn (September to November): Peak trekking season

After the monsoon washes away the dust and haze, fall treks serve up postcard-perfect mountain views.

  • Similar temps to spring

  • Heaviest trail traffic in October

  • Guide insight: Late October has unbeatable Everest views. Just book early — lodges fill up fast.

3. Winter (December to February): Quiet trails, harsh conditions

If solitude calls and you’re not afraid of the cold, winter trekking has its perks. But it’s not for the faint of heart.

  • Temps can drop below 5°F (-15°C). 

  • Snow may close passes and delay flights. 

  • Expert tip: Only attempt with proper gear — think sleeping bags rated to -4°F (-20°C) or colder.

4. Monsoon (June to August): Lush, wet and leech-y

The monsoon season is a hard pass for most.

  • Trails are muddy and slick.

  • Clouds often block the mountain views. 

  • Local advice: Only consider this season if trekking in rain-shadow regions like Mustang. 

How should you prepare physically for an Everest Base Camp hike?

Let’s get one thing straight: Trekking to Everest Base Camp isn’t mountaineering — but it is tough. You’ll be hiking five to eight hours a day for nearly two weeks, often uphill, sometimes in thin air, and occasionally wondering what possessed you to do this for fun. Here are some tips to make the most of your adventure:

1. Focus on endurance, not speed.

This isn’t a race; it’s a test of stamina.

  • Build aerobic fitness with hiking, cycling or jogging three to five times a week. 

  • Practice long hikes with a loaded backpack. 

  • Stair climbing is your new best friend — seriously, it’s eerily similar to some of the trails. 

  • Trek leader tip: “Go slow, rest often, and breathe deep. Rushing is the fastest way to get sick.”

2. Strength and core training help, too.

Your legs and core will take the brunt of the work — give them some love before you go.

  • Add squats, lunges and step-ups to your workout routine. 

  • Planks and other core moves boost balance on uneven ground. 

  • Don’t skip stretching — tight muscles are injury magnets. 

3. Altitude acclimatization matters more than fitness.

Even if you’re in marathon shape, the altitude doesn’t care.

  • Build in rest and acclimatization days. 

  • Hydrate constantly, eat well and prioritize sleep. 

  • Learn the signs of acute mountain sickness (AMS) — some of which include headache, nausea, dizziness, fatigue, loss of appetite and insomnia. 

  • Sherpa insight: Drink garlic soup. Locals swear by it for altitude. Can’t hurt (besides your breath)!

4. Simulate trail conditions if you can.

If you live at sea level, you’ll need to get creative.

  • Do weighted hikes and back-to-back long treks. 

  • Train in your actual boots — break them in now, not on the mountain. 

  • If you can get to high altitude before the trip, do it. 

Bottom line: Consistent training will pay off. It won’t just help you reach Base Camp; it’ll help you enjoy getting there.

How do you choose the right itinerary for your Everest trek?

Picking the right itinerary is about matching the trek to your fitness, time and what you want to get out of the experience (besides sore calves and amazing photos).

1. Classic Everest Base Camp Trek (12 to 14 days)

The “standard” route starts with that thrilling flight into Lukla and winding through Sherpa villages and high alpine valleys.

  • Great for first-timers with solid fitness

  • Teahouse accommodations with decent creature comfort

  • Includes a sunrise hike up Kala Patthar for front-row Everest views

  • Sherpa tip: Never skip acclimatization days. They’re the secret weapon to reaching Base Camp healthy and happy.

2. Gokyo Lakes and Cho La Pass Route (16 to 18 days)

Want a little more adventure and a little less crowd? This one’s for you.

  • Crosses the dramatic Cho La Pass (expect a little scrambling)

  • Passes turquoise lakes and the Ngozumpa Glacier

  • Reconnects with the classic trail near Lobuche

  • Guide insight: Perfect for strong hikers or those coming back for round two.

3. Jiri to Everest Base Camp (20+ days)

Feeling old-school? Follow the original path of early Everest expeditions — before Lukla’s airport existed.

  • Adds 6 to 8 days of lush mid-hill trekking

  • Builds in natural acclimatization with a slow, steady climb

  • Deeper look at rural Nepalese life away from touristy trails

  • Local advice: Expect basic lodges early on — but also some of the most authentic cultural experiences.

Itinerary planning tips:

  • Always build in 2 to 3 extra days for weather delays or recovery. 

  • Stick to the “climb high, sleep low” rule to help your body adjust. 

  • Consider hiring a local guide — they’re game-changers for logistics, safety and connecting with the culture. 

  • Pick a route that fits your pace, not your ego. Base Camp is a milestone, but the journey is where the real magic happens.

What permits and documents are required for the Everest trek?

You can’t just show up with hiking boots and a grin — there’s paperwork involved. Fortunately, it’s not too complicated once you know what’s required.

1. Khumbu Pasang Lhamu Rural Municipality Permit

This local permit funds development in the Everest region and replaced the old TIMS card system.

  • Cost: 2,000 Nepalese rupee, or currently about $15, per person (first four weeks)

  • Buy it in Lukla or Monjo (easy-peasy after you land)

  • Sherpa insight: Most guides handle this for you, but if you’re trekking solo, get it done at Lukla airport.

2. Sagarmatha National Park Entry Permit

Because you’re trekking through a national park — and Everest’s backyard doesn’t maintain itself.

  • Cost: NPR 3,000, or about $23, per person for foreigners

  • Grab it in Kathmandu or at the park gate in Monjo

  • Guide tip: Save time by getting the permit in Kathmandu if you can — one less thing to stress about at the trailhead.

3. Gaurishankar Conservation Area Permit (for Jiri Route only)

If you’re taking the long way via Jiri, you’ll need this extra permit.

  • Cost: NPR 2,000 ($15)

  • Only necessary if you’re starting below Lukla

  • Issued in Kathmandu at the National Trust for Nature Conservation (NTNC) office

Required documents checklist:

  • Valid passport (at least 6 months before expiration)

  • 2 to 4 passport-sized photos (for permits)

  • Cash in Nepali rupees for permit fees

  • Pro tip: Keep your permits handy — you’ll flash them at multiple checkpoints. (Lose them, and you might be turned back. Not fun.)

What gear and equipment do you need for the Everest hike?

There’s no bad weather, only bad gear. On Everest trails, the weather can go from “sunburn season” to “snowpocalypse” in the time it takes to eat a granola bar. Smart packing is survival.

1. Layered clothing

The mountain demands flexibility. Dress like an onion: Peel or add layers as needed.

  • Base layer: Moisture-wicking thermal tops and bottoms

  • Mid layer: Fleece jacket or lightweight down sweater

  • Outer shell: Waterproof, windproof jacket and pants

  • Extras: Warm hat, neck gaiter, insulated gloves, UV-protective sunglasses

  • Sherpa tip: Bring a buff or scarf — perfect for battling wind, sun and the occasional yak dust storm.

2. Footwear and trekking essentials

Your boots are your best friends — or worst enemies if you don’t break them in first.

  • Waterproof trekking boots with ankle support (broken in, not brand new!)

  • Lightweight camp shoes or sandals for evenings

  • Wool or synthetic socks (plus spares to rotate)

  • Trekking poles for downhill stability (your knees will thank you)

  • Guide advice: Even if you feel young and invincible, use the poles. They’ll save your joints for future adventures.

3. Sleeping and personal gear

Teahouses provide beds and blankets, but you’ll need extra warmth at night.

  • Sleeping bag rated to at least -15°C, or 5ºF (or colder)

  • 35- to 50-liter backpack for your daily essentials

  • Headlamp with extra batteries (early starts are a thing)

  • Water bottles plus purification tablets or filters

  • Local insight: Purify all water. Bottled water is expensive, wasteful and often unavailable past Namche.

4. Optional but useful items

  • Microspikes or lightweight crampons (for winter treks)

  • Power bank or solar charger

  • Quick-dry towel and toiletries

  • Your favorite trail snacks (trust me, you’ll crave familiar tastes)

Packing smart means fewer worries — and more time gawking at Everest without numb fingers or blisters stealing the show.

Alternatives to the Everest Hike: Explore Other Iconic Treks in Nepal

Dreaming of the Himalayas, but not feeling the Everest traffic jam? Nepal’s got options — plenty of them — and some are just as epic (without the crowds).

Manaslu Circuit Trek: Remote and culturally rich

If you want adventure and authenticity, Manaslu delivers.

  • Duration: 14 to 18 days

  • Max altitude: 5,160 meters at Larkya La Pass

  • Special permit and guide required (it’s a restricted area)

  • Local insight: Think traditional villages, Tibetan influences and lodges that feel a world away from commercial trekking routes.

Annapurna Base Camp (ABC): Shorter and scenic

Want killer mountain views without hitting extreme altitudes? Annapurna’s your trail.

  • Duration: 7 to 11 days

  • Max altitude: 4,130 meters

  • A lush mix of jungle, terraced fields and jaw-dropping peaks

Langtang Valley Trek: Close to Kathmandu, big on heart

After the 2015 earthquake, Langtang rebuilt — and it’s more welcoming than ever.

  • Duration: 6 to 9 days

  • Max altitude: 4,984 meters (Tserko Ri summit)

  • Deep cultural immersion with the Tamang community

Why consider alternatives?

  • Fewer crowds = more peaceful trails

  • Simpler logistics and lower costs

  • A deeper connection to Nepalese culture and landscapes

Choosing an alternative doesn’t mean settling. It means opening yourself up to trails just as soul-stirring — and maybe even more memorable.

Final Thoughts: Your Everest Hike Starts With Smart Planning

Trekking to Everest Base Camp is going to be a bucket-list brag and one of those top life experiences. And like any great adventure, it rewards those who plan smart, pace themselves and stay flexible when the mountain inevitably throws a curveball.

From picking the right season to training your body, from securing the right permits to packing gear that can handle a Himalayan weather tantrum, every choice you make now sets you up for success later. Preparation means freeing yourself to fully soak in the magic of the trail, the villages, the prayer flags whipping in the wind, and that first surreal glimpse of Everest itself. It can also mean survival.

Whether you end up at Base Camp or exploring a quieter circuit like Manaslu or Annapurna, one thing’s certain: The Himalayas will leave a mark on you. (And it won’t just be sore calves.)

Ready to start planning? Lace up, dream big and let the mountains handle the rest. –Sulabh Basnet

Budget-Friendly Everest Base Camp Trek Secrets

A thrilling Himalayan adventure can be within your reach. Here’s how to save money by staying and eating at teahouses, renting equipment, joining a group tour and other little-known tips from a local expert. 

Pile of colorful prayer flags and two men at the Everest Base Camp

A trek to the Everest Base Camp doesn’t have to break the bank! A local tour operator offers his money-saving tips.

Undertaking the legendary Everest base camp trek is a dream shared by many adventure enthusiasts around the world. The appeal of standing at the base of the world’s highest mountain, surrounded by awe-inspiring Himalayan landscapes and experiencing Sherpa culture, is a truly once-in-a-lifetime trip. 

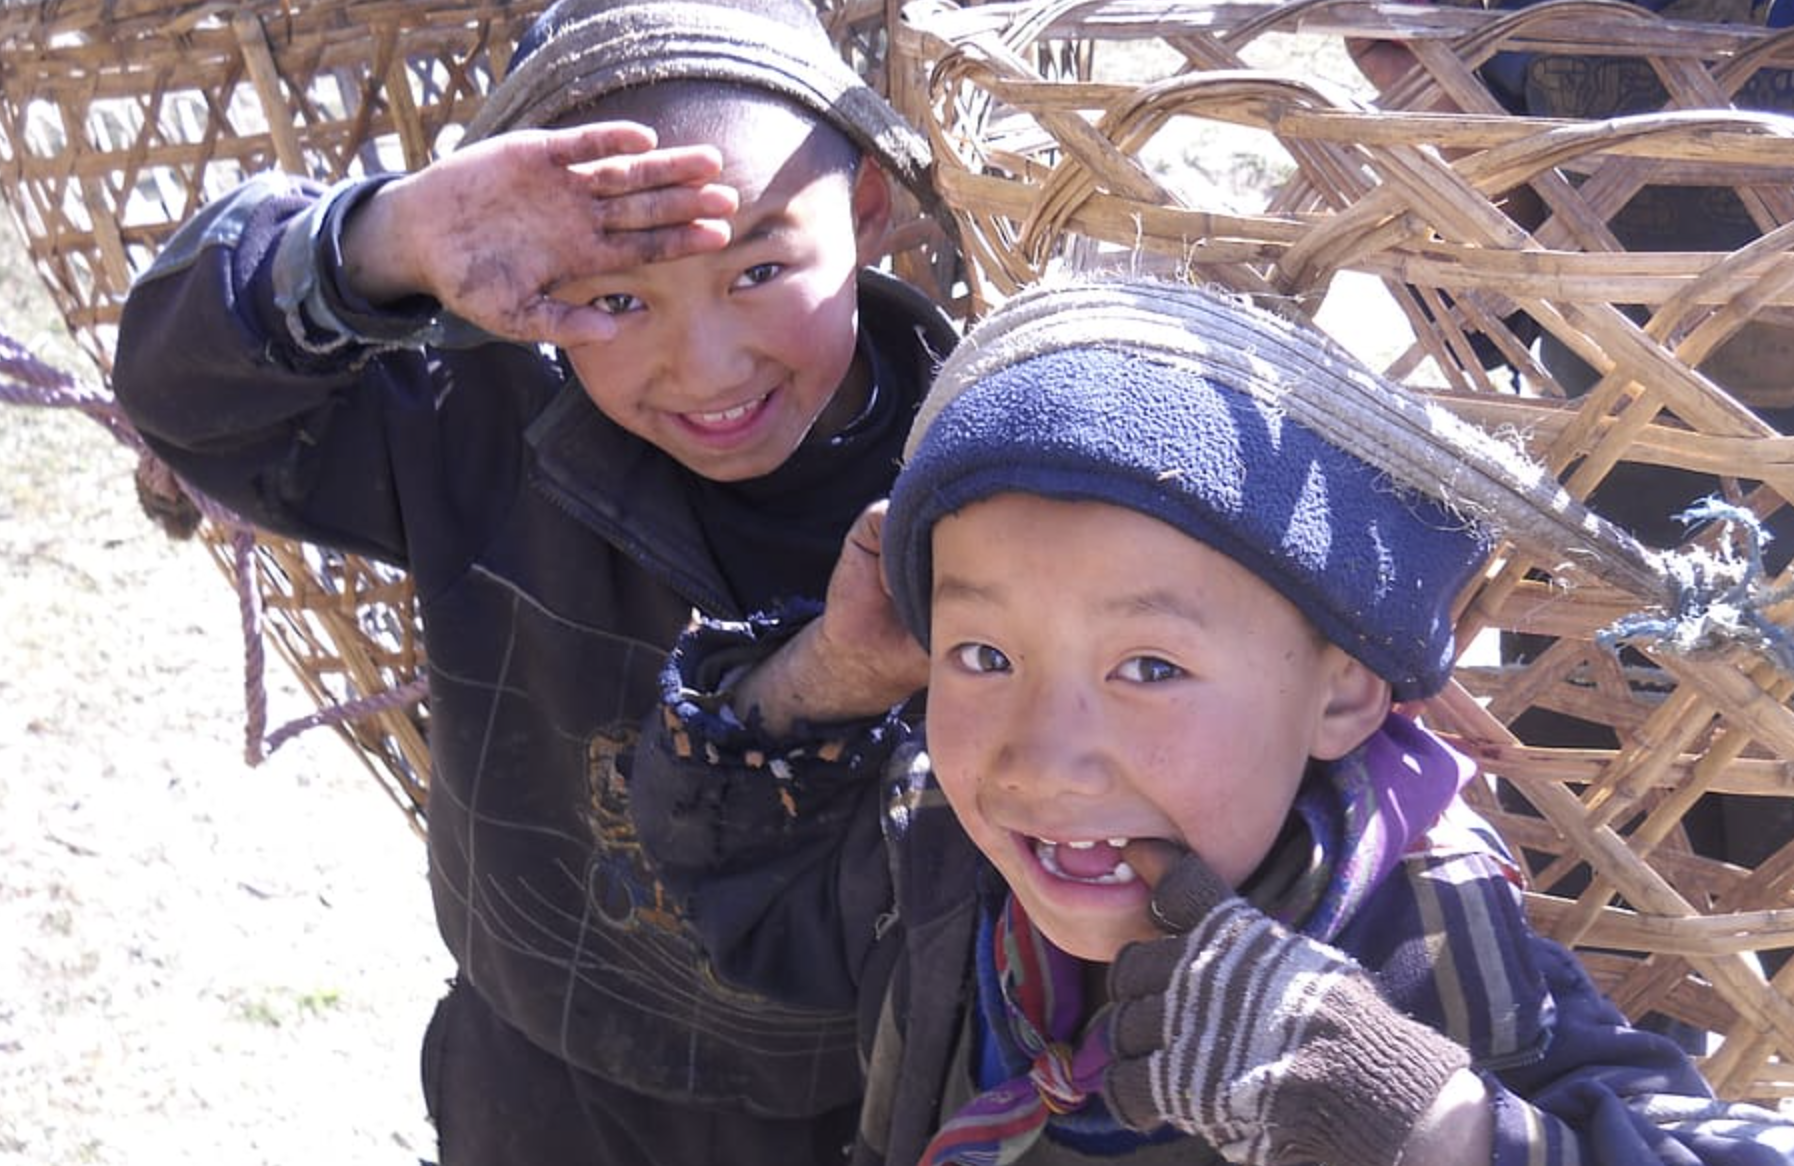
Two young Sherpa boys wearing hats, one with hand on forehead, the other with a finger in his mouth

Take the time to meet some Sherpas and learn some of their customs.

While it may seem like an expensive undertaking, as a co-founder of a local tour operator, I’m here to reveal budget-friendly tips and insights that will make your Everest base camp trek an affordable reality. Get ready to immerse yourself in the breathtaking beauty of the Himalayas…without worrying much about breaking the bank.

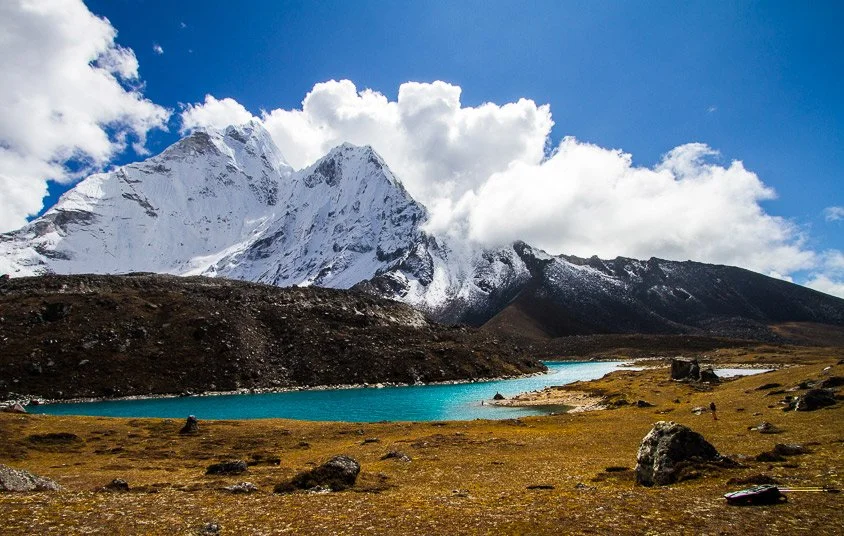
The backside of Ama Dablam, with Mount Everest, covered in snow, in the distance, and a gorgeous turquoise lake in the foreground

The backside of Ama Dablam with its gorgeous turquoise lake

Planning and Preparation for an Affordable Everest Base Camp Trek

Here are some key points to consider:


Go in the low seasons. 

Planning for the trek during the off-peak seasons (December to February and June to August) can significantly reduce the overall cost. Not only will you avoid the peak tourist flow on the trail, but you may also find discounted lodges and domestic and international flights.

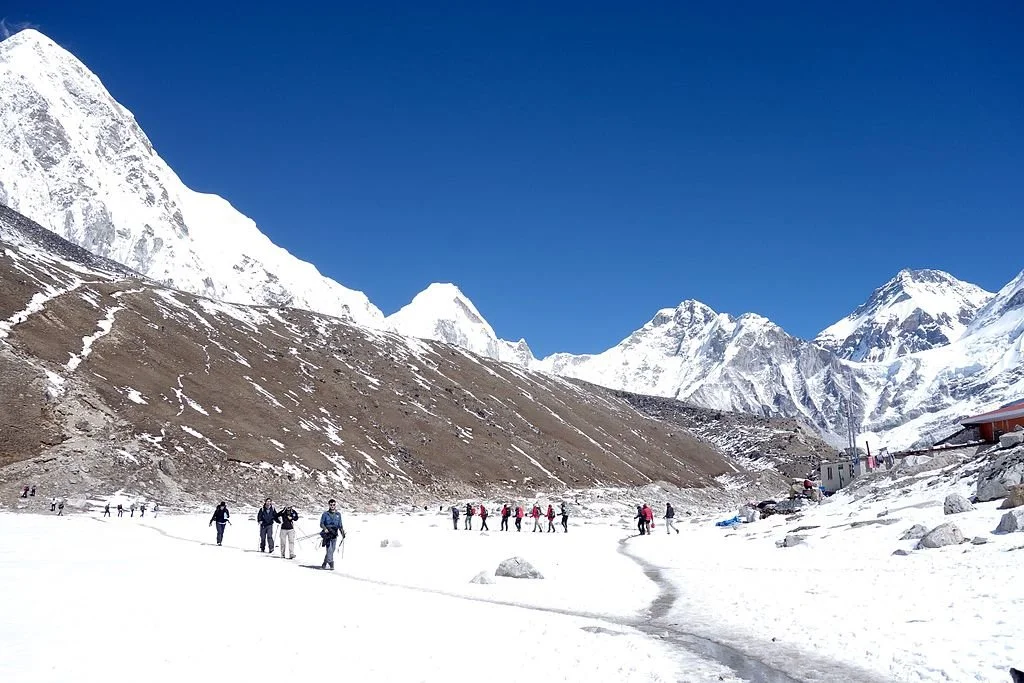
Groups of trekkers against the snow on Everest Base Camp adventure

Share the cost of a tour by joining a group.

Take a group tour. 

While independent trekking can be convenient and offer personal support from a guide and porter, joining a group is more cost-effective — you’ll be sharing the charges to hire a guide and porters. 

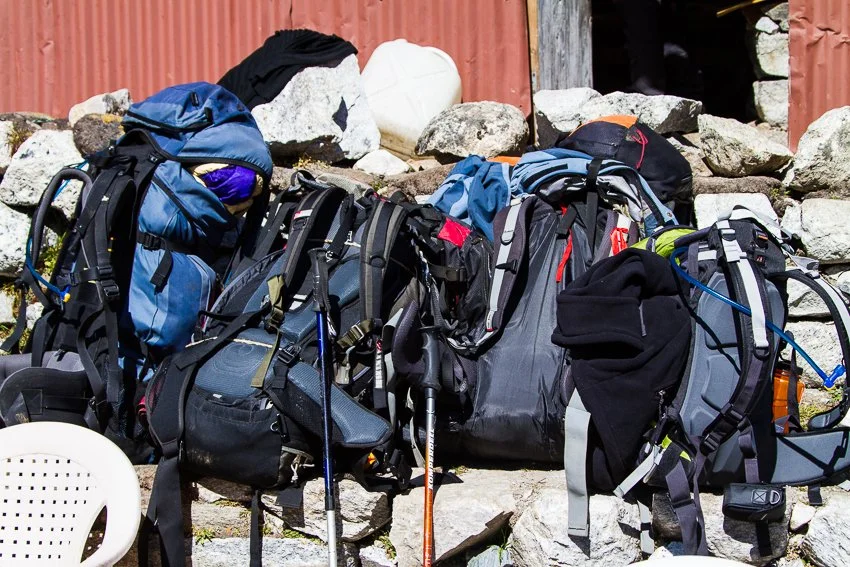
Line of backpacks and gear on ground on Everest Base Camp trek

There are opportunities to rent or borrow gear if you don’t want to make the investment.

Rent or borrow trekking gear. 

Make a detailed list of essential items, such as sleeping bags, trekking poles, hiking boots and waterproof jackets. Look for gear rental shops in Thamel or consider borrowing equipment from fellow trekkers. You also might be able to borrow items like a sleeping bag or down jacket from some of the major Kathmandu-based tour operators.

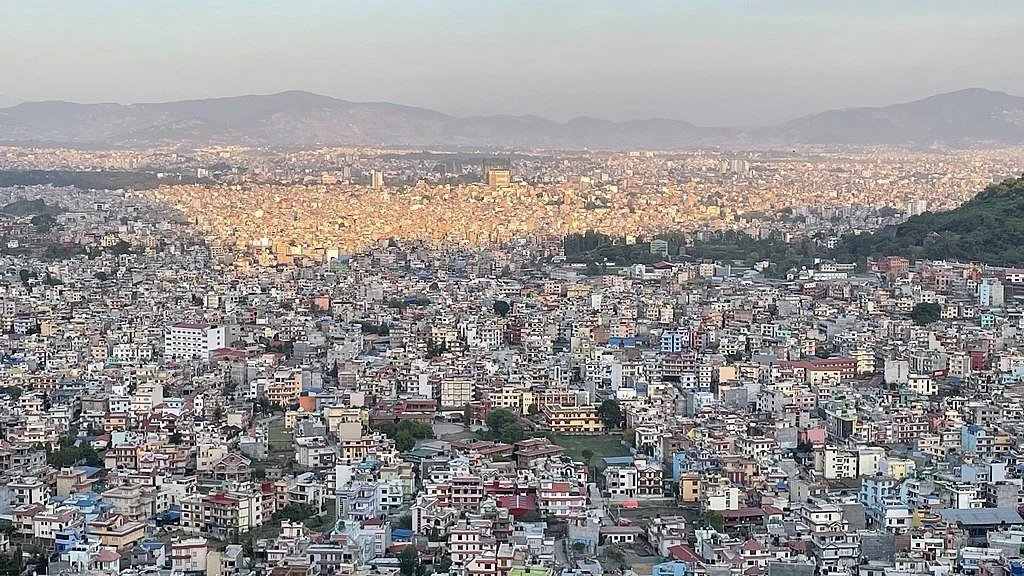
The city of Kathmandu sprawls out, jampacked with colorful buildings in this aerial view

The sprawl of Kathmandu. You can bus to Salleri, the jumping-off point for the trek, which is cheaper than flying.

Take the bus. 

A public bus or shared jeep from Kathmandu to Salleri may be a longer journey, but it’s a cheaper alternative to flying to and from Lukla.

Budget-Friendly Accommodations Along the Everest Base Camp Route

Getting affordable accommodation is entirely possible with following tips:

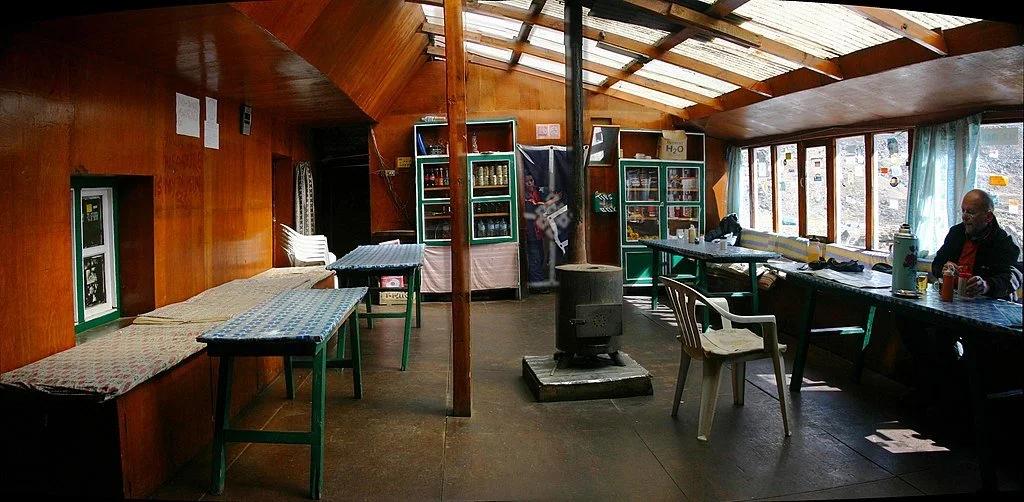
Interior of teahouse lodge on Everest Base Camp trek, with man at table

The teahouse lodges are much more affordable than their luxury counterparts.

Stay in teahouse lodges. 

Along the trail, there are numerous teahouse lodges that offer basic accommodation and meals. These no-frills lodges are more budget-friendly compared to luxury lodges like Yeti Mountain Home. Embrace the simplicity and warmth of teahouse stays, which also provide an opportunity to connect with other like-minded trekkers.


Share a room. 

To further minimize trip costs, consider sharing rooms with other trekkers. Many teahouses offer twin and triple sharing rooms, allowing you to split the bill. 

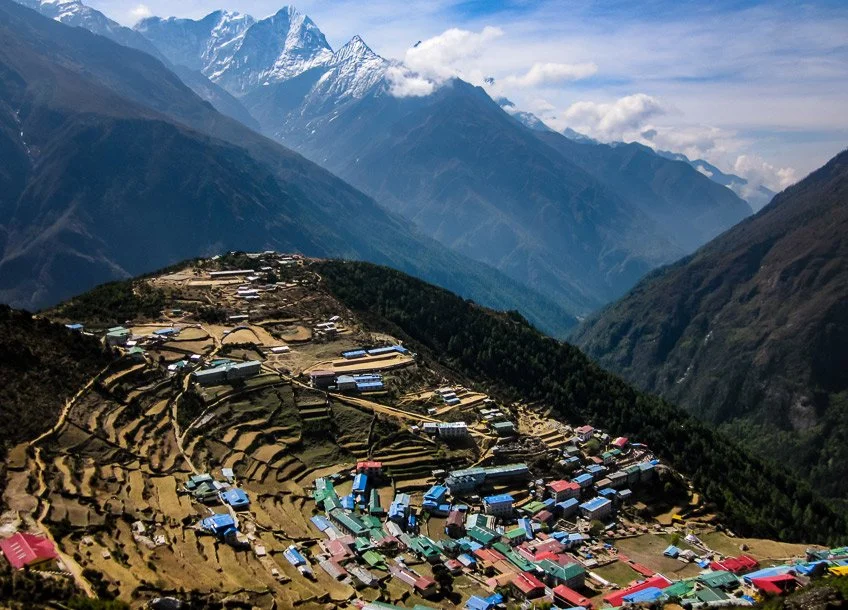
Aerial view of the colorful buildings built into the mountain in the village of Namche Bazaar along the Everest Base Camp trek

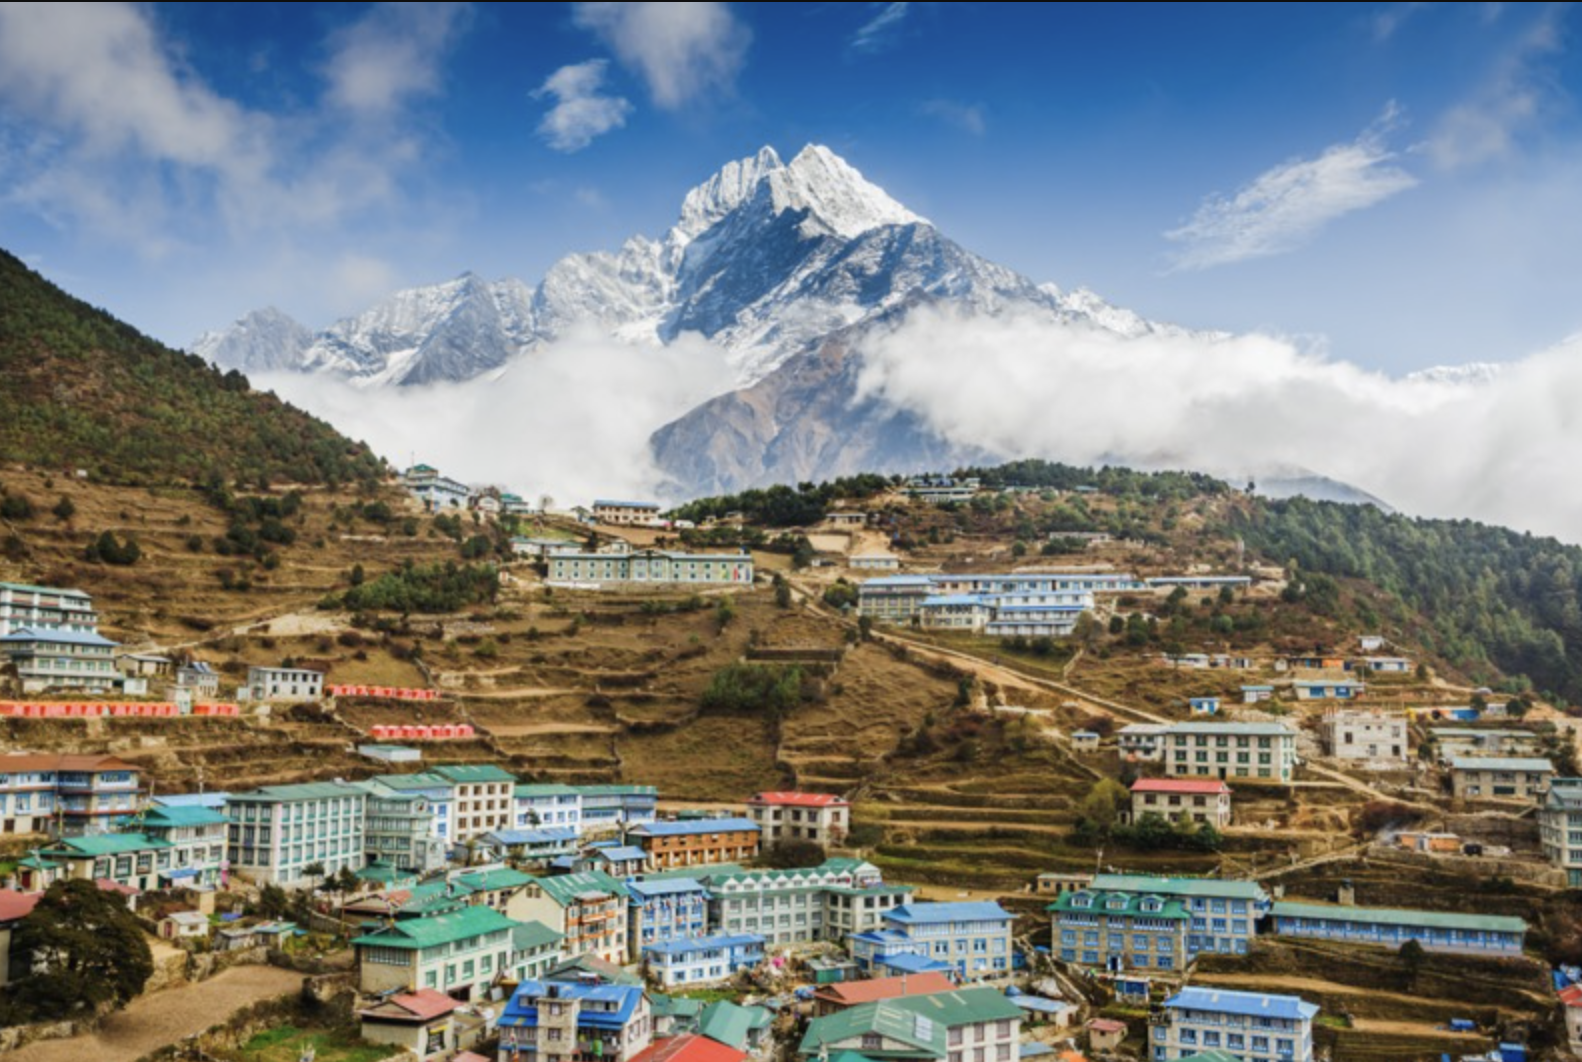
Colorful Namache Bazaar is built into the side of a hill and is home to most of the Sherpas in the travel biz.

 Shoot for lower-altitude villages. 

As you go higher, the cost of teahouse stays tend to increase. Choosing to stay more in lower-altitude villages, such as Namche Bazaar and Tengboche, can help save money and, at the same time, help you acclimatize to the altitude.


Everest Trek Food on a Budget

These handy tips on food options will help cut down costs of an Everest trek:

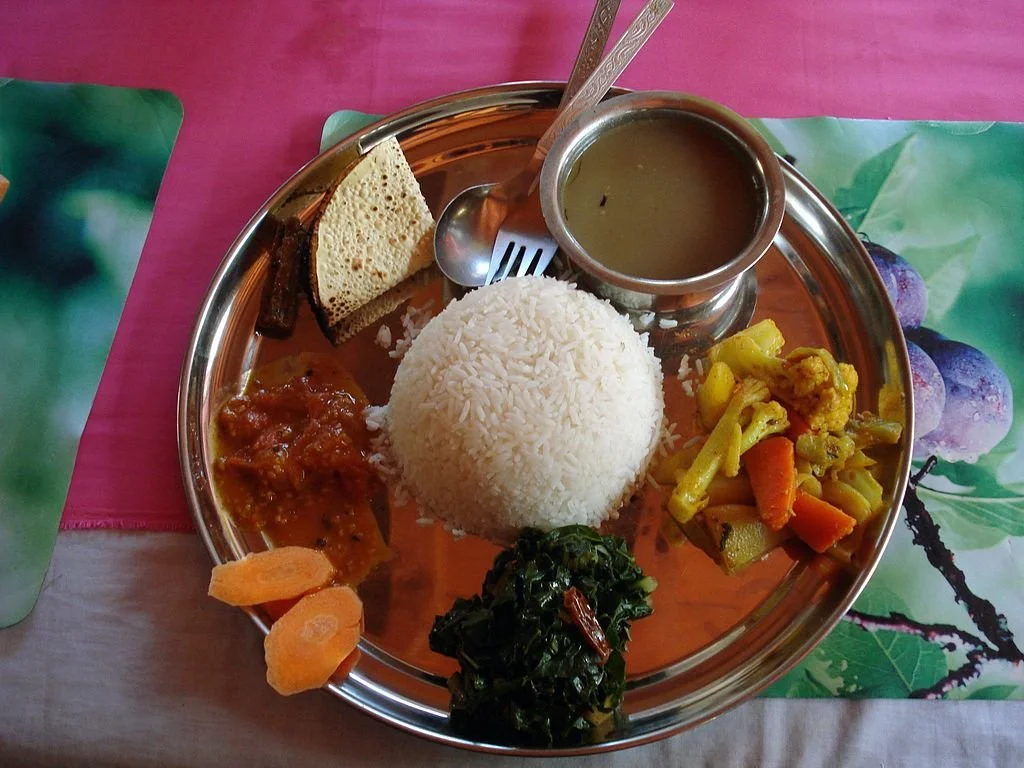
Nepalese dish dal bhat, with rice, curried veggies, spinach and broth

Teahouses serve dhal bhat, a traditional Nepalese dish — and it’s often all-you-can-eat.

Eat at teahouses. 

Go for local cuisine and enjoy the traditional dhal bhat (rice and lentil soup) offered in all teahouses. The meal provides a hearty — and affordable — source of energy. And you can get refills at no additional cost.

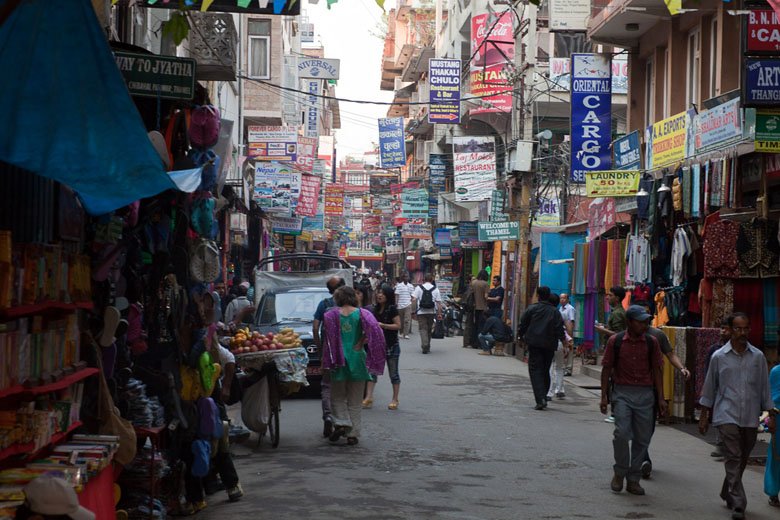
Kathmandu, Nepal street, with lots of colorful signs, stores and pedestrians

When you’re in Kathmandu, make sure to get a bunch of snacks to take with you.

Pack snacks. 

Stock up on energy bars, nuts and dried fruit in Kathmandu to avoid higher-cost options along the trail. These snacks are really helpful to quickly and cost-effectively boost your energy on the trail.

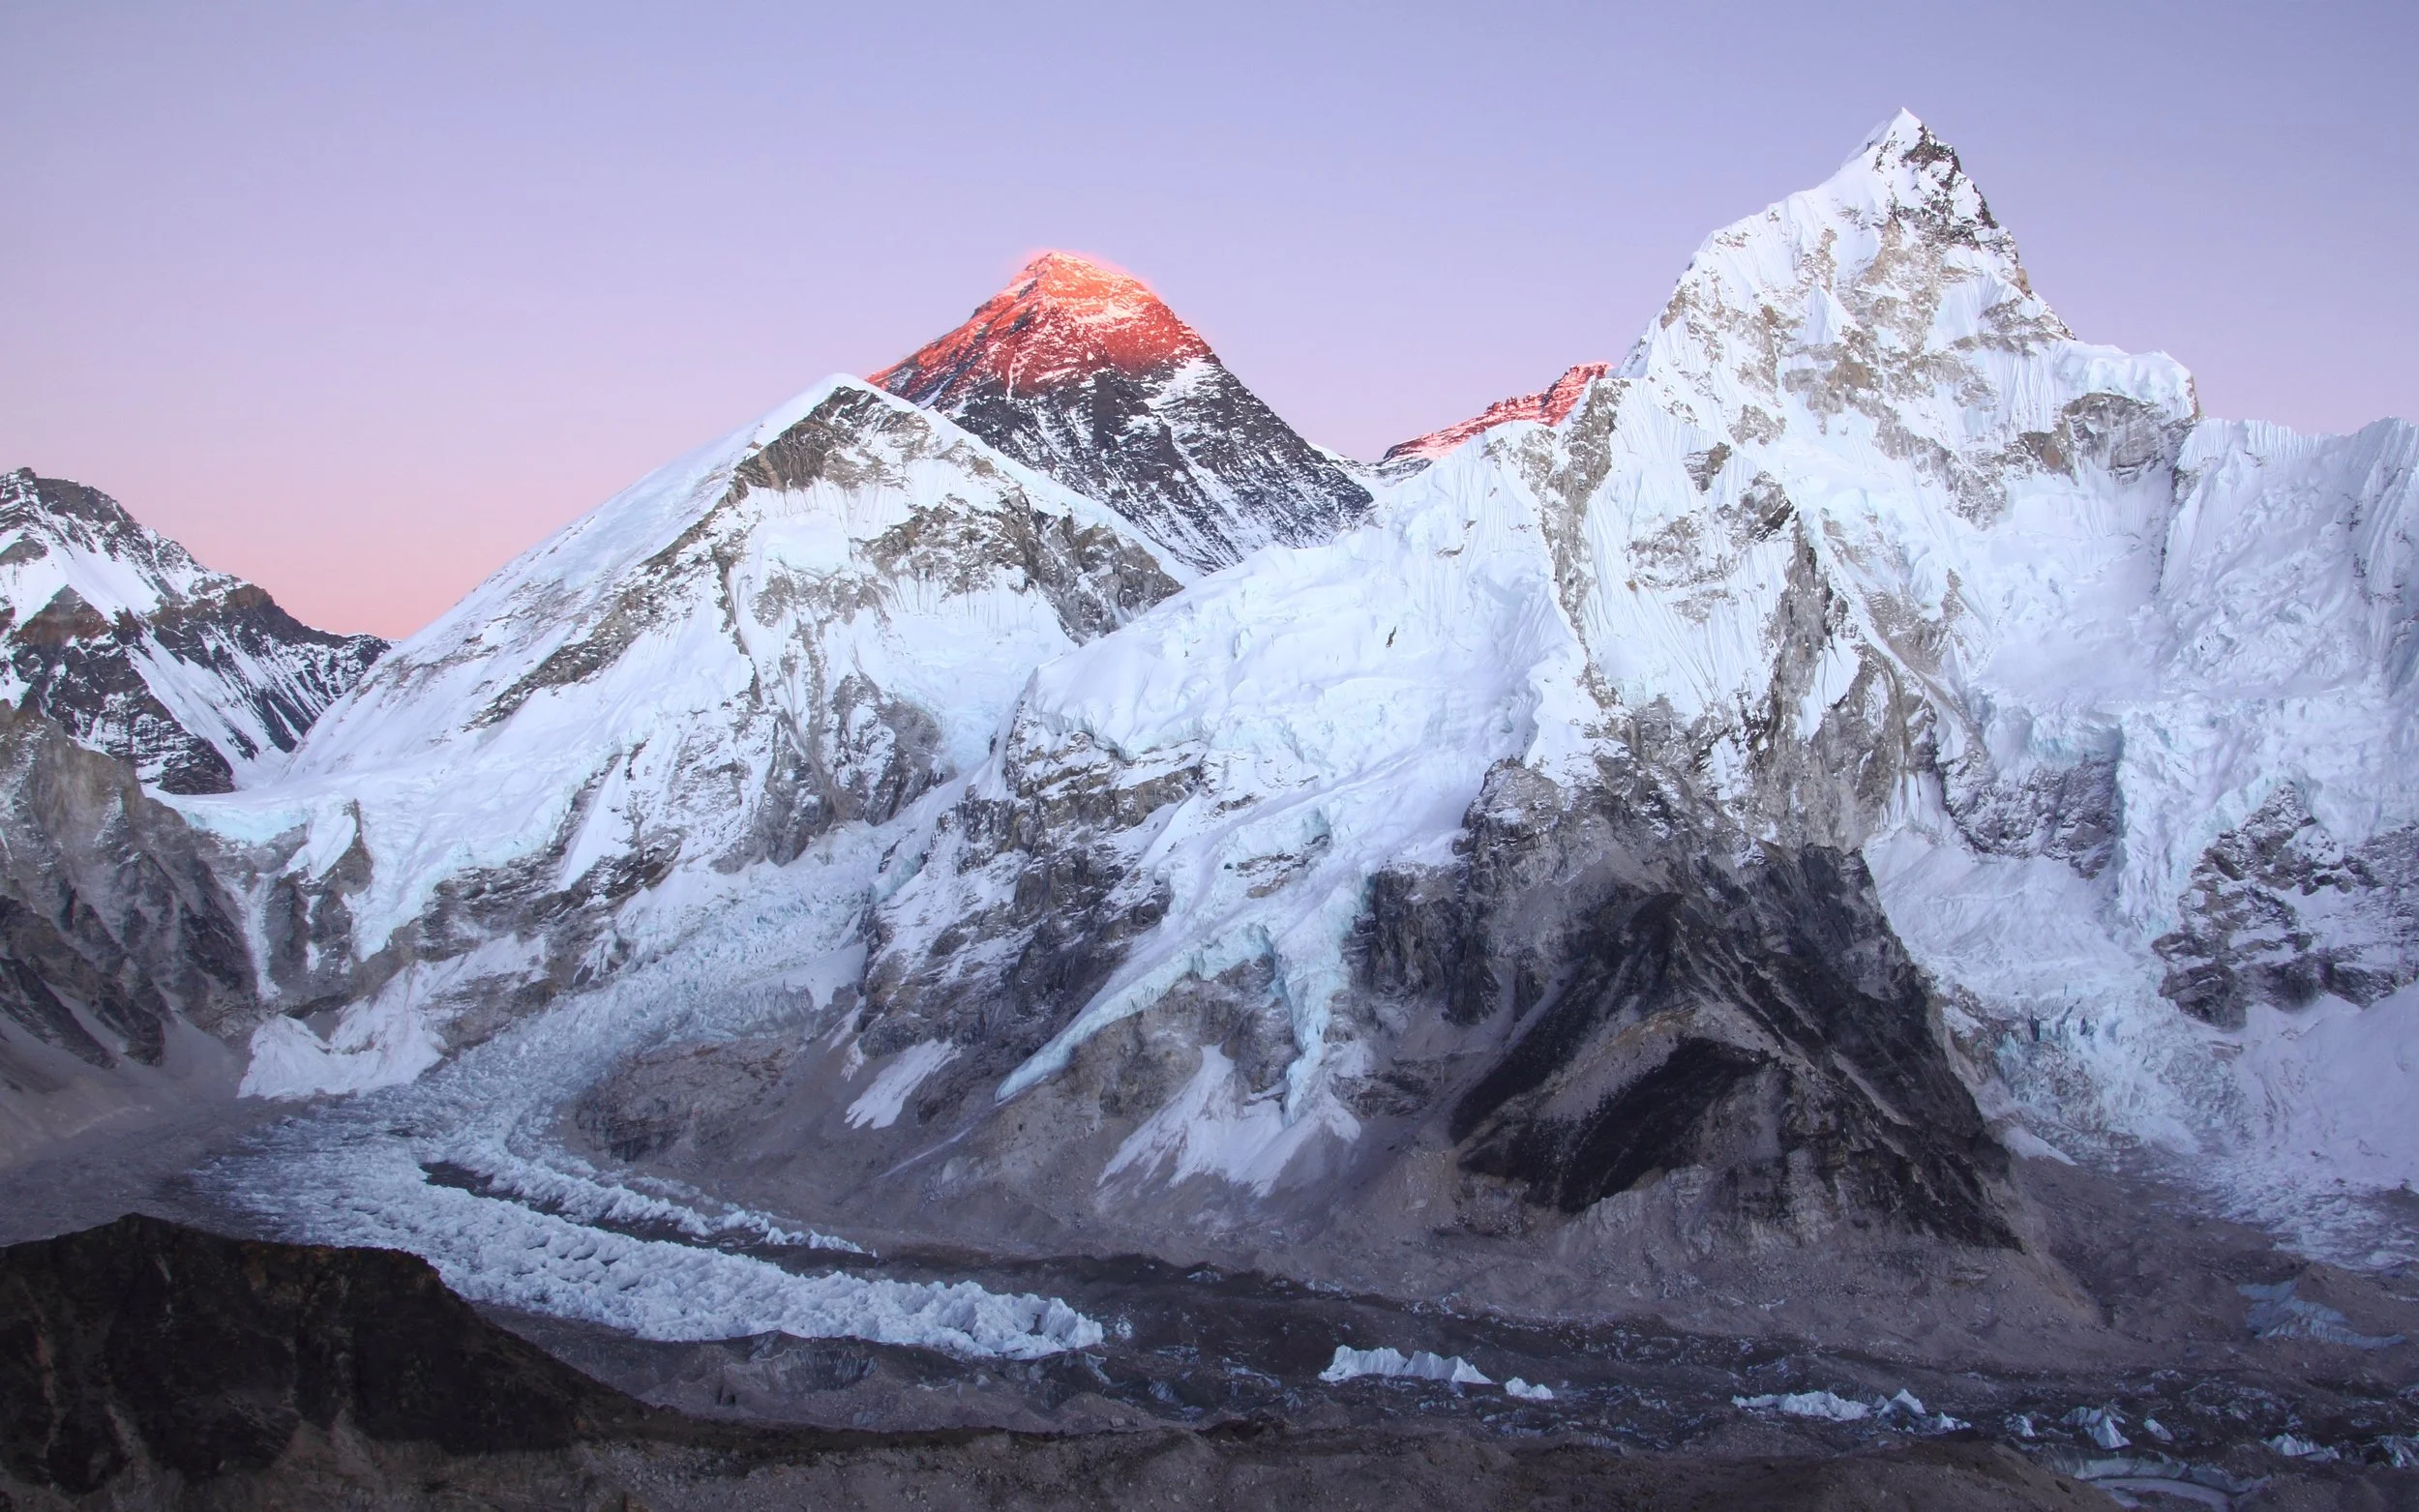
Sunset view from Kala Patthar, Khumbu Glacier in the foreground

The sunset over Kala Patthar is a highlight of the excursion.

Permits for an Everest Base Camp Trek

Navigating the permit process and organizing trip logistics can be overwhelming. But the good news is they’re not too expensive. Here’s what you need to know:


TIMS Card

Cost: 2000 Nepalese rupees (about $15)

The Trekkers’ Information Management System card (commonly known as a TIMS card) is a necessary permit for Everest base camp trek. Get the card in Kathmandu by visiting the Nepal Tourism Board or the office of the Trekking Agencies Association of Nepal.


Sagarmatha National Park Permit

Cost: NPR 3000 (about $23)

You must get a pass for Sagarmatha National Park to complete an Everest base camp trek. Obtain an SNP permit in Kathmandu, or you can get one on the trail.


Khumbu Gau Palika Card

Cost: NPR 2000 (about $15)

Another essential permit you need to enter the trail is the Khumbu Gau Palika Card. You can also obtain one on the trail. However, fill out the form in advance and keep the submission number for quick processing. Follow this link to register for the permit.

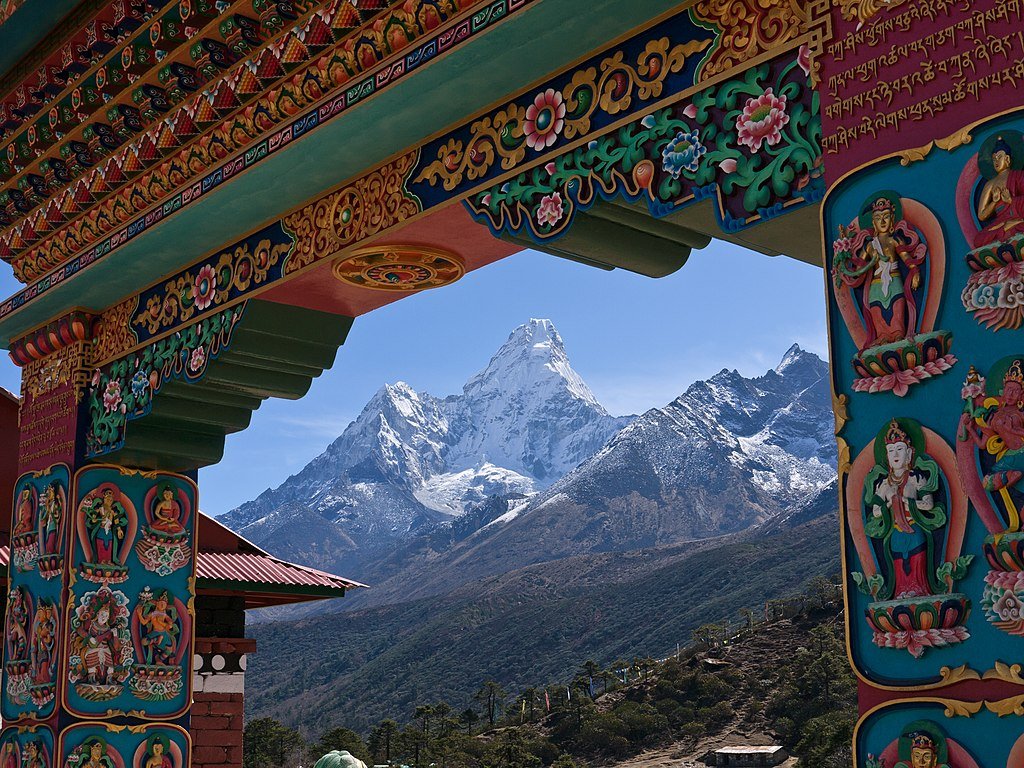
The colorfully painted archway leading to the Tengboche Monastery in Nepal with Mount Everest visible in the distance

A trek to the Everest Base Camp may be a priceless spiritual experience — but it doesn’t have to cost a fortune.

Everest Base Camp on a Budget

Planning for a budget-friendly Everest base camp trek allows you to experience the beauty of the Himalayas without worrying too much about your budget. By carefully planning your trek, choosing teahouses, eating local cuisine, and managing permits and logistics competently, you can make your dream of a Mount Everest base camp trek a reality. Get ready for breathtaking landscapes, meet Sherpas, experience their culture and experience unforgettable memories on a Himalayan adventure.

An Everest base camp trek is an exciting journey of self discovery, and with the right approach, it can be both affordable and life-changing. So, tie up your hiking boots, pack your backpack, and prepare for an impressive Himalayan adventure without the hefty cost. –Madhav Prasad 


Madhav is the tour coordinator and co-founder of Mosaic Adventure in Kathmandu.